How to Strip Silicone Sealant from Windows and Doors
By Housey · Last reviewed 18th of May 2026
How to Strip Silicone Sealant from Windows and Doors
Silicone sealant around windows and doors is one of those maintenance details that rarely gets attention until it has already failed. Blackened mould growth, cracked beads, or sealant peeling away from the frame signal that the existing product has reached the end of its useful life — a common occurrence in UK homes where uPVC, timber, or aluminium frames experience significant thermal movement across damp winters and warm summers. Whether you are preparing for a full window replacement or simply resealing a bathroom windowsill, clean removal of all existing sealant is the essential first step.
Key points
- Most silicone sealants have a published service life of 10–20 years; degradation is accelerated by UV exposure, thermal cycling, and inadequate surface preparation at the time of original installation.
- Applying new sealant over old is one of the most common DIY mistakes — the new layer will not form a lasting bond and typically fails within months.
- A chemical sealant softener (available from most builders' merchants and DIY retailers) significantly reduces the physical effort required and helps protect surrounding paintwork and uPVC profiles.
- Isopropyl alcohol (IPA, 70% or higher) is the recommended residue cleaner before resealing — it removes silicone oils that would otherwise prevent adhesion of fresh product.
- FENSA-registered and Certass-registered window installers are required to seal frames correctly as part of a compliant installation; if you are having windows replaced, the installer should handle resealing as part of that scope.
What you will need before you start
Good preparation keeps the job clean and protects surrounding surfaces.
Tools and materials checklist:
- Stanley knife or dedicated sealant scraper
- Sealant softening chemical (proprietary silicone remover from a trade counter or DIY retailer)
- Plastic or nylon scraper (avoids scratching uPVC or glass)
- Isopropyl alcohol (IPA) wipes or lint-free cloth
- Masking tape
- Fresh silicone sealant and applicator gun (if resealing immediately afterwards)
- Disposable gloves and eye protection
Avoid steel scrapers on uPVC frames — they leave permanent scratches. For painted timber frames, test any chemical softener on an inconspicuous area first to check for discolouration.
Step-by-step removal
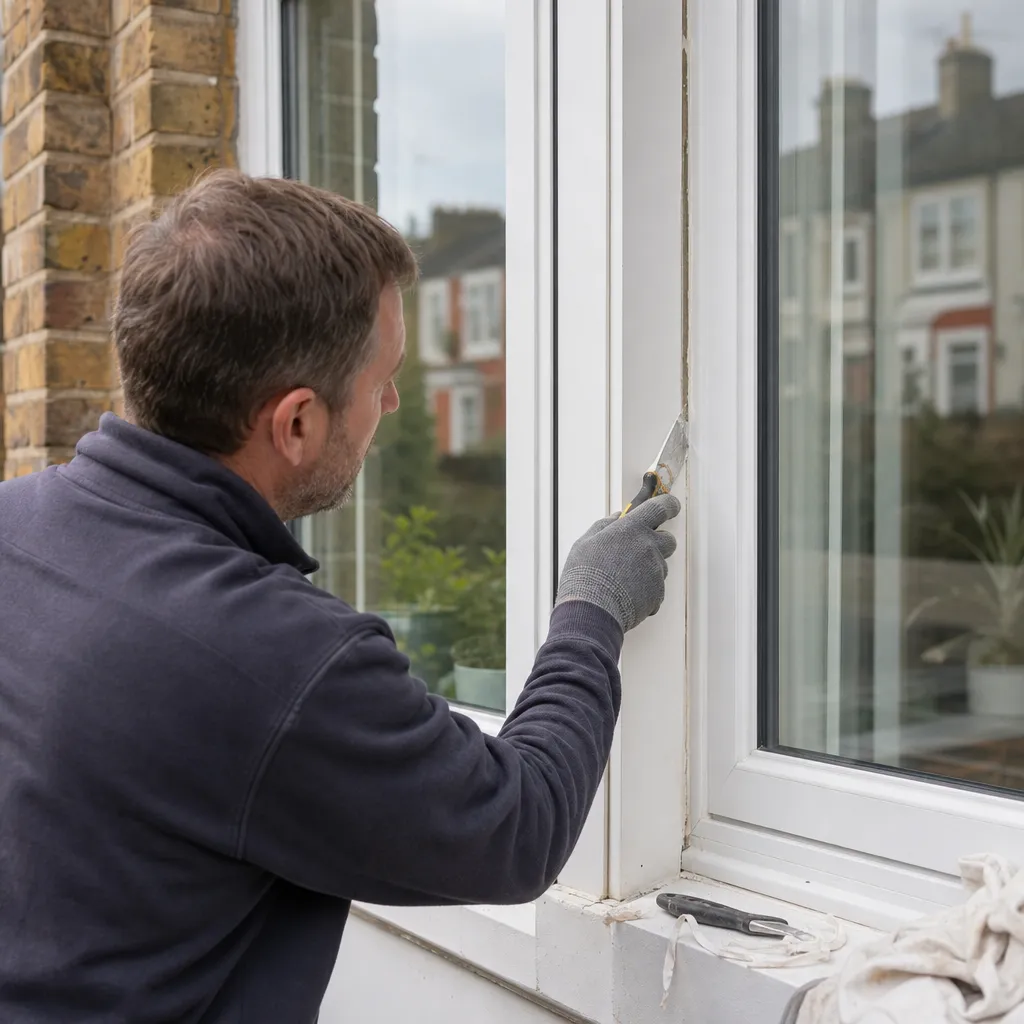
1. Score the edges
Run a Stanley knife along the top and bottom edges of the sealant bead, cutting where it meets the frame and the wall, glass, or tile. This breaks the adhesion seal and prevents you from tearing the surrounding surface when you pull the bead away.
2. Apply chemical softener if needed
For sealant that has hardened significantly or has been in place for more than five years, apply a proprietary silicone sealant remover according to the manufacturer's instructions — typically 30 minutes to a few hours of dwell time. This softens the silicone to a pliable consistency, making it much easier to peel cleanly in long sections.
3. Remove the bulk of the sealant
Grip the scored bead with your fingers or pliers and peel steadily. Work along the length of the bead rather than pulling at 90 degrees to the surface. A plastic scraper helps lift any sections that resist peeling.
4. Remove residue
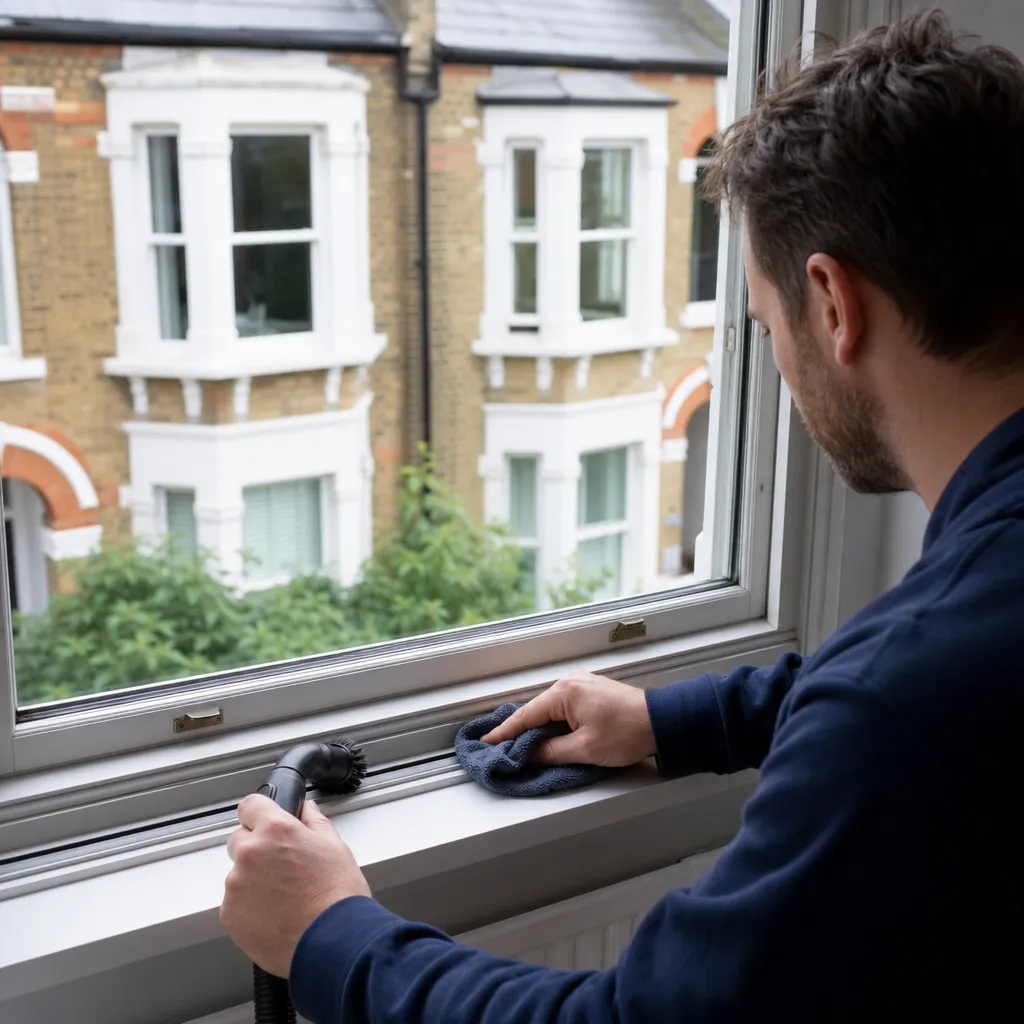
Even after the bulk sealant is gone, a thin film of silicone oils usually remains bonded to the substrate. Apply IPA to a lint-free cloth and rub firmly along the joint. Allow to dry fully before applying any new sealant. Do not skip this step — any silicone residue will prevent fresh product from bonding correctly.
5. Inspect the substrate
Before resealing, examine the frame-to-wall junction. Look for gaps wider than 10–15 mm (which may need backing rod before sealing), signs of rot in timber frames, or crumbling mortar. These conditions warrant further investigation before new sealant is applied.
Sealant removal method comparison
Method | Best for | Not ideal for | Typical difficulty |
|---|---|---|---|
Stanley knife and manual peel | Fresh or soft sealant; short runs | Aged, hard sealant; tight profiles | Low |
Chemical softener and peel | Old or brittle sealant; larger jobs | Very narrow joints; confined spaces | Low–medium |
Oscillating multi-tool | Large jobs or commercial applications | Tight domestic frames; scratching risk | Medium |
Heat gun | Some specialist applications | uPVC frames — heat damage risk is significant | Medium–high |
Red flags: when to stop and get professional advice
The following signs suggest you should pause DIY removal and seek a professional assessment:
- Frame movement or racking: If the window or door frame has visibly shifted or is out of square, resealing will not address the underlying problem.
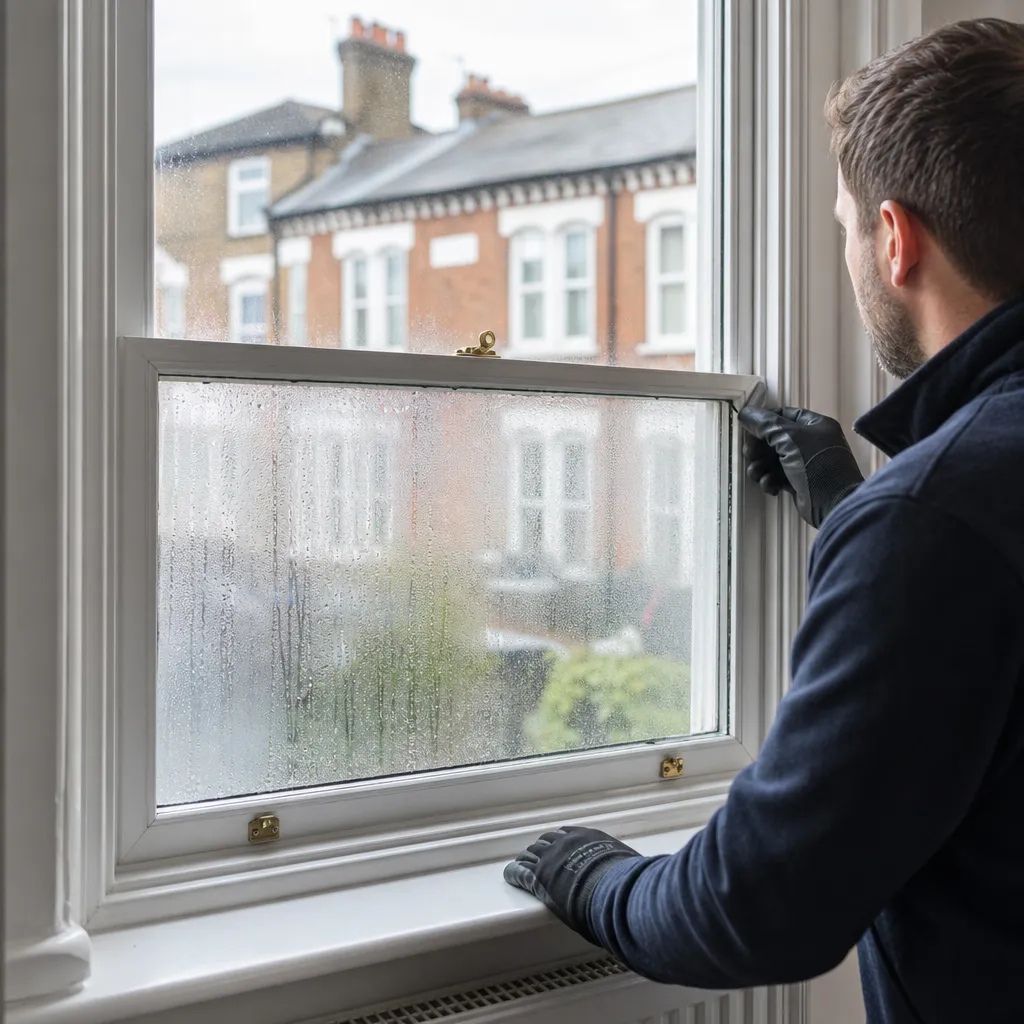
- Persistent damp or condensation between panes: Failed double-glazing units need replacement, not resealing.
- Rot in timber frames: Soft or discoloured timber around the joint indicates decay that requires treatment or replacement before any new sealant is applied.
- Sealant failing within months of a recent installation: Poor surface preparation or inadequate frame fit may be the cause — worth querying the original installer directly.
- Rapidly returning mould after resealing: May indicate inadequate ventilation or moisture ingress through a separate route that needs investigation.
When to get professional help
Most silicone sealant removal is a manageable DIY task for a patient homeowner with basic tools. Consider professional help when the window or door frame itself requires removal and reinstallation, when you are unsure whether existing frames meet current Building Regulations energy-performance requirements under Approved Document L, or when the volume of windows across a property makes the task impractical to complete to a consistent standard.
How Housey can help
If sealant issues point to a bigger problem — frames that need replacing, persistent damp ingress, or failed double-glazing units — window and door installers on Housey can assess and quote for the full scope of work, including correct sealing as part of a FENSA-compliant installation.
Frequently asked questions
How long does silicone sealant last around windows?
Most silicone sealants are formulated to last 10–20 years under normal conditions. UV exposure, thermal movement, and inadequate surface preparation at the time of application can all shorten this considerably. Sealant on north-facing or frequently wet surfaces often shows mould growth before adhesion fails.
Can I apply new silicone sealant over old?
No. New silicone does not bond reliably to cured silicone. The result is usually a cosmetically acceptable bead that fails adhesion within months. All old sealant and residue must be removed and the surface cleaned with isopropyl alcohol before fresh product is applied.
What is the best tool for removing old silicone sealant?
A Stanley knife for scoring the edges combined with a plastic scraper for removing the bulk works well for most domestic jobs. A proprietary chemical sealant softener significantly speeds up removal of aged or hard product and reduces the risk of surface damage compared with aggressive mechanical scraping alone.
Do I need FENSA registration to reseal a window?
Resealing around an existing window frame does not require FENSA registration — that applies to the replacement of double-glazing units or frames. If you instruct a FENSA-registered installer to replace your windows, correct sealant application is part of the compliant installation that must be signed off.
Sources and further reading
Useful next reads
 Improvement & Build
Repairing Failed Window Seals and Condensation Issues
Condensation between double-glazed panes means the hermetic seal on the insulated glass unit has failed.
 Improvement & Build
Door Weatherproofing And Sealing: Window And Door Contractors
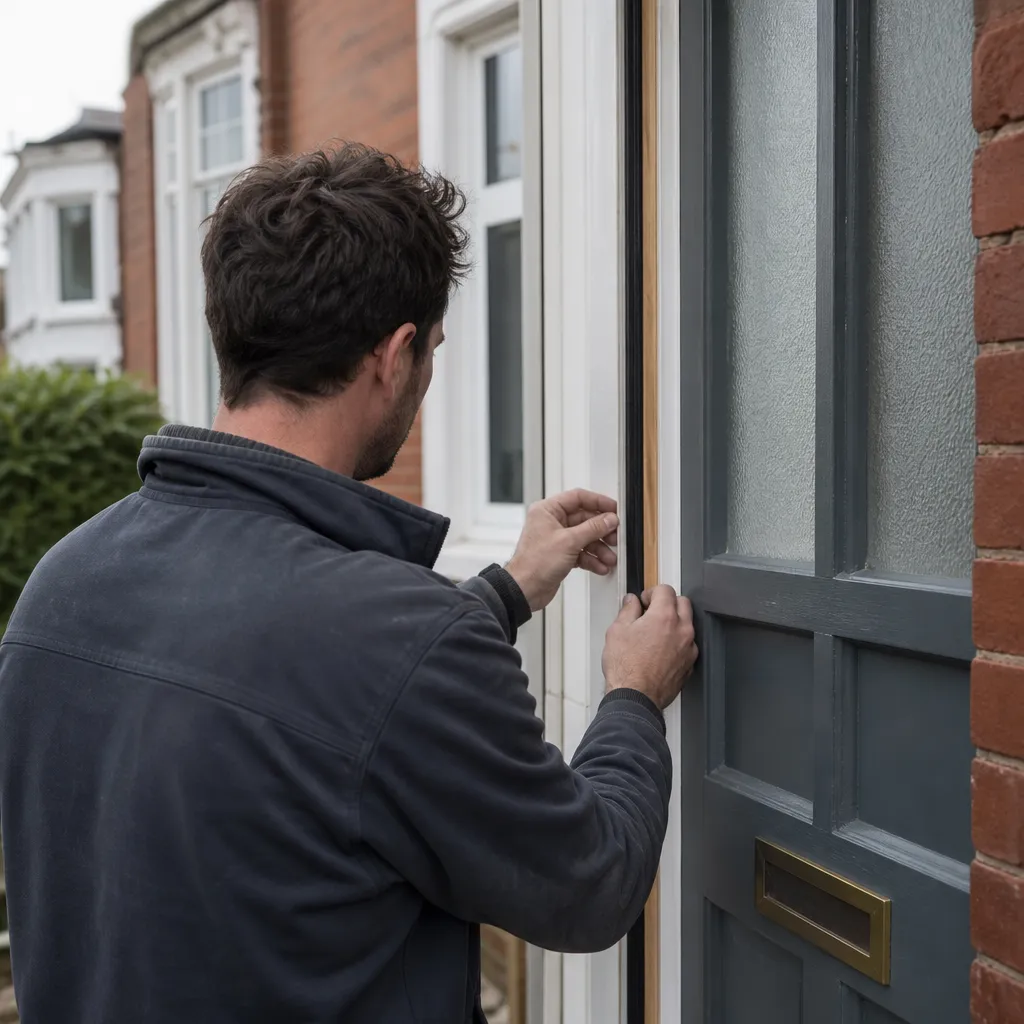
Door weatherproofing involves fitting draught seals, threshold strips, letterbox brushes, and door sweeps to stop cold air and rain entering around the frame and threshold.
 Improvement & Build
Roof Window Maintenance and Servicing Costs
Roof window servicing in the UK typically costs £80–£200 per window for a professional visit covering seals, flashings, and the opening mechanism.
 Improvement & Build
Sash Window Cord and Pulley Repair Guide
Repairing a broken sash window cord involves removing the staff bead, lifting out the lower sash, threading new wax-coated cord through the pulley, and tying it securely to the sash weight.
 Improvement & Build
Maintaining window tracks: cleaning and care tips
Window tracks should be cleaned at least once a year using a soft brush, warm soapy water, and a silicone-based lubricant — not WD-40, which degrades rubber seals.