Quality Home Improvement Workmanship: What Good Looks Like
By Housey · Last reviewed 24th of May 2026
Quality Home Improvement Workmanship: What Good Looks Like
Knowing what good building work looks like is not something most homeowners have been formally taught, yet it is one of the most practical skills you can develop before, during, and after a home improvement project. Whether you are commissioning a kitchen extension, a loft conversion, or a structural refurbishment, understanding the markers of quality workmanship helps you choose the right contractor, monitor progress, and carry out an effective snagging inspection before you make final payment.
Key points
- Quality workmanship begins at site setup: a professional contractor will protect your property before work starts — covering floors, hoarding openings, and storing materials correctly.
- Structural work must comply with Building Regulations; an approved inspector or local authority building control officer carries out staged inspections that provide an independent quality check at critical points.
- Level, plumb, and square are the three fundamental quality tests for most building work — walls, floors, door frames, and roof structures should all be checked against these standards before sign-off.
- A final snagging inspection — a systematic walk-through to identify defects before final payment — is a normal part of professional project delivery; a good contractor will expect and welcome it.
- Photographs taken at each construction stage (foundation, DPC, structural openings, roof structure) provide essential evidence if latent defects emerge months or years later.
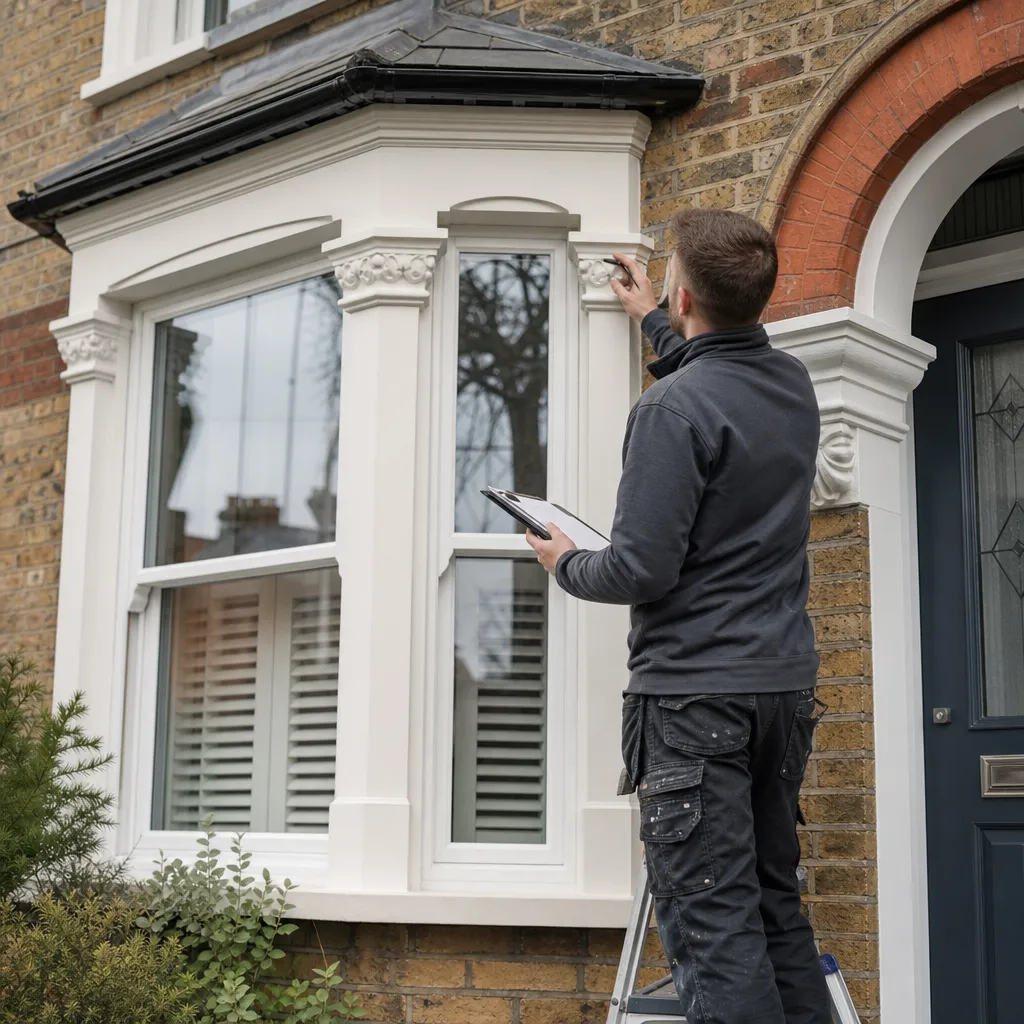
What professional site setup looks like
Good workmanship is visible from day one. Before a contractor begins demolition or groundwork, you should expect:
- Property protection: dust sheets on floors, protective covering on stairs and carpets, and furniture moved or covered in affected rooms.
- Material storage: bricks, blocks, timber, and insulation stored off the ground, covered, and away from drains and neighbours' boundaries.
- Waste management: a skip or designated waste area identified before demolition starts; a skip on the public highway requires a permit from the local authority.
- Site communication: a programme of works — even a simple one — so you know when key stages are expected: foundations, structural frame, roof, first fix, second fix.
- Documentation: for larger projects, scaffolding licences, public liability insurance details, and relevant building control notifications should be available on request.
A contractor who begins demolition without any of these arrangements in place is a warning sign worth addressing before work progresses further.
A worked example: single-storey rear extension on a 1960s semi
The following is an illustrative scenario using typical UK project conditions, intended to show how quality should progress through each stage of a build.
Property: A three-bedroom semi-detached house built in the 1960s in the East Midlands. Project: a 4m x 5m single-storey rear extension replacing an existing lean-to conservatory.
Stage 1 — Demolition and excavation
The contractor removes the conservatory and excavates foundations to the depth specified in the structural engineer's drawings — in this case, a 600mm-wide strip foundation at 1,000mm depth, given the clay subsoil. The building control officer carries out a foundation inspection before concrete is poured. Quality marker: foundation depth matches the engineer's drawings; concrete is poured the same day as the inspection sign-off to avoid trench collapse.
Stage 2 — Foundations and DPC
The concrete strip is poured, cured, and block/brick rising walls are built to damp-proof course (DPC) level. The DPC membrane is lapped and continuous at all junctions — a common fault is a DPC installed in separate pieces without proper lapping, which allows moisture to track under the wall. Quality marker: the DPC is checked for continuity at every wall and floor junction before backfilling.
Stage 3 — Structural frame and roof
Steel beams (RSJs) are installed in the structural opening to the existing kitchen; beam sizing was specified in the structural engineer's calculations, which were submitted to building control. Roof rafters are cut to specification, with correct spacing (typically 400mm or 600mm centres). Quality marker: beam padstones are correctly bedded in mortar; roof pitch matches the approved drawings.
Stage 4 — First fix and weatherproofing
Roof covering is installed with correct lap and fixings. Lead flashings are dressed around the parapet and where the new roof abuts the existing house wall. Quality marker: the join between new and existing roofs is fully watertight before any internal first fix proceeds.
Stage 5 — Finishing and snagging
Plastered walls are checked for plumb using a spirit level; floor screed is checked for level using a long straightedge; door frames are checked for square before doors are hung. The snagging inspection identifies: a hairline crack in one plasterboard joint (remediated before decoration), a gap between new and existing skirting board (filled and painted), and one window requiring adjustment for draught. Building control completion certificate is issued and handed to the homeowner — retained with the title deeds.
Homeowner quality inspection checklist
Use this at the snagging stage before making final payment:
Red flags: signs of poor workmanship
Watch for these during the build or on completion:
- Uneven brickwork: mortar joints that vary significantly in thickness, or bricks not level along courses, indicate poor setting-out from the start.
- Gaps at structural junctions: between new and existing walls, between skirting and floor, or at ceiling junctions — these may indicate settlement, shrinkage, or insufficient fixings rather than normal movement.
- DPC discontinuity: any break in the damp-proof course at a wall or floor junction creates a direct route for moisture ingress; this is rarely self-correcting.
- Undersize structural members: if beam sizes, joist spans, or rafter dimensions differ from the structural engineer's specification, document this immediately and raise it with building control before the next stage proceeds.
- Skipped building control inspections: if the contractor has not called for required staged inspections, critical structural and drainage elements have not been independently checked.
- Plastering over damp areas: plaster applied before a new extension has dried out, or over areas of active moisture, will fail — typically as bubbling or cracking within six to twelve months of completion.
When to get professional help
If you have concerns about workmanship quality during or after a project:
- Raise concerns in writing with your contractor before the project ends and document with photographs.
- For structural concerns — beams, foundations, roof structure — commission an independent assessment from a RICS-chartered surveyor or structural engineer.
- If a building control inspection was missed, contact the local authority building control department directly.
- For disputes about quality where informal resolution has failed, the Federation of Master Builders and TrustMark operate registered-member complaints processes.
How Housey can help
Housey connects homeowners with vetted extension builders and design-and-build firms whose credentials and experience are matched to your project type and location. When you request quotes through Housey, you can review provider qualifications, scheme memberships, and project experience before committing.
Frequently asked questions
What does a building control completion certificate mean for quality?
A building control completion certificate confirms that staged inspections required under the Building Regulations were carried out and the work appeared to comply at each inspection point. It is not a comprehensive guarantee of quality, but it provides an independent check on structural, drainage, fire-safety, and thermal-performance elements. Retain the certificate with your title deeds.
Can I withhold final payment if snagging items are incomplete?
In most standard building contracts, a proportion of the final payment — commonly five to ten per cent — is retained until snagging items are completed satisfactorily. Check your contract before withholding any payment. If there is no retention clause, document defects in writing and request remediation before paying; releasing final payment without reservation can weaken your legal position in a subsequent dispute.
How do I tell if my contractor is cutting corners on structural work?
Request copies of the structural engineer's calculations and drawings at the start of the project and compare them with what is being built — particularly beam sizes, rafter spacings, joist spans, and foundation depths. Attend building control inspections if possible. Commission an independent structural assessment from a RICS-chartered surveyor or structural engineer if you have concerns before the next stage proceeds.
What is a snagging inspection and when should it happen?
A snagging inspection is a systematic walk-through of the completed project to identify defects, omissions, and items requiring adjustment before final payment. It should take place after all work is nominally complete. Prepare a written list with photographs referencing the agreed specification; share it formally with the contractor and agree a clear timeline for remediation before releasing final payment.
Sources and further reading
- Building Regulations: approved documents — GOV.UK
- RICS: surveying and professional standards — RICS
- Federation of Master Builders: find a member — Federation of Master Builders
- Problems with building work, decorating and repairs — Citizens Advice
- Building control: how it works — Planning Portal
Useful next reads
 Improvement & Build
Who to Contact for Broken Door Handle Repair
For a broken door handle, a general handyperson can handle most internal timber door repairs, while a joiner or locksmith is better suited to external doors, particularly if the lock mechanism is affected.
 Improvement & Build
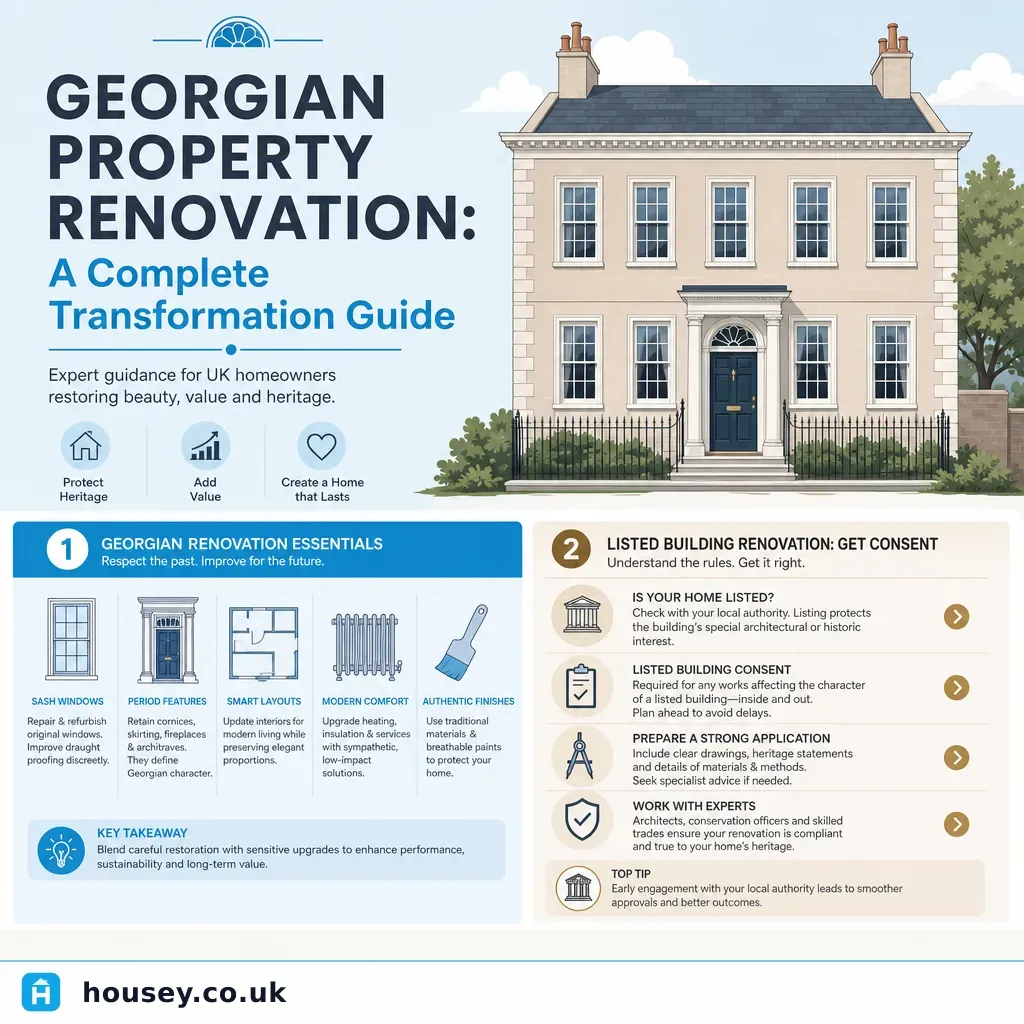
Georgian Property Renovation: A Complete Transformation Guide
Georgian property renovation requires working within heritage constraints.
 Improvement & Build
London Property Renovation: Complete Modernisation Case Study
Modernising a London property means navigating conservation area restrictions, party wall obligations, and Building Regulations alongside the build work itself.
 Improvement & Build
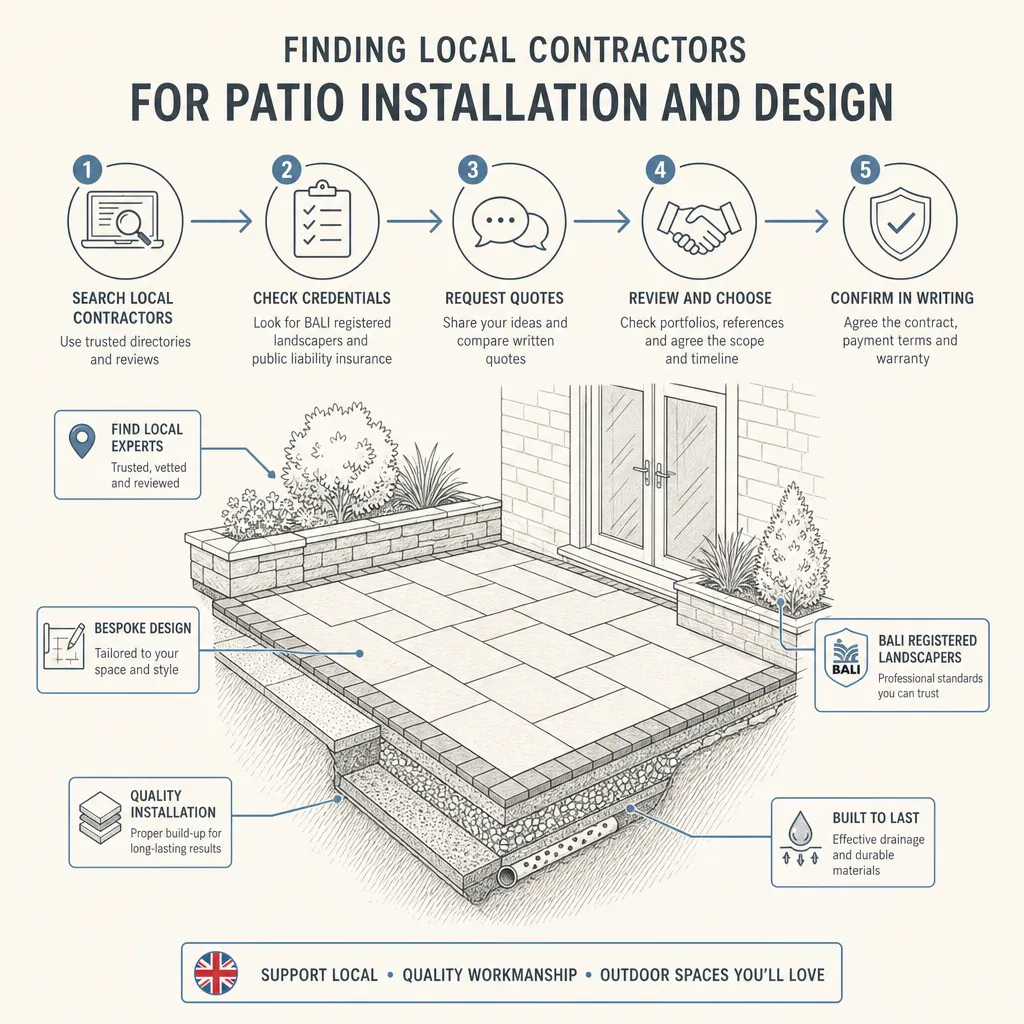
Finding Local Contractors for Patio Installation and Design
For most residential patios, a local landscaper or paving specialist manages the project from design to laying.
 Improvement & Build
Managing Provider Reviews: A Guide for Building Strong Relationships
When hiring a UK contractor, reviews can be reliable indicators of quality — but only if you read them critically.