Hanging Wallpaper with PVA Adhesive: Technique and Application
By Housey · Last reviewed 5th of May 2026
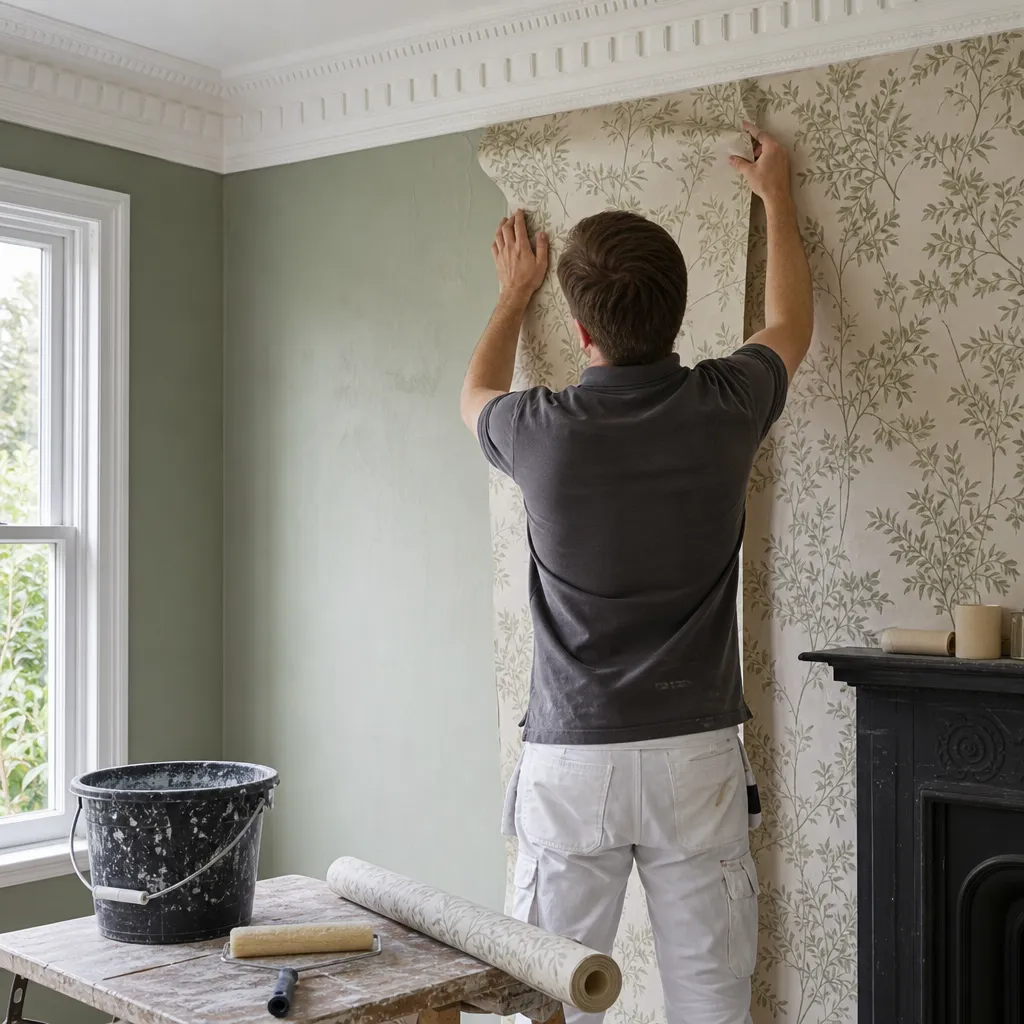
Hanging Wallpaper with PVA Adhesive: Technique and Application
Choosing the right adhesive and preparing surfaces correctly can be the difference between wallpaper that stays crisp and flat for years and paper that bubbles, lifts, or peels within weeks. PVA (polyvinyl acetate) has a specific and genuinely useful role in wallpapering, but it is frequently misunderstood — either applied where it will cause problems, or overlooked where it would make a real difference to the finished result.
Key points
- PVA diluted at 1 part PVA to 4–5 parts water is used as a wall primer or "size" to seal porous surfaces — such as new plaster, bare plaster, or freshly stripped walls — before hanging wallpaper.
- PVA should not replace purpose-made wallpaper paste as the primary hanging adhesive; it dries too fast for most papers and makes precise repositioning extremely difficult.
- Freshly plastered walls typically need 4–6 weeks to dry fully before wallpapering; PVA sizing stabilises the surface without sealing in residual moisture if applied correctly once the plaster is dry.
- Vinyl wallpapers require a fungicidal ready-mixed paste — using PVA behind vinyl can trap moisture and encourage mould between the paper and wall.
- Cross-lining (hanging lining paper horizontally before the decorative paper) remains best practice for uneven or previously textured surfaces; apply PVA sizing first to improve lining paper adhesion.
What role does PVA play in wallpapering?
PVA in wallpapering is primarily a wall primer or size, not a hanging adhesive. Sizing a wall before papering achieves several things:
- Seals porous surfaces so wallpaper paste does not sink in and dry too quickly.
- Creates a consistent surface so paper slides into position and adheres evenly.
- Reduces the risk of air bubbles and lifting at the seams.
- Provides a slightly tacky base that improves initial adhesion of the first drop.
Traditional "size" was simply a weak solution of wallpaper paste, but diluted PVA is now widely used as an alternative. Mix 1 part PVA with 4–5 parts clean water, stir thoroughly, and apply with a wide decorating brush (150mm or wider) or a short-pile roller. Work the solution evenly into the surface and allow it to dry fully — usually 2–4 hours under normal conditions — before hanging.
Some professional decorators prefer diluted wallpaper paste as a size over PVA, particularly on smooth walls, arguing that PVA can produce a slightly glossy film that certain pastes do not key into as reliably. On very porous new plaster, however, PVA is often the more practical choice because it seals the surface quickly without requiring a thick paste mix.
When to use PVA in wallpapering
PVA sizing is most beneficial in these situations:
New or bare plaster: Unsized new plaster will absorb paste almost instantly, making repositioning impossible and producing dry patches and bubbles. A coat of diluted PVA before hanging — or before applying lining paper — is standard practice.
Previously stripped walls: After removing old wallpaper, the surface is often uneven, with residual paste, torn surface paper, and patches of exposed plaster. PVA sizing stabilises these mixed surfaces before re-papering.
Previously painted walls: Matt emulsion is porous and benefits from sizing. Gloss or vinyl silk paint may need a light sand first to give the PVA something to key into.
Under lining paper: When cross-lining before a decorative paper, PVA sizing the wall first improves the lining paper's initial adhesion and reduces bubbling — particularly on problematic backgrounds.
When not to use PVA
PVA is not appropriate in all situations:
- As a direct hanging adhesive: PVA dries too quickly for most wallpapers. You will not have sufficient working time to position and smooth each drop, and dry edges make seam repair very difficult.
- Behind vinyl wallpapers: Vinyl does not breathe. Using PVA (or any non-fungicidal adhesive) behind a vinyl wallpaper can trap moisture, leading to mould and bacterial growth behind the paper. Use a ready-mixed adhesive with a fungicide additive.
- On damp walls: PVA sizes the surface — it does not waterproof a wall or treat rising damp, penetrating damp, or condensation. If the wall shows signs of moisture (tide marks, efflorescence, or mould), address the underlying cause before decorating.
- On freshly plastered walls that have not fully dried: If plaster has not cured, sealing the surface with PVA can trap residual moisture. Wait until the plaster has turned from its dark, wet colour to a uniformly pale finish — typically 4–6 weeks for a standard 10mm-thick coat.
PVA versus other wallpaper adhesives
Adhesive type | Best for | Not ideal for | Working time once on wall | Notes |
|---|---|---|---|---|
Diluted PVA (1:4–1:5) | Wall sizing before hanging; porous new plaster | Direct hanging adhesive; vinyl wallpapers | N/A — primer coat only | Allow to dry fully before hanging |
Cellulose wallpaper paste (powder) | Standard paper, lining paper, lightweight non-woven | Heavy vinyl; commercial wallcoverings | 10–20 minutes | Mix to manufacturer's instructions; typically 1 pack covers 5–6 rolls |
Ready-mixed paste with fungicide | Vinyl wallpapers, heavy embossed papers, borders | Lightweight papers (overkill) | 15–25 minutes | Fungicide inhibits mould growth under impermeable surfaces |
Starch-based paste | Delicate or specialist wallcoverings | Vinyl (mould risk) | 10–15 minutes | Traditional formula; fewer synthetic additives |
Overlap and repair adhesive (PVA-based) | Seam repairs, lifting edges after hanging | Full-sheet hanging | Very short | Apply sparingly with a small brush for touch-ups |
Surface preparation checklist
Before applying PVA or hanging wallpaper, work through this list:
What not to assume
Do not assume PVA is interchangeable with wallpaper paste. They serve different purposes. In this context, PVA is a wall preparation product; wallpaper paste is the hanging medium. Using PVA straight from the bottle as a hanging adhesive will give you a fast-drying, unforgiving paste that is extremely difficult to reposition.
Do not assume a coat of PVA will fix damp. PVA sizes the surface — it does not waterproof a wall or treat rising damp, penetrating damp, or condensation. Tide marks, mould growth, or white mineral deposits (efflorescence) are signs of a moisture issue that must be investigated before you decorate.
Do not assume newly skimmed plaster is ready to paper. Even a thin skim coat needs time to cure and dry. Hanging wallpaper over insufficiently dry plaster traps moisture, causes the paper to peel, and can soften or blow the plaster underneath. Wait until the plaster has turned uniformly pale and feels dry to the touch throughout.
Do not assume one coat of PVA is always enough. On very porous or chalky surfaces, a second coat — applied after the first has dried — may be needed to achieve a consistently sealed finish before hanging.
Technique: applying PVA size to walls
- Mix 1 part PVA with 4–5 parts clean water in a bucket and stir thoroughly.
- Apply the solution using a wide brush (150mm or wider) or a short-pile roller. Work in manageable sections across the wall.
- Work the PVA into any porous patches, recesses, or repaired areas.
- Allow the coat to dry completely — usually 2–4 hours in a well-ventilated room at normal temperature.
- The dried surface should feel very slightly tacky but not wet. If the PVA has soaked in with no sheen remaining, the surface is very porous — apply a second coat and allow it to dry.
- Once the sized surface is fully dry, proceed with hanging using an appropriate wallpaper paste for your chosen paper type.
When to get professional help
Wallpaper hanging is DIY-friendly for most homeowners. Consider bringing in a professional decorator if:
- The room has complex features — deep alcoves, chimney breasts, multiple window recesses — where accurate pattern matching across joins is difficult.
- You are working with expensive or delicate wallcoverings where errors would be costly to correct.
- The walls show signs of damp, cracking, or structural movement that suggests a problem beyond surface preparation.
- You need to remove artex or other textured coatings. In properties built or refurbished before 2000, textured coatings may contain chrysotile (white) asbestos. Do not sand, scrape, or dry-abrade artex without first arranging an asbestos test — contact a competent asbestos professional if you are uncertain. See HSE guidance on asbestos in artex.
How Housey can help
If you would prefer a professional to handle the full job — from surface preparation and sizing through to final hanging — Housey can help you find and compare quotes from skilled local decorators. Submit your requirements through the Housey platform to receive quotes from relevant providers in your area.
Frequently asked questions
Can I use PVA glue as wallpaper paste?
Not as a direct substitution. PVA dries quickly and does not provide the working time needed to position and smooth wallpaper on the wall. In wallpapering, PVA is used as a wall primer (size), diluted 1:4 with water and applied before hanging. Purpose-made wallpaper paste — cellulose or starch-based — is the correct hanging adhesive for most wallpapers.
What dilution of PVA should I use to size a wall?
A common ratio is 1 part PVA to 4–5 parts clean water for sizing bare or porous walls. On very porous surfaces such as new plaster, some decorators use a slightly stronger first coat (1:3) followed by a standard 1:4 coat once dry. Always allow each coat to dry fully before applying the next or before hanging wallpaper.
Do I need to size walls before wallpapering?
On porous surfaces — new plaster, bare plaster, or stripped walls — sizing is strongly recommended. It prevents paste being absorbed too quickly, makes positioning easier, and improves adhesion. On well-conditioned previously papered or painted walls the benefit is reduced, but a sizing coat is still good practice and adds very little time or cost to preparation.
How long should PVA dry before hanging wallpaper?
Allow at least 2–4 hours for diluted PVA size to dry in normal room conditions with reasonable ventilation. The surface should feel dry and very slightly tacky before you hang. In cold or humid conditions allow longer. If the PVA has dried to a hard, shiny film with no tack, lightly dampen the surface with clean water immediately before hanging to improve paste adhesion.
Can I use PVA behind vinyl wallpaper?
It is not advisable to use PVA as the hanging adhesive behind vinyl wallpaper. Vinyl does not allow moisture vapour to pass through, and using the wrong adhesive can trap moisture against the wall, encouraging mould growth. Use a ready-mixed adhesive containing a fungicide additive, specifically formulated for vinyl wallcoverings, as recommended by the wallpaper manufacturer.
Sources and further reading
- Asbestos in artex and textured coatings — Health and Safety Executive
- Control of Substances Hazardous to Health: working with adhesives — Health and Safety Executive
- Painting and Decorating Association: trade guidance — Painting and Decorating Association
Useful next reads
 Improvement & Build
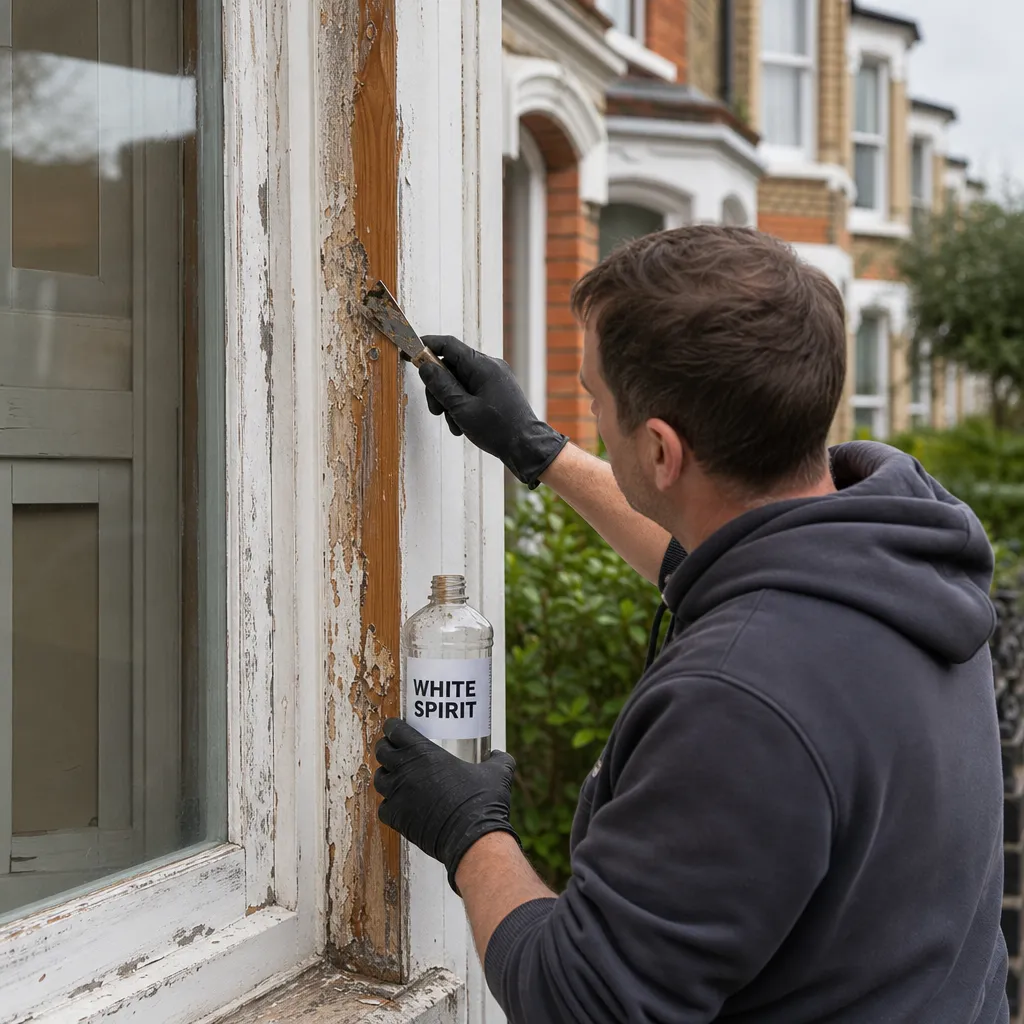
Paint Removal with White Spirit: Effectiveness and Application
White spirit dissolves uncured, freshly applied oil-based paints and is useful for cleaning brushes and removing fresh drips, but has very limited effect on fully dried or cured paint films.
 Improvement & Build
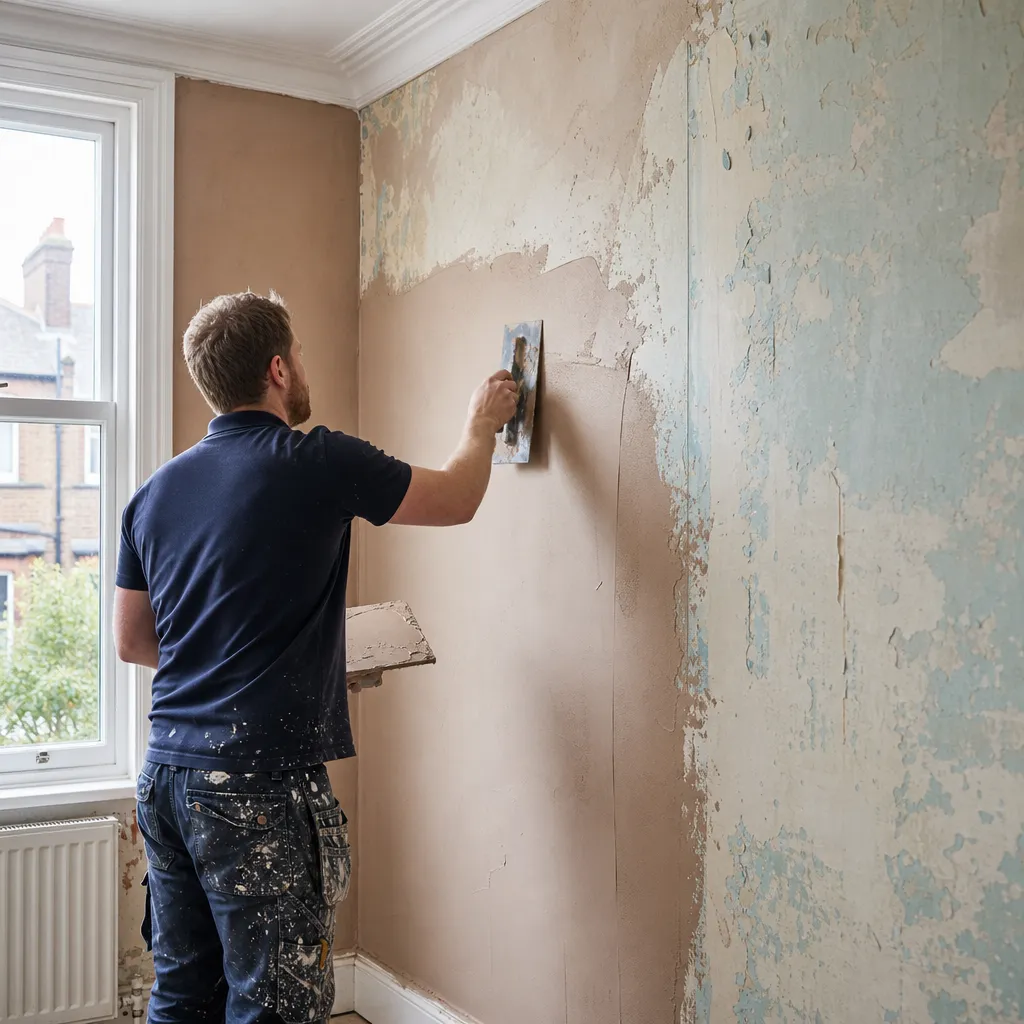
Plastering Over Existing Paint and Wallpaper: Surface Prep and Technique
Whether you can plaster over existing paint or wallpaper depends on surface condition and adhesion.
 Improvement & Build
Labour and material costs for floor tiling projects
Floor tiling in the UK typically costs £30–£60 per m² in labour, plus materials ranging from £10–£40/m² for ceramic to £50–£150+/m² for natural stone.
 Improvement & Build
Essential Steps for Driveway Installation
Installing a driveway in England requires planning permission only when using an impermeable surface (standard tarmac, concrete, or block paving) on a front garden area over 5 m².
 Improvement & Build
Preparing Walls for Patching: Surface Preparation Best Practice
Durable wall patching starts with removing all loose material, cutting back to a clean and stable edge, cleaning the substrate, and priming with a construction-grade PVA bonding agent before applying any filler or plaster.