Preparing Walls for Patching: Surface Preparation Best Practice
By Housey · Last reviewed 25th of May 2026

Preparing Walls for Patching: Surface Preparation Best Practice
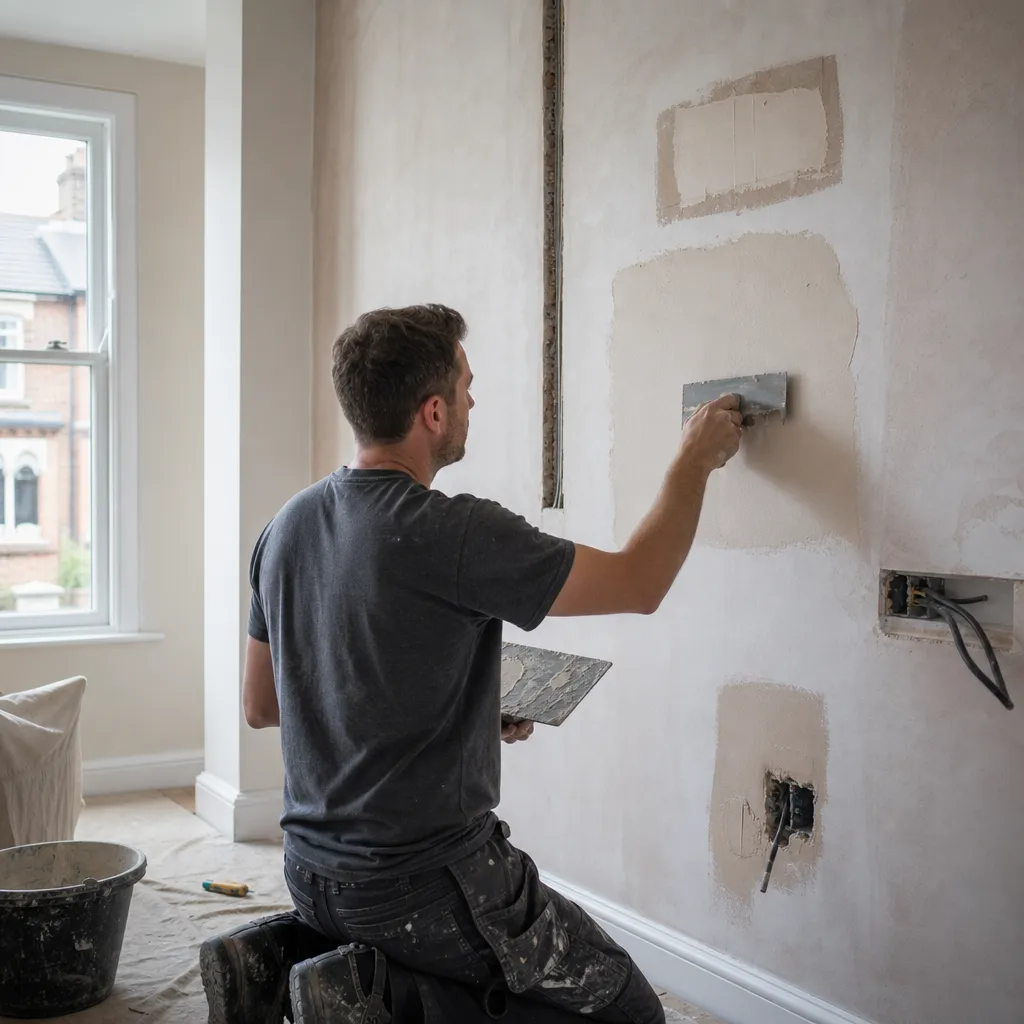
Wall patching — whether filling a crack, making good after pipe work, or repairing a section of damaged plaster — is one of the most common maintenance tasks in UK homes, carried out by homeowners and tradespeople alike. Done well, the repair is invisible and lasts for years. Done badly, it cracks, delaminates, or falls out within months. In almost every case the failure happens not because of the filler or plaster chosen, but because the surface preparation beneath it was inadequate. Understanding the correct sequence, and why each step matters, is the most reliable way to achieve a durable result.
Key points
- The primary cause of patching failure in existing UK plaster is inadequate key (surface adhesion): loose, dusty, or contaminated substrate causes the patch to delaminate regardless of filler type or brand.
- PVA bonding agent applied in two coats — diluted 1:4 as a primer coat, then neat or 3:1 applied immediately before plastering while still tacky — is the standard preparation for skim plaster patches over gypsum or sand-and-cement backgrounds.
- Movement cracks that recur in the same position (often diagonal from door or window corners, or following mortar courses) indicate active building movement and should be investigated before patching — filling a moving crack will not prevent it reappearing.
- For pre-1919 properties with original lime plaster, gypsum-based fillers and standard PVA bonding agents are not compatible: use lime-based repair products to avoid trapping moisture and accelerating decay.
- For patches deeper than 10 mm, apply filler or bonding plaster in multiple coats of no more than 10 mm each — single thick coats crack as the outer surface dries faster than the moisture-laden core.
Understanding what is behind the wall
Before cutting or applying anything, identify the wall construction and existing plaster finish, as these determine the correct preparation method and compatible materials:
- Solid masonry (Victorian and Edwardian brick and stone): usually sand-and-cement render with a gypsum finish skim. Damaged areas may expose bare brick, render, or both layers — each requires different preparation.
- Lath-and-plaster (pre-1940s partitions and ceilings): timber laths with two or three coats of lime or early gypsum plaster. Damaged areas may need lath repair or a patch board before plastering can begin.
- Dot-and-dab plasterboard on masonry (common post-1970s): plasterboard bonded to masonry using plaster dabs. Preparation depends on whether damage is to the board face, through to the core, or beyond.
- Plasterboard on timber studs (modern new build and partitions): standard plasterboard patch repair using repair plates or offcuts with jointing compound.
Using the wrong repair materials — particularly gypsum products over lime render — is one of the most common causes of premature patch failure in older UK homes.
Surface preparation by substrate type
Substrate | Key preparation steps | Common failure mode if skipped |
|---|---|---|
Bare brick or block | Remove loose mortar, brush clean, dampen, prime with diluted PVA (1:4) | Poor adhesion — filler or plaster falls away |
Existing gypsum skim | Sand back to a feathered edge, remove contamination, prime with diluted PVA | Delamination at patch edges within months |
Sand-and-cement render | Rake out loose material, ensure background is sound, apply bonding plaster as undercoat | Cracking where different shrinkage rates conflict |
Lime plaster (pre-1920s) | Use lime-based repair products; do not apply gypsum products over lime | Moisture trapped; spalling, cracking, and accelerated decay |
Plasterboard face | Use jointing compound or setting plaster; tape joints in repairs wider than a hairline | Cracking along seams and board edges |
Painted or sealed surface | Abrade or score surface to break surface tension; remove all flaking paint | Filler bridges the surface but does not bond — falls out |
Always follow the filler or plaster manufacturer's guidance for your specific substrate. Never mix products from different systems without checking compatibility.
Preparation checklist: the right sequence
Following this sequence before applying any filler, bonding plaster, or skim coat significantly reduces the risk of patch failure:
What not to assume: common patching mistakes
Many patching failures arise from reasonable-seeming shortcuts that turn out to be costly:
- Filling without cleaning or priming. Filler applied to a dusty, contaminated, or unprepared surface will crack or fall away within months regardless of the product used. The preparation stage is not optional.
- Using expanding foam as a backing. Expanding foam is not a plaster substrate. It must be cut back to leave a 5–10 mm recess and a rigid backing board or repair plate fitted before any filler or skim is applied.
- Applying one thick coat to save time. Filler and plaster dry by losing moisture outward. A single thick coat traps moisture in the core, causing the outer surface to skin and crack while the interior remains soft.
- Repeatedly filling the same recurring crack. A crack that returns in the same position is a moving crack. Flexible caulk may close the gap temporarily but will re-open if movement continues. Identify the cause before patching.
- Using craft PVA instead of construction-grade bonding agent. Craft PVA is formulated for paper and card, not masonry. Use a construction-grade PVA bonding agent designed for plaster and masonry applications.
When to get professional help
Most small patching jobs — filling a nail hole, making good after removing a light fitting, or repairing a crack that has not recurred — are within the scope of a competent DIYer following the preparation steps above. Escalate to a professional if:
- The crack is recurring or widening, which suggests structural or moisture movement requiring diagnosis before any cosmetic repair.
- The patch area is larger than approximately 0.5 m², or involves re-skimming a whole room — inconsistency in a large skim coat is very visible under raking light and is difficult to achieve without plastering experience.
- The property is pre-1919 with original lime plaster — lime requires different materials, mixing ratios, and application technique that are not covered by standard gypsum plaster guidance.
- Moisture or damp is present and the cause is not known — a damp surveyor or building pathologist should assess before the surface is sealed.
- The damage is near or around structural elements such as lintels, steel beams, or joist ends — this may indicate a structural issue rather than a cosmetic defect.
How Housey can help
For significant wall repairs, replastering, or making good after structural or building work, Housey connects homeowners with extension builders and plastering specialists who can assess the substrate, prepare the surface correctly, and deliver a durable, professional finish.
Frequently asked questions
How long should PVA bonding agent dry before plastering?
Apply a first diluted coat of PVA (1 part PVA to 4 parts water) and allow it to dry completely — typically one to two hours depending on substrate porosity and temperature. Apply a second, stronger coat (neat or 3:1 PVA to water) and apply plaster while this coat is still tacky but not fully dry. If the second coat dries completely before you plaster, it becomes a barrier rather than a bonding agent.
Can I patch over old Artex or textured coatings?
Artex and similar textured coatings applied before 2000 may contain chrysotile asbestos fibres. Do not sand, scrape, or abrade these surfaces without first having a sample tested by a UKAS-accredited analyst. If the coating is confirmed asbestos-free, or post-dates 2000, patching is possible but the texture must be scored to provide a mechanical key. Matching the original texture pattern precisely is rarely achievable and professional advice is recommended.
What is the best filler for plaster walls?
For shallow patches up to 5 mm deep, a lightweight ready-mixed or powder filler works well. For deeper patches of 5–20 mm, use a gypsum-based bonding plaster or deep-fill product in multiple coats of no more than 10 mm — single-coat deep fill shrinks and cracks. For damp-prone or external areas, use a flexible or waterproof filler. Always follow the manufacturer's specification for the specific substrate type.
Do I need building regulations approval for wall patching or replastering?
No. Patching plaster and repairing internal walls are maintenance tasks that do not require building regulations approval or planning permission. However, if the patching is part of a larger project — such as making good after removing a wall, structural alterations, or installing building services — those associated works may require building regulations approval. Check with your local authority building control if in doubt about any associated works.
Sources and further reading
- Building Regulations Approved Documents — GOV.UK / DLUHC
- HSE guidance on asbestos in textured coatings — Health and Safety Executive
- Practical Building Conservation: Mortars, Renders and Plasters — Historic England
- BRE Good Repair Guide series — Building Research Establishment
Useful next reads
 Improvement & Build
Essential Steps for Driveway Installation
Installing a driveway in England requires planning permission only when using an impermeable surface (standard tarmac, concrete, or block paving) on a front garden area over 5 m².
 Improvement & Build
Wall Patching After Plumbing and Electrical Work
Wall patching after plumbing or electrical work typically involves filling the chase or opening with bonding coat plaster or repair mortar, then applying a skim coat.
 Improvement & Build
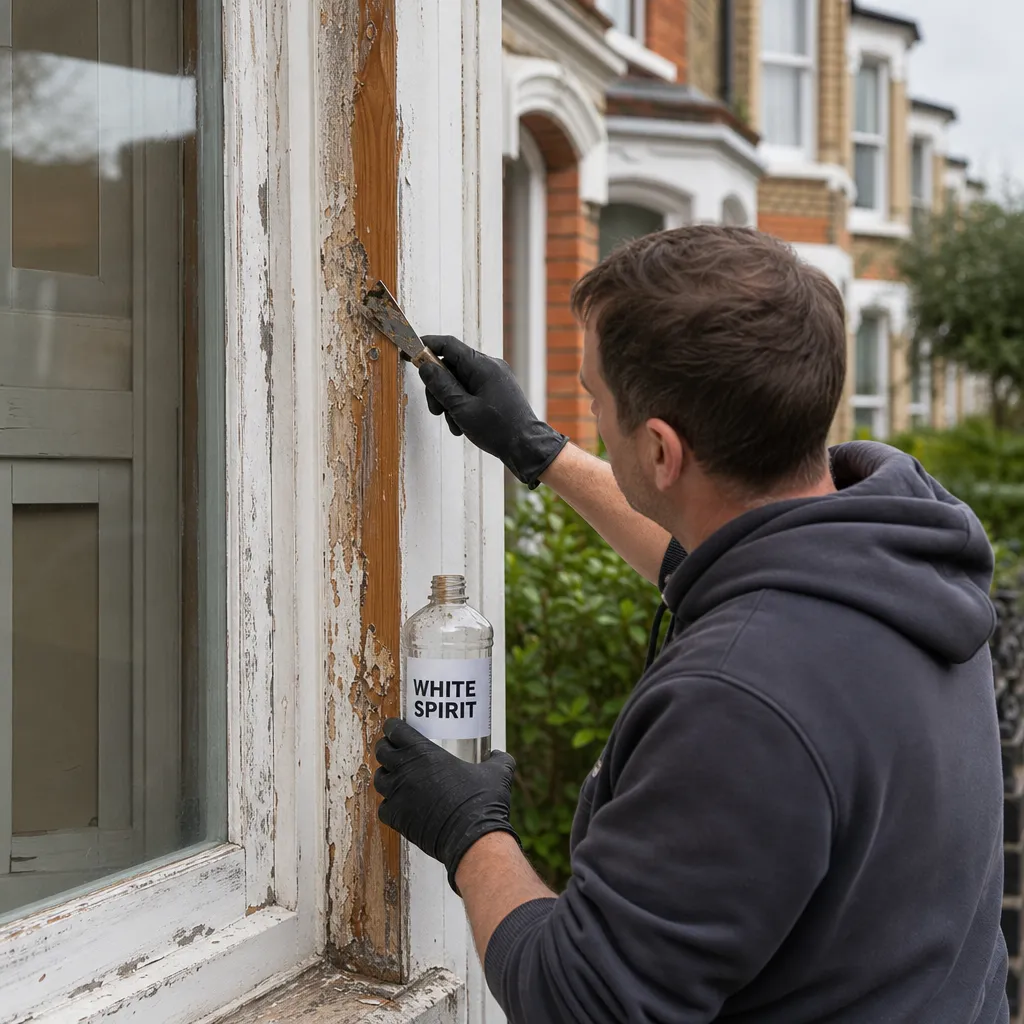
Paint Removal with White Spirit: Effectiveness and Application
White spirit dissolves uncured, freshly applied oil-based paints and is useful for cleaning brushes and removing fresh drips, but has very limited effect on fully dried or cured paint films.
 Improvement & Build
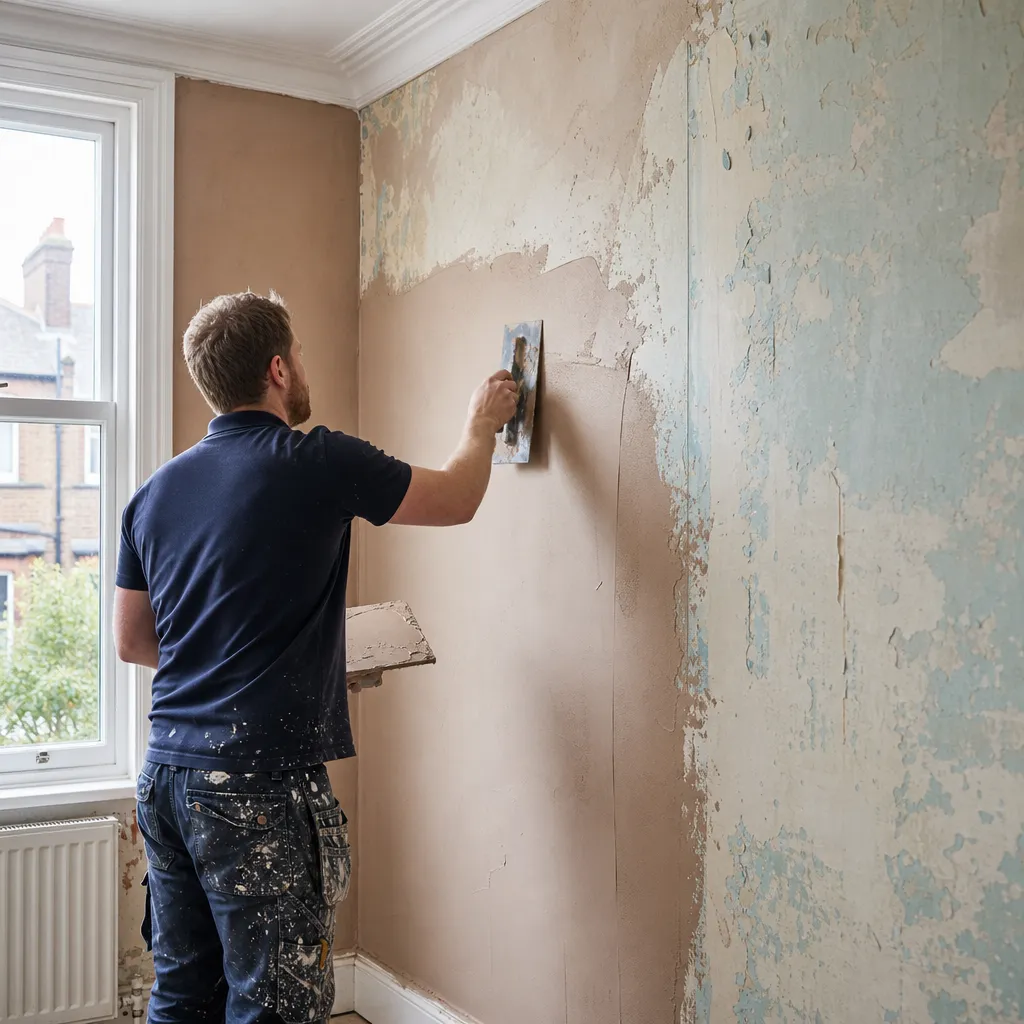
Plastering Over Existing Paint and Wallpaper: Surface Prep and Technique
Whether you can plaster over existing paint or wallpaper depends on surface condition and adhesion.
 Improvement & Build
Labour and material costs for floor tiling projects
Floor tiling in the UK typically costs £30–£60 per m² in labour, plus materials ranging from £10–£40/m² for ceramic to £50–£150+/m² for natural stone.