Plastering Over Existing Paint and Wallpaper: Surface Prep and Technique
By Housey · Last reviewed 5th of May 2026
Plastering Over Existing Paint and Wallpaper: Surface Prep and Technique
Replastering walls is one of the most common renovation tasks UK homeowners face, whether refreshing tired walls or following structural repairs. The surface beneath — painted, wallpapered, or a combination of both — determines whether a new skim coat bonds reliably or begins to crack and detach within months of completion.
Key points
- Most wallpaper should be removed entirely before plastering; paper left on the wall absorbs moisture from fresh plaster unevenly, causing bubbling, delamination, and failure.
- Emulsion-painted walls can accept a skim coat if the paint is sound and not flaking; gloss or oil-based paint requires mechanical keying and a bonding agent, as plaster will not adhere to smooth, non-porous surfaces.
- PVA bonding solution — typically 1 part PVA to 4 parts water for a first coat, followed by 1:3 — is the standard sealer applied to porous or previously painted surfaces before plastering.
- Bare plasterboard exposed after wallpaper stripping is low-suction and requires a board sealer and finish plaster specifically formulated for boards, such as Thistle Board Finish.
- Old lime plaster found in Victorian and Edwardian properties requires a specialist bonding system before gypsum plaster is applied; applying gypsum directly over lime risks delamination.
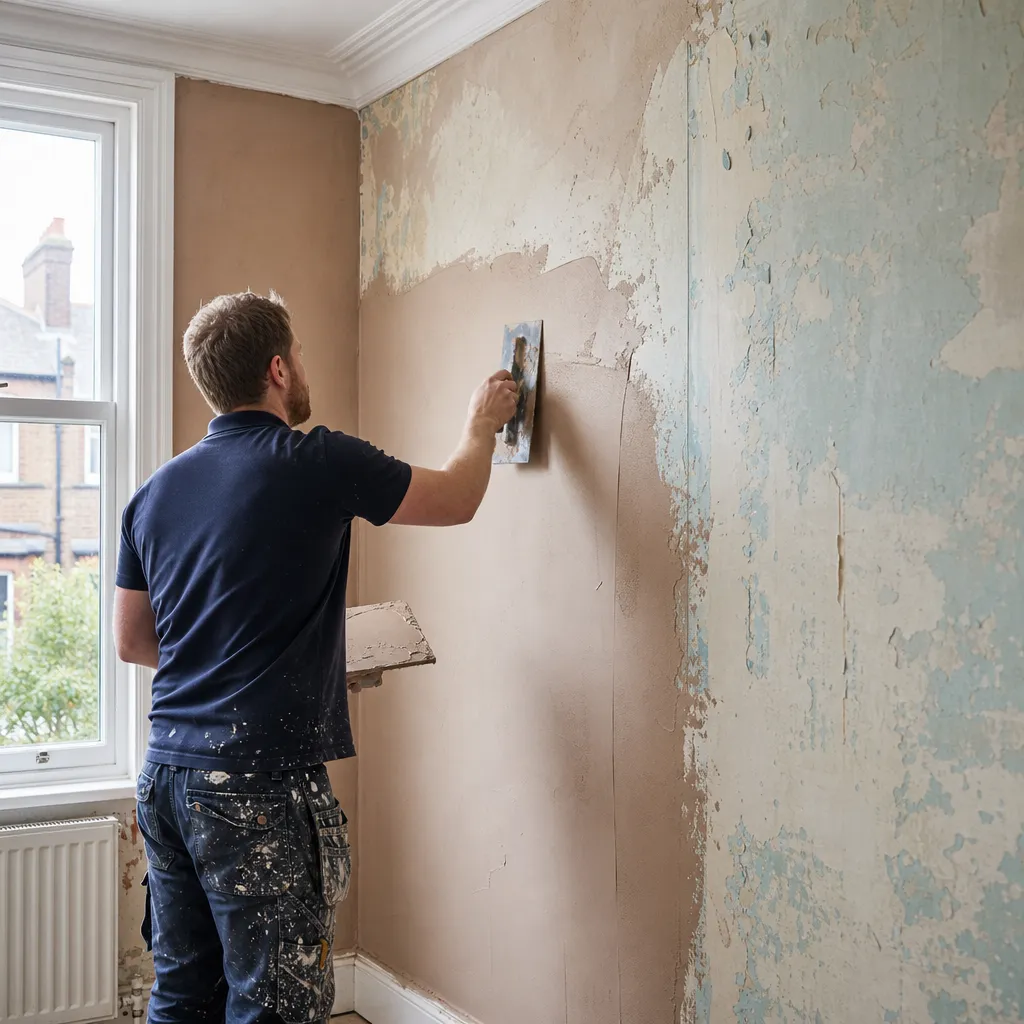
Can You Plaster Over Painted Walls?
Whether a painted wall is suitable for direct plastering depends on the paint type, its condition, and how firmly it adheres to the substrate.
Emulsion paint (matt or mid-sheen): Generally suitable as a plastering background provided it is not flaking, peeling, or contaminated with grease or mould. Wash with sugar soap, allow to dry fully, and apply PVA bonding solution before the plasterer begins.
Gloss or oil-based paint: Plaster will not bond reliably to a smooth gloss surface without preparation. The surface must be cross-hatched using a scarifier or coarse abrasive, cleaned of dust, and treated with SBR (styrene-butadiene rubber) solution or a dedicated bonding agent such as Thistle Bond-It. A scratch coat of bonding plaster is often required first.
Multiple layers of old paint: Where walls carry many years of paint — particularly alternating oil-based and water-based layers — inter-coat adhesion may be weak. Carry out a pull test: press strong tape firmly to the surface and pull sharply. If layers lift, remove them mechanically before plastering.
Damp or stained surfaces: Any surface showing efflorescence (white salt deposits), damp staining, or active moisture must have its underlying cause resolved before plastering. Plaster applied over active damp will fail regardless of preparation.
Can You Plaster Over Wallpaper?
In almost all cases, no — and attempting it is the most common preparation mistake plasterers encounter.
When fresh plaster is applied over wallpaper, water in the mix is absorbed unevenly by the paper. The paper swells and then contracts at a different rate to the plaster above it, causing bubbling, cracking, and sections of plaster detaching from the wall once dry.
Plastering over paper may only be considered where the paper is a single layer of plain lining paper, firmly adhered with no lifted seams, and an experienced plasterer has assessed and approved the surface. Even then, most plasterers will strongly advise stripping first.
What you may find after stripping wallpaper
- Sound plaster: Clean the surface, apply PVA, and skim.
- Blown or hollow plaster: Cut out failed areas and re-plaster or re-board before skimming.
- Bare plasterboard: Common in homes built from the 1980s onwards. Apply board sealer and use finish plaster rated for low-suction boards.
- Lime plaster: Found in Victorian and Edwardian properties. Seek advice from a plasterer experienced with traditional materials; do not apply gypsum skim directly over lime without a compatible bonding system.
Surface Preparation: A Homeowner Checklist
Use this checklist before your plasterer arrives, or to confirm the scope of work has been agreed:
Surface Types and Preparation Required: A Comparison
Surface type | Remove or treat? | Bonding needed? | Notes |
|---|---|---|---|
Sound emulsion on plaster | Treat (clean and lightly key) | PVA sealer | Wash, dry, apply PVA before skim |
Gloss or oil-based paint | Ideally remove or key thoroughly | SBR or bonding agent | Cross-hatch surface; bonding coat often needed |
Vinyl or foil-backed wallpaper | Yes — always remove | N/A until stripped | Will cause plaster failure if left on wall |
Lining paper (single layer, firmly adhered) | Strongly advised to remove | Bonding agent if retained | High risk of failure even with bonding |
Bare plasterboard | No — seal only | Board sealer plus PVA | Use finish plaster rated for low-suction boards |
Old lime plaster (sound condition) | No — clean and stabilise | Specialist bonding system | Do not apply gypsum skim directly over lime |
Blown or hollow plaster | Yes — cut out | Re-bond repaired area | Mark hollow areas before plasterer arrives |
Damp or efflorescent surface | Treat cause first | After full drying and treatment | Never plaster over active or unresolved damp |
What Not to Assume
Do not assume that enough PVA will make plastering over wallpaper safe. PVA controls suction but cannot prevent differential swelling and movement as fresh plaster absorbs into paper and dries unevenly. Failure is common even with a bonding agent applied over paper.
Do not assume that all painted surfaces are equivalent. A wall that looks uniformly finished may carry multiple layers of different paint types applied over decades, with weak inter-coat adhesion. Always carry out a pull test on representative areas before committing to a skim-only approach.
Do not assume that a smooth wall is a sound wall. Wallpaper can conceal crumbling or blown plasterwork. The substrate condition can only be confirmed after stripping.
Do not assume that one PVA coat is always sufficient. Very porous or bare surfaces may need two or three coats with adequate drying time between each. Your plasterer should assess suction on the day and adjust accordingly.
Do not assume that a damp patch will resolve once plaster is applied. Plastering over active or recurring damp leads to plaster failure and mould growth. Identify and address the root cause before any finishing work begins.
When to Get Professional Help
Surface preparation and plastering require experience and judgement. Involve a qualified plasterer if:
- Walls have complex or mixed surfaces spanning different eras of construction.
- Hollow or blown plaster covers large areas.
- You discover lime plaster in an older property and are unsure how to proceed.
- Persistent damp staining or salt deposits remain after the wall has dried out.
- You are unsure whether a surface is genuinely ready for plastering; most plasterers will carry out a brief surface assessment before providing a quote.
Poorly prepared surfaces are the most common cause of plastering failure. Remediation after a failed skim coat costs more than thorough preparation from the outset.
How Housey Can Help
If you are ready to find a qualified local plasterer for a skimming or replastering job, Housey can connect you with vetted tradespeople in your area. Describe your project and surface conditions through Housey’s quote request service to receive and compare responses from local professionals.
Frequently Asked Questions
How long should I wait after stripping wallpaper before plastering?
Allow walls to dry thoroughly — usually 48 to 72 hours for a moderately wet wall, and longer in older properties where the substrate has absorbed significant moisture. Plastering over a still-damp substrate causes bubbling and cracking. Your plasterer should assess moisture levels before work begins and may advise waiting longer if readings remain elevated.
Do I need to remove all old paint before plastering?
Not necessarily. Firmly adhered emulsion in good condition can remain, provided it is cleaned and sealed with PVA. Gloss or oil-based paint requires mechanical keying and a bonding agent. Loose or flaking paint must always be removed. A pull test on representative areas confirms whether existing paint is secure enough to stay in place.
What is PVA and why is it used before plastering?
PVA (polyvinyl acetate) bonding solution controls the suction of porous or painted surfaces, ensuring fresh plaster bonds and sets at a uniform rate. Without it, a very dry surface pulls moisture from the plaster too quickly, causing cracking and poor adhesion. Apply at 1:4 (PVA to water), allow to dry to tacky, then apply 1:3 immediately before plastering begins.
Can I skim straight onto plasterboard after stripping wallpaper?
Yes, but with a different approach to traditional plaster. Plasterboard is low-suction and requires a board sealer or diluted PVA followed by finish plaster rated for boards — such as Thistle Board Finish. Skipping this step, or using standard multi-finish plaster without sealing, leads to fast-setting plaster that cracks and has poor adhesion to the board.
Why does plaster crack when applied over wallpaper?
Fresh plaster contains water, which is absorbed unevenly by the wallpaper beneath. The paper swells and then contracts as it dries at a different rate to the plaster above, producing cracks along seams and, in many cases, whole sections of plaster detaching from the wall. No amount of bonding agent applied over paper eliminates this fundamental problem.
Sources and Further Reading
- Thistle plastering technical guidance — British Gypsum
- Find a qualified plasterer — Federation of Master Builders
- Construction skills and plastering standards — Construction Industry Training Board (CITB)
- Health and safety in construction — Health and Safety Executive
Useful next reads
 Improvement & Build
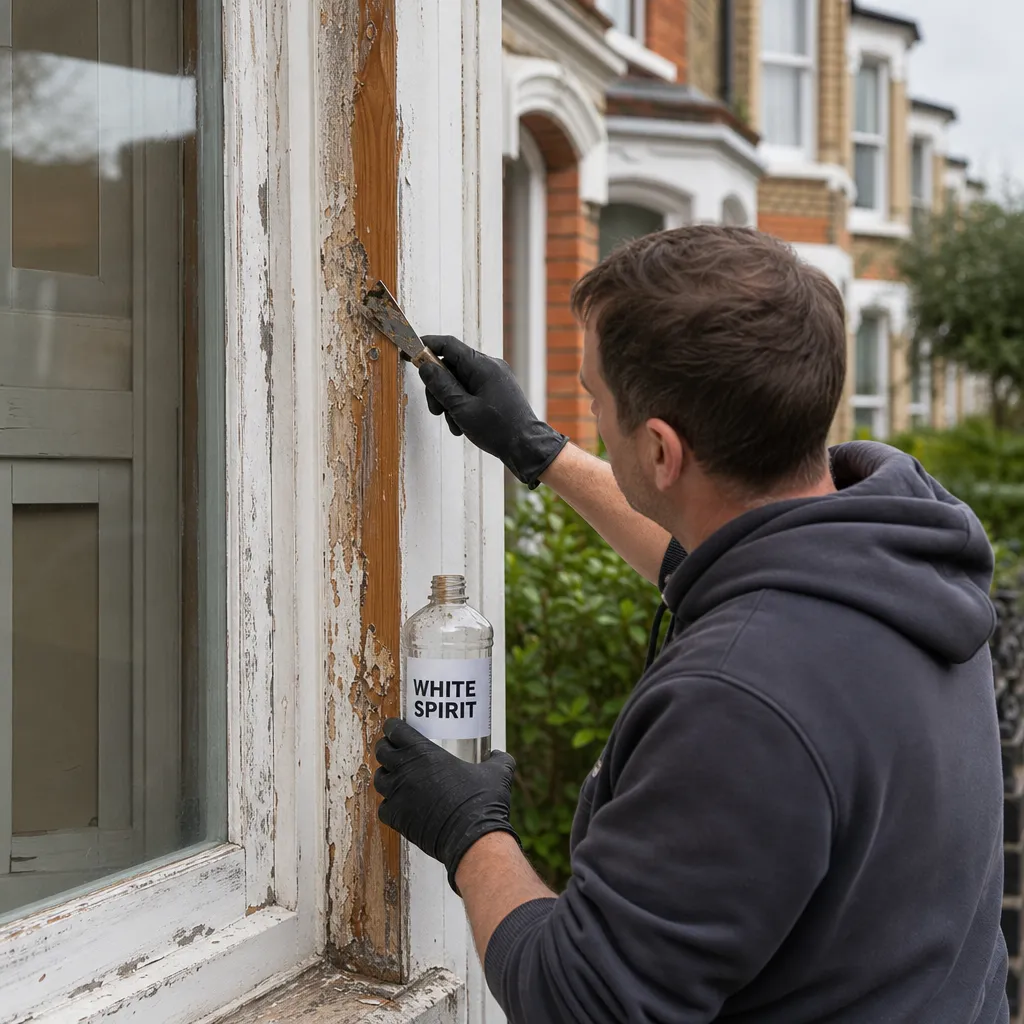
Paint Removal with White Spirit: Effectiveness and Application
White spirit dissolves uncured, freshly applied oil-based paints and is useful for cleaning brushes and removing fresh drips, but has very limited effect on fully dried or cured paint films.
 Improvement & Build
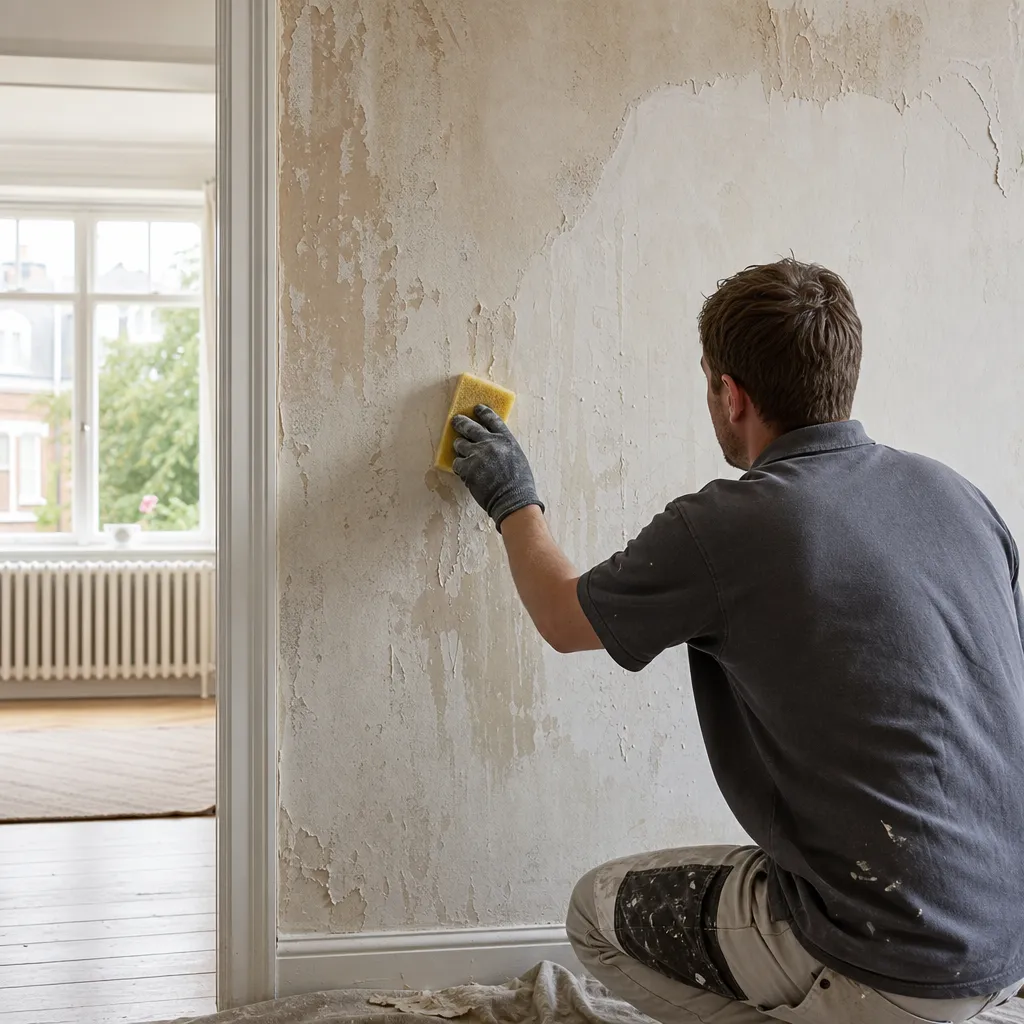
Removing Wallpaper Adhesive Residue Before Redecorating
After stripping wallpaper, a thin layer of dried paste or adhesive often remains on the wall surface.
 Improvement & Build
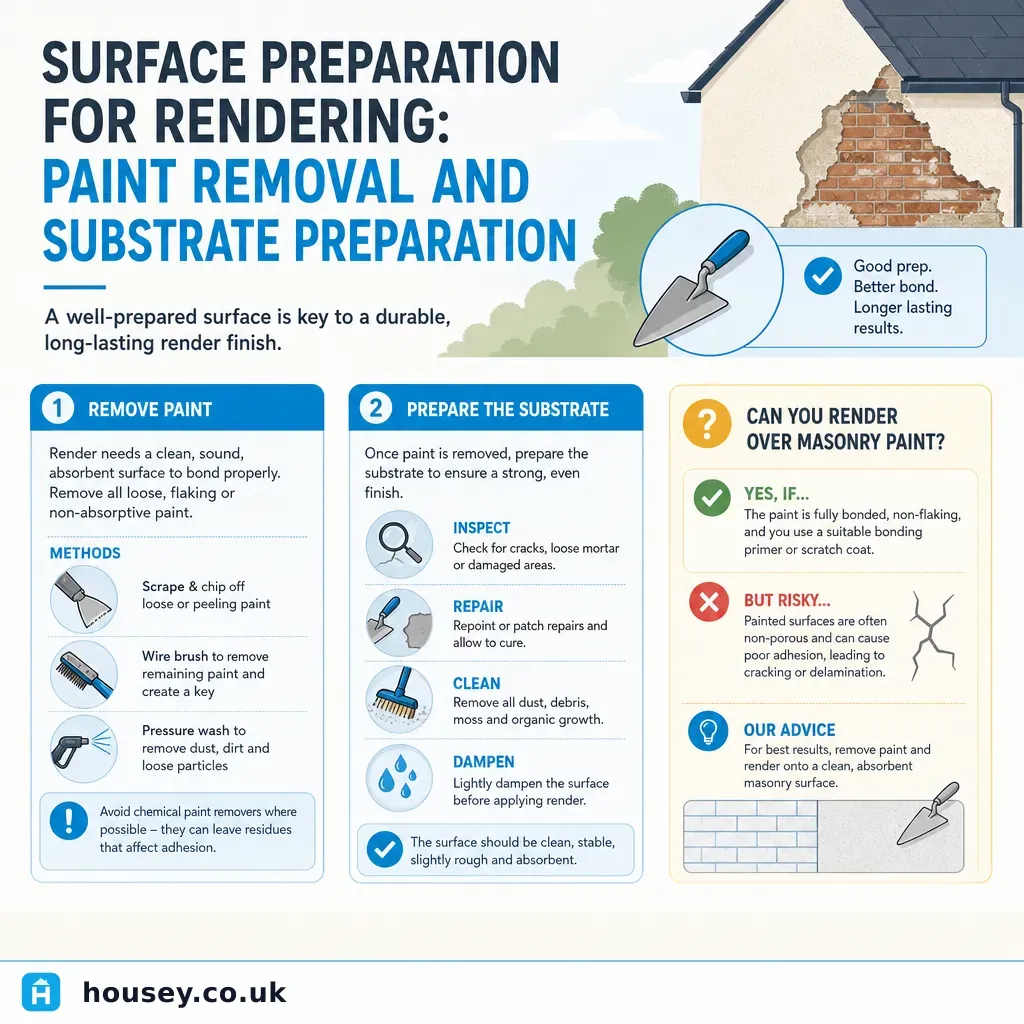
Surface Preparation for Rendering: Paint Removal and Substrate Preparation
Before applying render to any wall, all loose, flaking, or contaminated paint must be removed to prevent delamination.
 Improvement & Build
Labour and material costs for floor tiling projects
Floor tiling in the UK typically costs £30–£60 per m² in labour, plus materials ranging from £10–£40/m² for ceramic to £50–£150+/m² for natural stone.
 Improvement & Build
Essential Steps for Driveway Installation
Installing a driveway in England requires planning permission only when using an impermeable surface (standard tarmac, concrete, or block paving) on a front garden area over 5 m².