Herringbone Wood Flooring: Installation Methods and Costs
By Housey · Last reviewed 7th of May 2026
Herringbone Wood Flooring: Installation Methods and Costs
Herringbone parquet has enjoyed a sustained revival in UK homes over the past decade, appearing in Victorian terrace renovations, 1930s semi refurbishments, and new-build flat fit-outs alike. The pattern demands more planning, skill, and material than a straightforward plank floor — and the subfloor preparation requirements are considerably stricter than most homeowners anticipate when they first receive a quote. Understanding what drives the cost and complexity is the best way to avoid expensive surprises mid-project.
Key points
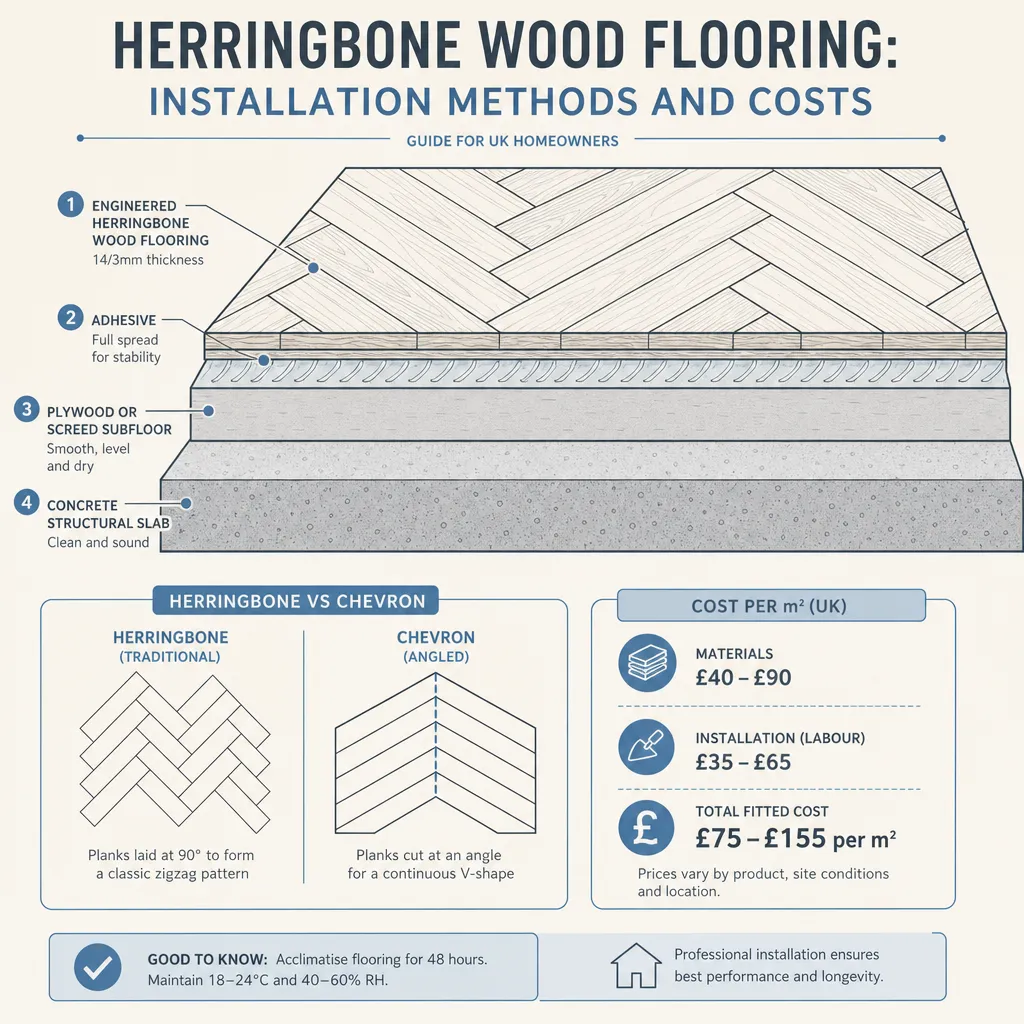
- BS 8201:2011 specifies a level tolerance of no more than 3 mm under a 1.8 m straightedge for adhesive wood flooring installations on concrete; exceeding this is the most common cause of herringbone floor failures in UK homes.
- Engineered wood boards are more commonly used for herringbone in UK homes than solid wood, because their cross-ply construction resists the expansion and contraction caused by central heating cycles.
- Boards must typically acclimatise in the installation room for 48–72 hours before laying, at normal living temperature, to minimise post-installation movement.
- The three principal installation methods — glue-down, secret nail, and floating — each have different subfloor requirements and suit different board thicknesses and base types.
- Waste allowance for herringbone is higher than for straight-lay flooring; budget at least 10–15% extra material for the angled cuts required at room edges.
Herringbone or chevron? Understanding the difference
Herringbone and chevron are both angled parquet patterns and are frequently confused in showrooms and online.
In a herringbone pattern, individual rectangular boards are laid at 90-degree angles to each other, creating a broken zigzag effect. The short end of one board meets the long side of the adjacent board, producing the characteristic offset.
In a chevron pattern, boards are cut at a precise angle — typically 45 degrees — so that their ends meet exactly at a point, forming a continuous V or arrow shape with no offset between rows.
Both patterns require more material and more installation time than straight-lay flooring. Chevron is generally more technically demanding because the angled ends must align perfectly across the full width of the room. Either way, both patterns should be installed by an experienced flooring contractor rather than attempted as a DIY project.
Engineered vs solid wood for herringbone: which is better?
Feature | Engineered wood | Solid wood |
|---|---|---|
Dimensional stability | High — resists humidity changes well | Lower — expands and contracts more with temperature swings |
Suitability for underfloor heating | Usually yes — check manufacturer specification | Rarely recommended; confirm with manufacturer |
Typical board thickness | 14–20 mm | 18–22 mm |
Installation methods available | Glue-down, floating, secret nail (thicker boards) | Secret nail or glue-down |
Refinishing potential | 1–3 times depending on wear-layer thickness | Multiple times over decades |
Indicative material cost | £40–£90 per m² | £60–£120+ per m² |
Popularity for herringbone in UK homes | Very common | Less common; typically heritage or high-specification projects |
For most UK homes — particularly those with radiators, underfloor heating, or concrete subfloors — engineered wood is the practical choice for herringbone. Solid wood herringbone is more often specified for high-end projects where long-term refinishability is the overriding priority.
Installation methods compared
Glue-down
Boards are bonded directly to a prepared subfloor — usually concrete or existing tile — using a flexible wood flooring adhesive. This is the most common method for concrete subfloors and provides excellent stability. Herringbone places more directional stress on individual boards than a straight-run pattern does, making a well-bonded glue-down particularly important for pattern longevity.
Subfloor requirements: Dry (no more than 75% relative humidity at the surface, per BS 8201:2011), level to within 3 mm under a 1.8 m straightedge, clean, and free of contamination. A damp-proof membrane may be required if moisture readings are elevated.
Secret (tongue-and-groove) nailing
Boards are mechanically fixed through the tongue to a timber subfloor, typically 18 mm structural plywood overlaid on existing joists or an older timber floor. This method suits solid wood and thicker engineered boards and is a practical choice for period properties where a suspended timber subfloor is already present.
Subfloor requirements: A structurally sound timber subfloor, usually overlaid with plywood to achieve the required level tolerance and provide a consistent nailing base across the full area.
Floating
Boards are connected to each other via a click or glued tongue-and-groove joint and float over an underlay without being fixed to the subfloor. This is the quickest installation method but is not widely recommended for herringbone by UK flooring contractors. The angled pattern creates lateral stress at the joints that can cause movement, squeaking, or disengagement over time — especially in rooms with underfloor heating where temperature cycling adds further movement.
Subfloor preparation: the most critical step
Poor subfloor preparation is the leading cause of herringbone floor failures in UK homes — including gapping between boards, cupping, squeaking, and adhesive failure. This step is frequently underpriced or excluded from headline installation quotes, so always ask explicitly whether a subfloor survey and any necessary remediation are included.
Worked example: A homeowner in a 1930s semi-detached in the East Midlands installed 15 mm engineered herringbone over an existing suspended timber floor. The subfloor was not overlaid with plywood and had up to 7 mm of variation across a 1.8 m span — more than twice the BS 8201 tolerance. Within six months, boards in the centre of the room began to creak, and several tongue-and-groove joints opened as unsupported boards flexed under foot traffic. Rectification required lifting approximately 30% of the floor and relaying over new plywood, at additional cost roughly equivalent to the original installation price.
Correct process for a concrete subfloor:
- Test moisture content with a calibrated hygrometer or carbide bomb test. Target ≤75% relative humidity for most solvent-free adhesives.
- Apply a levelling compound to bring the floor within the ±3 mm tolerance specified in BS 8201:2011.
- Allow the compound to cure fully — typically 24 hours per millimetre of depth — before any boards are laid.
- Acclimatise boards in the installation room for 48–72 hours at normal living temperature (18–22°C), stacked off the floor on battens.
How much does herringbone wood flooring cost in the UK?
Indicative UK costs, last reviewed 2026-05-07. Costs vary significantly by region, board specification, and subfloor condition.
Cost element | Indicative range (per m²) |
|---|---|
Engineered herringbone boards (mid-range) | £40–£90 |
Solid wood herringbone boards | £60–£120+ |
Professional installation (labour) | £20–£50 |
Subfloor levelling compound (if required) | £5–£20 |
Underlay (floating installations only) | £3–£8 |
On-site sanding and finishing (unfinished boards) | £10–£25 |
Indicative total installed cost for engineered herringbone in a typical 20 m² living room: approximately £1,400–£3,500, depending on board specification, subfloor condition, and whether disposal of any existing floor covering is included in the quote.
Always request itemised quotes from at least two flooring contractors. Significant variation between quotes is normal; quotes submitted without a site visit should be treated with caution.
Why quotes vary
- Herringbone requires 10–15% more material than straight-lay due to angled edge cuts at every room perimeter.
- Subfloor remediation — levelling, damp-proofing, plywood overlay — is often not included in headline material or labour prices.
- Pre-finished boards cost more upfront but eliminate on-site sanding and finishing costs and the associated drying time.
- Regional labour rates vary considerably between London, the South East, and other parts of the UK.
- Rooms with alcoves, bay windows, or irregular geometry generate significantly more waste and cutting time.
Is herringbone right for your room? A decision guide
- Choose herringbone if you want a high-impact, classic finish in a living room, hallway, or kitchen-diner; your subfloor is in sound condition; and budget allows for the installation premium over straight-lay.
- Consider straight-plank flooring instead if your subfloor has significant level variation, the room has many alcoves and complex geometry, or the project budget is tight — straight-lay installation is typically 20–30% less expensive for equivalent materials.
- Ask your installer to carry out a subfloor survey before committing to a board specification; hidden damp or significantly out-of-level concrete can substantially change the total project cost.
- Confirm underfloor heating compatibility with the board manufacturer in writing before ordering — maximum surface temperatures and permissible spread rates vary by product, and using an incompatible system can void the board warranty.
- Seek a flooring specialist's advice on board direction before work starts — running the herringbone spine towards the main light source generally makes the room feel larger and more coherent.
What to ask before accepting a quote
- Does the quote include subfloor preparation, or is this priced separately?
- What moisture testing will you carry out, and will you share the results before starting work?
- Is the board price based on the net finished area, or does it already include the waste allowance?
- Are the boards pre-finished, or will finishing be carried out on-site — and if so, what product will be used?
- What acclimatisation period do you recommend, and who is responsible for storing boards on site prior to installation?
- What happens if the subfloor fails the moisture test after boards have already been delivered?
- What is the warranty on the installation work, and what is the manufacturer's warranty on the boards themselves?
- Is VAT included in the quote?
When to get professional help
Herringbone installation is not suited to DIY for most homeowners. The pattern requires precise centre-line setting-out before a single board is placed, accurate 45-degree mitre cuts at every room edge, and correct adhesive or nailing technique throughout to prevent board movement over time.
Always take professional advice if:
- You are unsure whether your subfloor is level enough — an installer should assess this before you order any boards.
- Moisture readings are elevated — this requires professional diagnosis before any flooring is laid, not just a membrane applied as a precaution.
- You are installing over underfloor heating — ask the installer to confirm compatibility with the board manufacturer in writing, and keep the confirmation.
- Your project is in a listed building — heritage flooring specialists may be better placed to advise on appropriate board dimensions, pattern scale, and reversible fixings.
How Housey can help
Housey can help you find and compare quotes from flooring and interior finishing professionals across the UK. Describe your room, subfloor type, and preferred board specification, and receive quotes from local specialists with verified experience in herringbone and parquet installation.
Frequently asked questions
Is herringbone flooring harder to install than straight planks?
Yes. Herringbone requires a precise centre-line to be established across the room before a single board is laid, and every edge board must be cut at a 45-degree angle. Professional installation typically takes 20–40% longer than an equivalent straight-plank floor, which is reflected in higher labour costs. DIY installation is not recommended for most homeowners without prior flooring experience.
Can herringbone wood flooring be used in a kitchen or bathroom?
Engineered wood herringbone can be used in kitchens where the floor is not directly exposed to standing water. Most manufacturers do not recommend engineered or solid wood in bathrooms or wet rooms due to sustained moisture exposure. Always check the manufacturer's warranty and installation guidance before specifying wood flooring in these areas of the home.
How long does herringbone flooring installation take?
For a standard living room of 20–25 m², professional installation typically takes two to three days, including layout, cutting, fixing, and time for adhesive to cure before foot traffic resumes. Rooms with alcoves, bay windows, or multiple doorways take longer and generate more waste material from the additional angled cuts required.
What board width works best for herringbone?
Narrower boards — typically 60–90 mm wide — produce a more traditional, finer-grained herringbone effect. Wider boards of 100–130 mm give a more contemporary, open look. Room scale matters: very wide boards in a small room can look disproportionate. Ask your installer to show samples laid in position before committing to a width.
Can herringbone wood flooring be sanded and refinished?
Engineered herringbone can usually be sanded and refinished one to three times, depending on the wear-layer thickness — typically 3–6 mm. Solid wood can be refinished more frequently over its lifetime. Pre-finished boards should not be refinished on-site without specialist advice, as factory finishes often differ chemically from site-applied oils or lacquers.
Sources and further reading
- BS 8201:2011 — Code of practice for installation of flooring of wood and wood-based panels — British Standards Institution
- Technical guidance for wood flooring contractors — Contract Flooring Association
- Timber and wood products technical information — TRADA
- Home improvement and renovation guidance — Energy Saving Trust
Useful next reads
 Improvement & Build
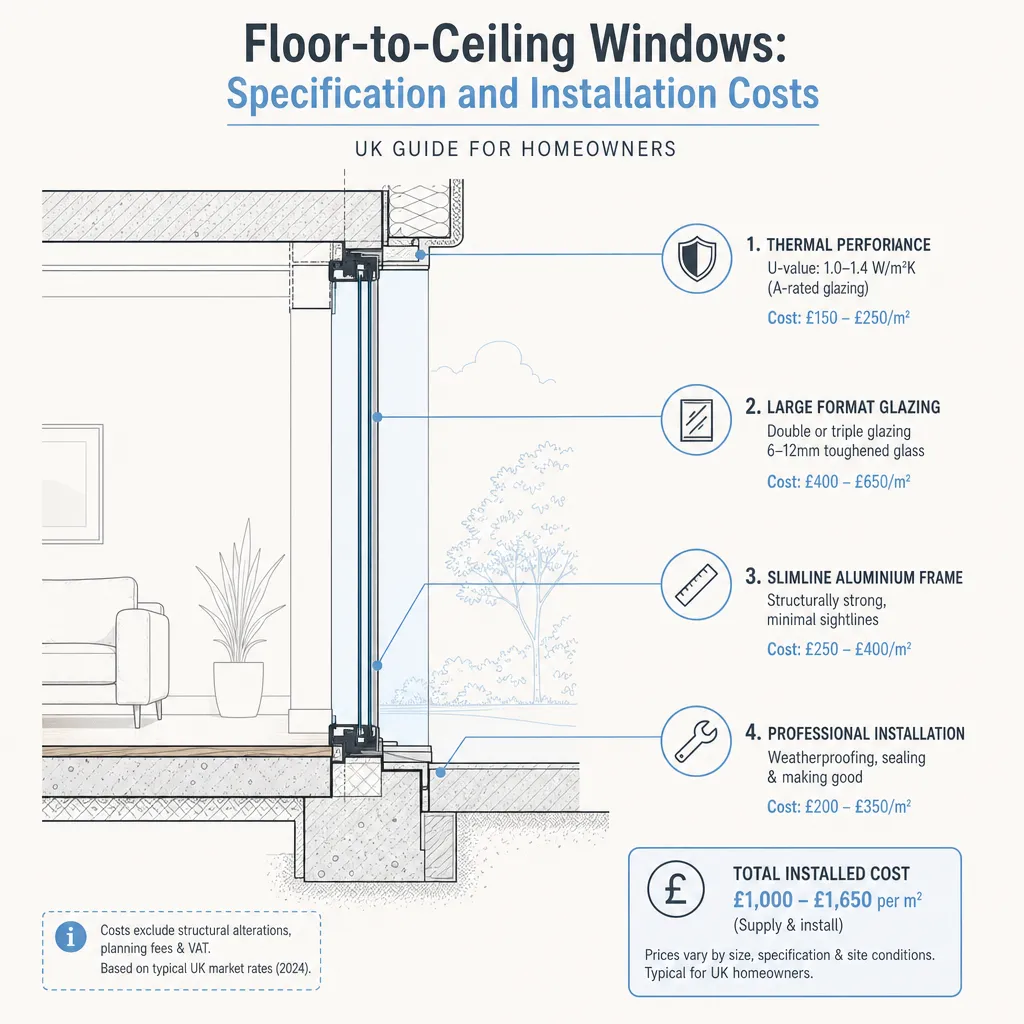
Floor-to-Ceiling Windows: Specification and Installation Costs
Floor-to-ceiling windows in the UK typically cost £1,800–£6,500 per unit installed, depending on glazing type, frame material, and whether structural alterations are needed.
 Improvement & Build
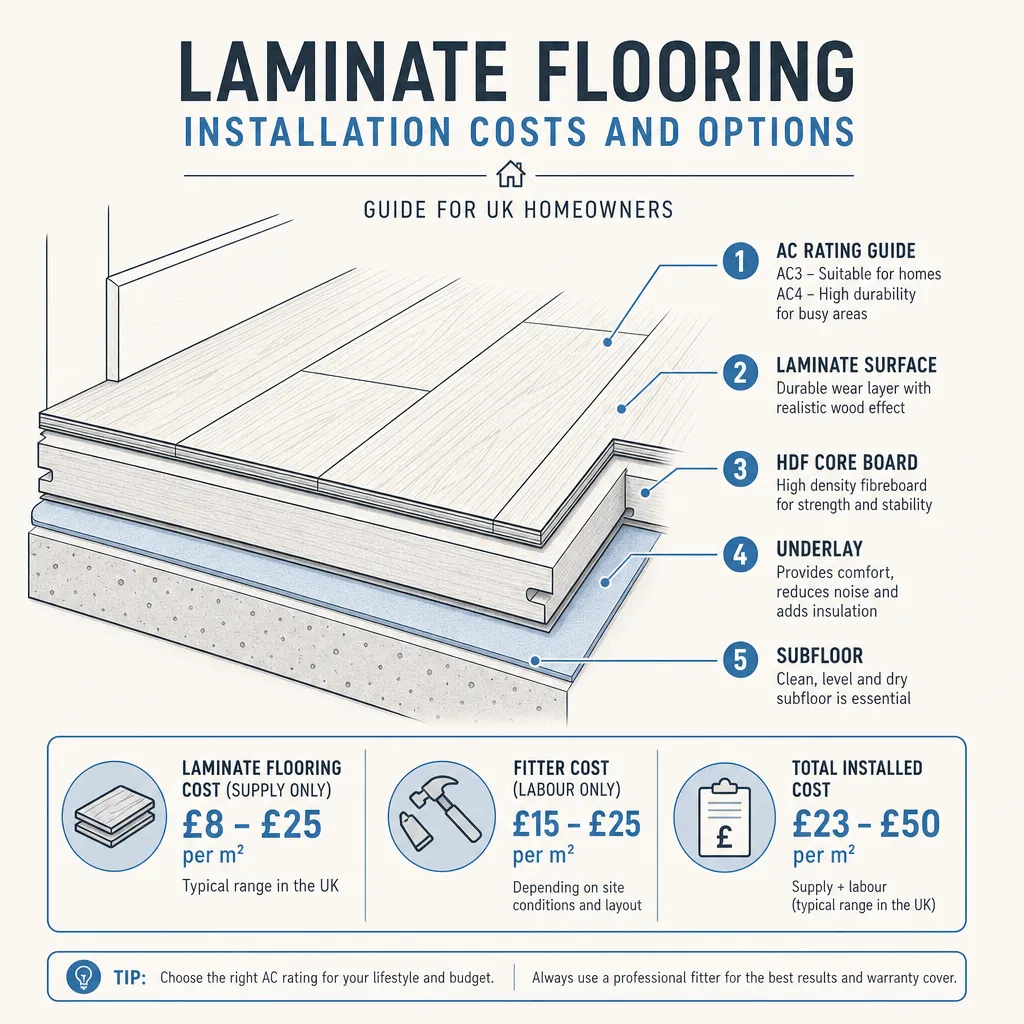
Laminate Flooring Installation Costs and Options
Laminate flooring typically costs £20–55 per square metre fully installed in the UK, including materials, underlay, and professional fitting.
 Improvement & Build
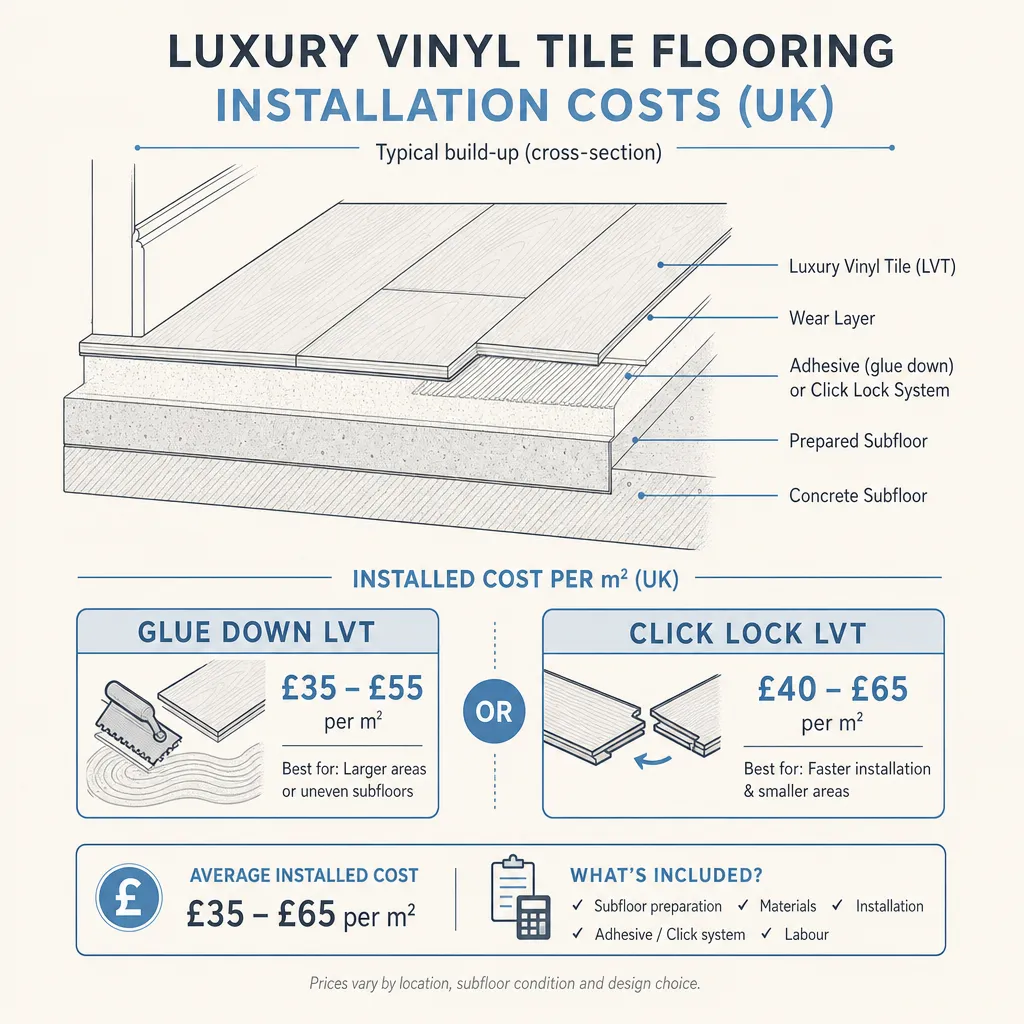
Luxury Vinyl Tile Flooring Installation Costs
Luxury vinyl tile (LVT) flooring typically costs £20–£60 per m² for materials and £10–£25 per m² for professional installation in the UK, giving a total supply-and-fit price of roughly £30–£85 per m².
 Improvement & Build
Double-Glazed Window Blind Systems Cost
Integral blinds factory-sealed inside double-glazed units cost £150–£400 per unit in the UK.
 Improvement & Build
Kitchen Cabinet Wrapping and Refacing Costs
Kitchen cabinet wrapping typically costs £800–£3,000 for an average UK kitchen, while refacing with replacement doors runs £1,500–£5,000.