Installing a Smart Doorbell: Wiring, Power and Configuration
By Housey · Last reviewed 1st of June 2026
Installing a Smart Doorbell: Wiring, Power and Configuration
Smart doorbells have become one of the most popular home security upgrades in the UK, combining video monitoring, two-way audio, and motion alerts in a single device that many households can fit themselves. Whether you are replacing a broken mechanical chime, upgrading an existing hardwired system, or starting from scratch on a new-build or rental property, the approach differs significantly depending on what wiring — if any — is already in place and how much power your chosen model requires.
Key points
- Smart doorbells in the UK use one of two power sources: a built-in rechargeable battery (requiring no wiring) or a hardwired connection to an existing doorbell transformer supplying 8–24V AC.
- Existing two-core bell wire running at low voltage can usually be reused for a hardwired smart doorbell without any electrical qualification.
- Installing or replacing a mains-connected doorbell transformer is notifiable work under Part P of the Building Regulations in England and Wales; a Part P-registered electrician should carry this out.
- Most smart doorbells connect to 2.4 GHz Wi-Fi; poor signal at the front door is the most common cause of unreliable performance and offline events after installation.
- Doorbell cameras installed on listed buildings or in conservation areas may require listed building consent or planning permission before any external mounting takes place.
Battery-powered vs hardwired: which should you choose?
The power method is the most consequential decision before purchasing, and it depends on what wiring — if any — currently exists at your front door.
Feature | Battery-powered | Hardwired (reuse existing transformer) | Hardwired (new transformer required) |
|---|---|---|---|
Wiring required | None | Reuse existing low-voltage bell wire | New mains connection by a qualified electrician |
DIY-friendly | Yes — no electrical qualification needed | Yes — low-voltage work only | No — Part P notifiable work |
Ongoing maintenance | Recharge every 1–6 months (usage-dependent) | None once installed | None once installed |
Best for | No existing wiring; rented properties | Homes with an existing wired doorbell | New builds; properties with no doorbell wiring |
Risk if wrong choice | Battery depletes; doorbell goes offline | Incompatible transformer voltage; unreliable operation | Unsafe mains connection if carried out by an unqualified person |
Which power option should you choose?
- Choose battery-powered if you have no existing doorbell wiring, live in a rented property, or want the simplest possible installation with no electrical work.
- Choose hardwired (reuse existing) if you already have a working wired doorbell and the transformer output falls within the manufacturer's specified voltage range — typically 8–24V AC. Check the voltage label on your transformer before purchasing any model.
- Contact a Part P-registered electrician if you need a new transformer installed, if your existing transformer is outside the specified voltage range, or if you cannot locate the transformer.
- Check with your freeholder or managing agent before installing any external device if you own a leasehold flat or live in a property with shared areas.
- Check with your local planning authority if your property is listed or in a conservation area before mounting any external equipment.
Checking your existing doorbell wiring
Before purchasing a hardwired model, confirm the following:
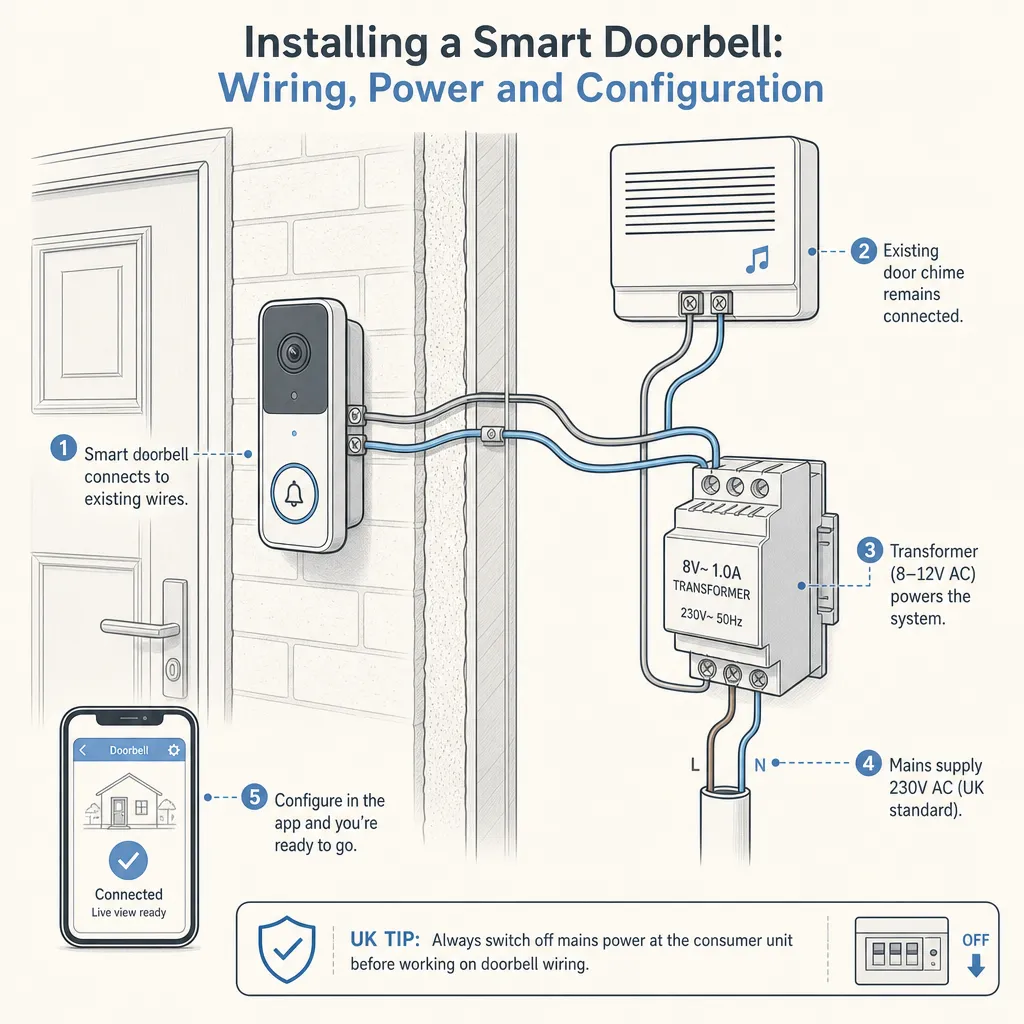
- Locate the transformer. It is usually a small box fixed near the consumer unit, under the stairs, or inside a meter cupboard. It converts mains voltage to low-voltage AC for the doorbell circuit.
- Check the output voltage. Look for the secondary output label — commonly 8V, 12V, or 16V AC. Most smart doorbells require at least 16V AC for reliable operation; some need 24V AC. If your transformer is below the minimum rating, a qualified electrician will need to replace it.
- Inspect the bell wire. Examine accessible sections for visible damage, excessive stapling, or rodent damage. Bell wire is typically 0.5 mm² two-core unsheathed cable running at low voltage.
- Check chime compatibility. Some smart doorbells require a mechanical chime to complete the circuit; others include a bypass resistor or chime kit. Check the manufacturer's compatibility guide before purchasing.
Step-by-step: installing a hardwired smart doorbell
The following covers replacing an existing wired doorbell button with a hardwired smart model using existing bell wire. This is low-voltage work at the doorbell end only — not at the transformer or consumer unit.
- Isolate the doorbell circuit. Unplug the transformer from its socket or switch it off at its connection point. Confirm the bell wire is dead before proceeding.
- Remove the existing doorbell button. Unscrew the faceplate and photograph the wiring connections before disconnecting anything.
- Connect the bell wire to the smart doorbell terminals. Follow the manufacturer's wiring guide. Most two-terminal hardwired doorbells accept one wire per terminal; polarity typically does not matter for AC circuits, but confirm this in the product instructions.
- Fix the mounting bracket using appropriate fixings for the surface — wall plugs for masonry, suitable screws for UPVC or timber frames.
- Restore power to the transformer and follow the manufacturer's app setup process to connect the device to your Wi-Fi network.
- Test the chime response, motion detection, live video, and night vision before finishing.
Wi-Fi and configuration
Poor Wi-Fi signal is the most common cause of smart doorbell problems after installation. Address signal strength before mounting the hardware.
Signal check: Test your smartphone's Wi-Fi signal at the planned doorbell position. The front door is often at least one wall away from the nearest router or access point. If signal is marginal, consider a Wi-Fi range extender or a mesh network node positioned near the front of the property before purchasing the doorbell.
Network type: Most smart doorbells support 2.4 GHz only. If your router broadcasts a combined 2.4/5 GHz network under the same SSID, the doorbell should connect to 2.4 GHz automatically; if problems occur during setup, temporarily separate the SSIDs.
Configuration checklist:
When doorbell installation needs an electrician
Most smart doorbell installations are straightforward DIY work, but the following situations require a Part P-registered electrician or equivalent qualified professional:
- Replacing or installing a new doorbell transformer connected to the mains — this is notifiable work under Part P of the Building Regulations in England and Wales. In Scotland, equivalent work falls under the Technical Handbooks (Section 4: Safety).
- Adding a new dedicated circuit from the consumer unit for the doorbell system.
- Any work at or inside the consumer unit.
- Where the condition of the existing wiring is unknown or the installation cannot be verified as safe.
Find a Part P-registered electrician via the NICEIC, NAPIT, or the Electrical Safety First registered contractor search. In Scotland, check the SELECT register.
When to get professional help
Contact a qualified electrician if:
- Your transformer is more than 20 years old, visibly damaged, or the output voltage falls outside the doorbell manufacturer's specified range.
- You cannot locate the doorbell transformer, or the property appears to have had a simple battery-powered bell circuit with no transformer.
- You discover unusual or obsolete wiring types during installation.
- The doorbell circuit causes the consumer unit to trip when the transformer is reconnected.
- You are at all uncertain about the condition or safety of the existing installation.
How Housey can help
Housey makes it straightforward to find vetted local tradespeople for electrical and home improvement work across the UK. If your smart doorbell installation requires more than low-voltage bell wire — such as a new transformer, a fresh mains circuit, or a professional check of your home's existing wiring — Housey can connect you with a qualified, accredited professional quickly.
Frequently asked questions
Do I need planning permission to install a smart doorbell camera in the UK?
For most UK properties, a doorbell camera falls within permitted development rights and does not require planning permission. However, if your home is listed or in a conservation area, you may need listed building consent or prior approval before mounting any external equipment. Leaseholders should also review their lease terms and obtain written consent from the freeholder or managing agent before proceeding.
Can I install a smart doorbell in a rented property?
Battery-powered models are generally the most suitable choice for rented homes as they require no permanent wiring changes. Always obtain written permission from your landlord before drilling, fixing to external walls, or making any changes to the electrical installation. Review your tenancy agreement for clauses covering alterations before purchasing any device.
What are my obligations under UK data protection law for a doorbell camera?
If your doorbell camera captures footage of public spaces, the pavement, or neighbouring property, you may be acting as a data controller under the UK GDPR. The Information Commissioner's Office publishes guidance for domestic CCTV users. Positioning the camera to cover your own property and front door — with minimal capture of shared or public areas — reduces compliance exposure and is considerate to neighbours.
My hardwired smart doorbell keeps going offline — what should I check?
The three most common causes are: transformer output voltage below the model's minimum requirement, weak Wi-Fi signal at the doorbell position, and loose terminal connections. Check the transformer voltage with a multimeter, test Wi-Fi signal from the doorbell location, and confirm all wiring connections are firmly seated. If the problem persists after checking all three, consult the manufacturer's support documentation.
Will a smart doorbell work with my existing mechanical chime?
It depends on the model and transformer voltage. Many smart doorbells are compatible with mechanical chimes within a specified voltage range; others require a separate digital chime kit. Check the compatibility section of the manufacturer's specification sheet before purchasing — chime incompatibility is one of the most common causes of installation problems and a failed first setup.
Sources and further reading
- Approved Document P: Electrical Safety in Dwellings — GOV.UK
- Electrical Safety First: DIY electrical work guidance — Electrical Safety First
- Information Commissioner's Office: Domestic CCTV systems guidance — ICO
- Historic England: Advice for homeowners on listed buildings — Historic England
- NICEIC: Find a registered electrician — NICEIC
Useful next reads
 Improvement & Build
Smart Doorbell Installation: Costs and Considerations
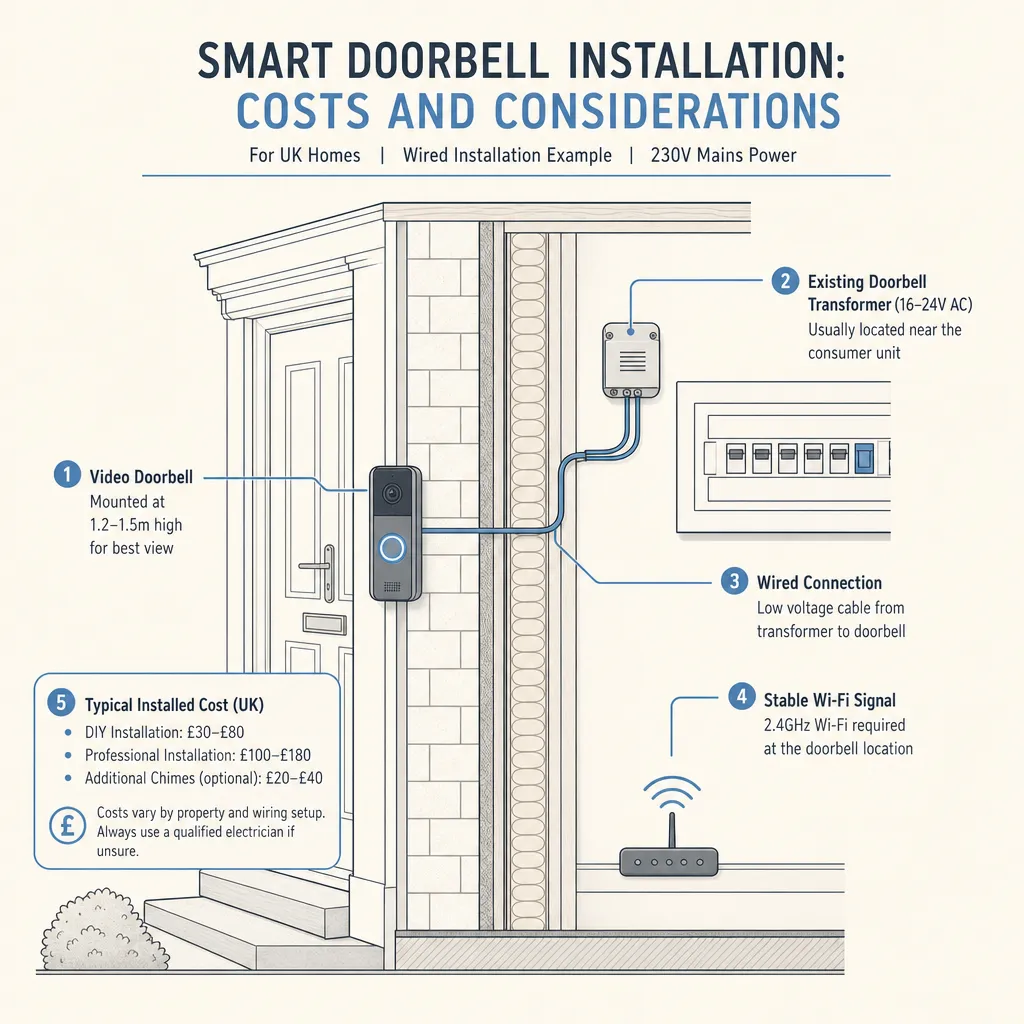
A battery-powered smart doorbell can usually be self-installed without any electrical qualification.
 Improvement & Build
Doorbell Installation Costs and Smart Doorbell Fitting in the UK
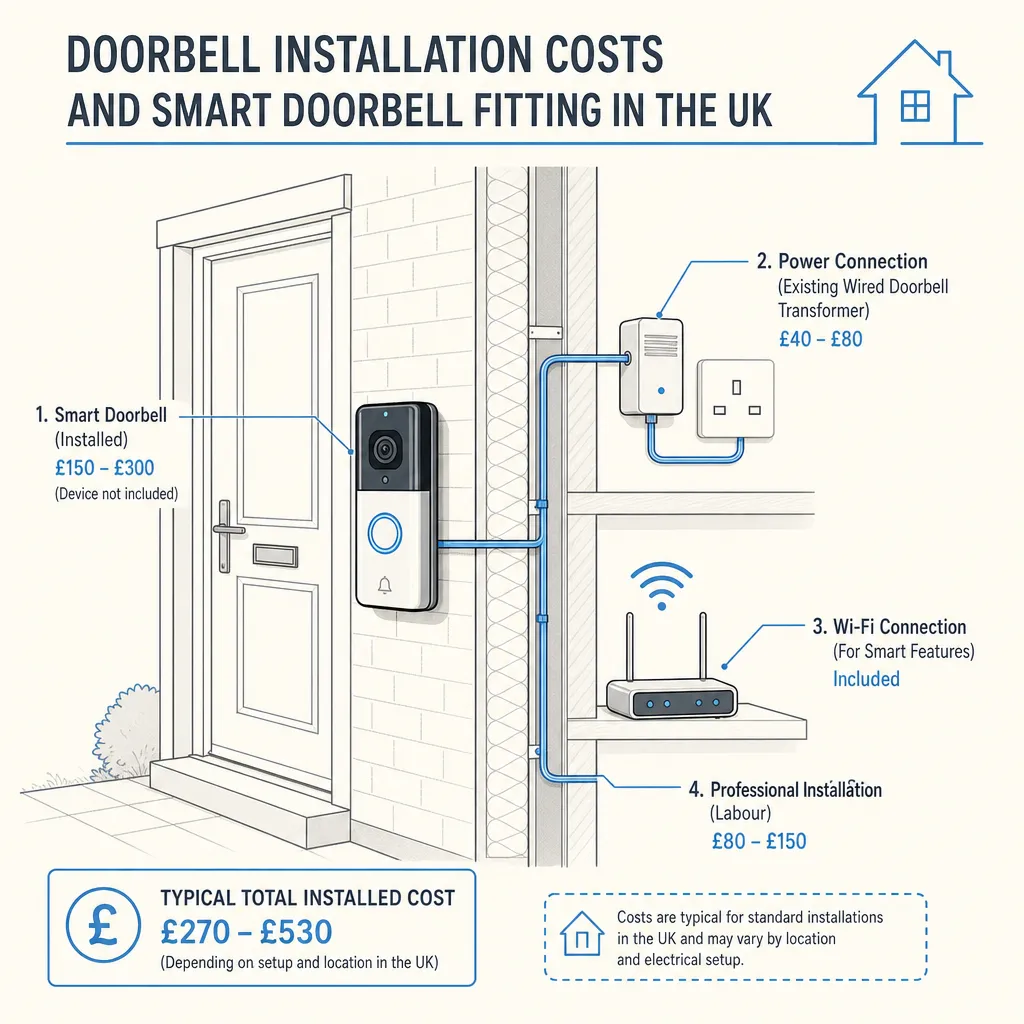
Installing a doorbell in the UK costs £20–£300 depending on the type.
 Improvement & Build
Technology and Automation in Modern Family Homes
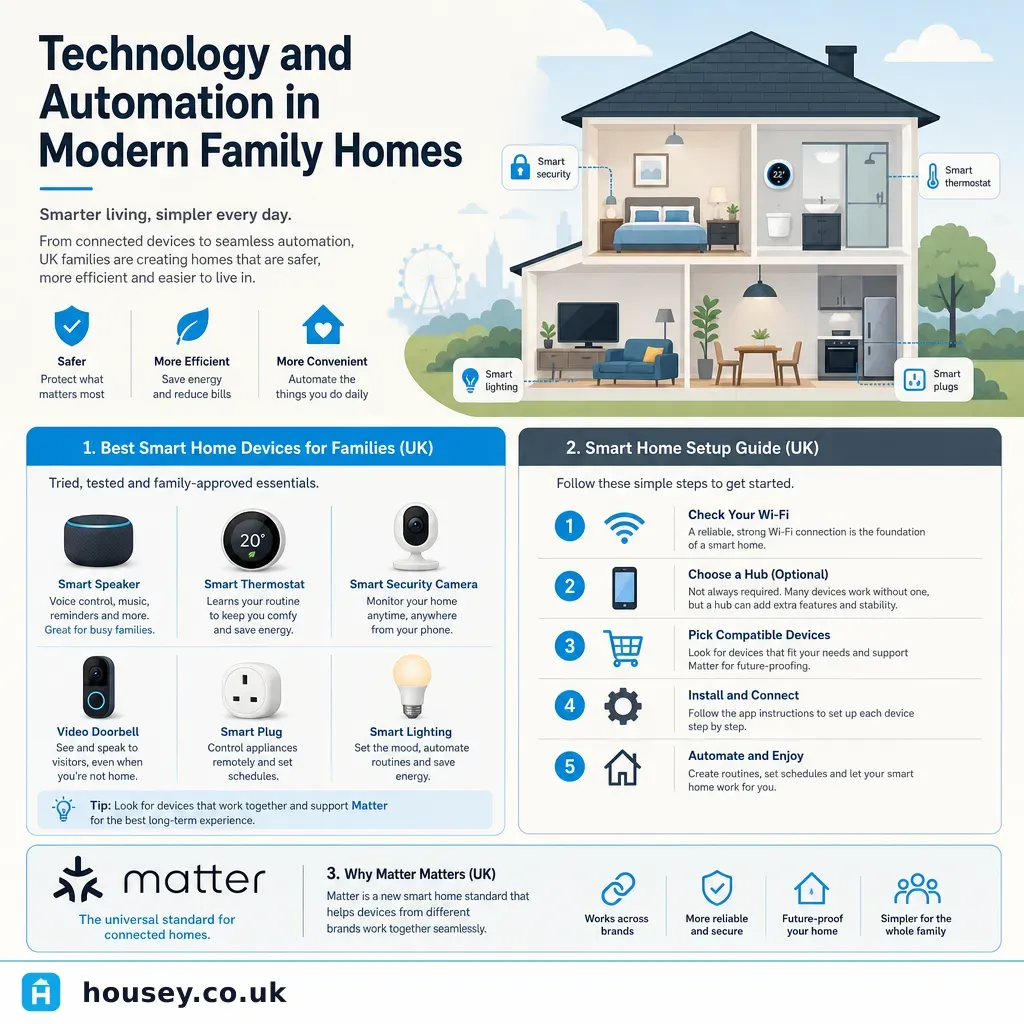
Smart home technology lets UK families automate lighting, heating, security, and entertainment from a single app or voice command.
 Improvement & Build
Smart Home Technology and Mobile Device Integration
Most smart home devices in the UK are controlled via dedicated smartphone apps or platforms such as Amazon Alexa, Google Home, or Apple Home.
 Improvement & Build
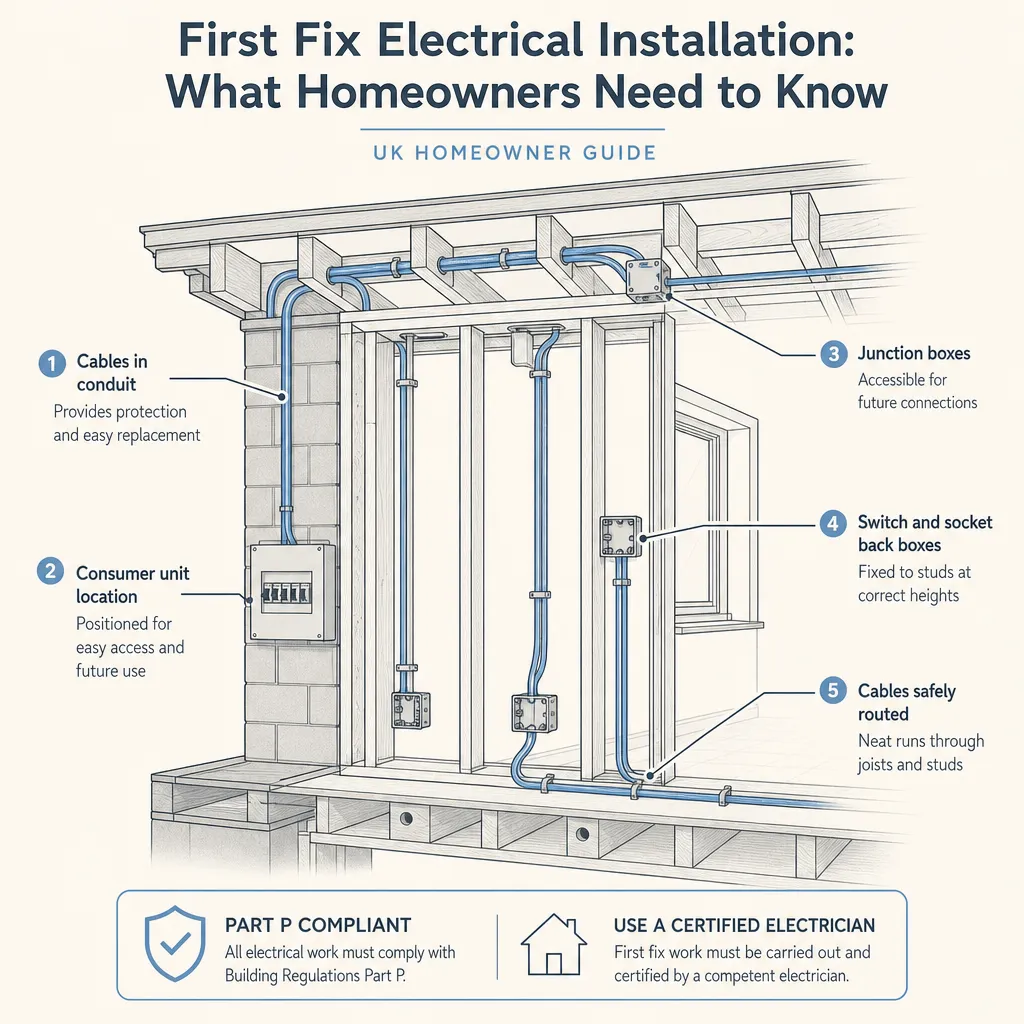
First Fix Electrical Installation: What Homeowners Need to Know
First fix electrical installation covers all the cabling, back boxes, and consumer unit preparation installed before walls are plastered or boarded.