Painting Interior Doors: Preparation and Technique
By Housey · Last reviewed 8th of May 2026
Painting Interior Doors: Preparation and Technique
Repainting interior doors is one of the most visible ways to refresh a hallway or room — whether you have inherited tired woodwork in a new property, are updating a colour scheme, or preparing a home for sale. The quality of the result depends far less on the paint you choose than on the preparation carried out first. Understanding the correct sequence, from removing hardware through to laying off the final coat, is what separates a long-lasting finish from one that peels or shows brushwork within a season.
Key points
- Existing gloss and semi-gloss surfaces must be sanded to at least 120-grit before repainting — skipping this is the leading cause of poor adhesion and peeling.
- Water-based alkyd paints are now a widely used alternative to oil-based eggshell, offering lower VOC emissions and 4–6 hour recoat times while delivering comparable durability.
- Raised-panel doors must be painted in sequence: mouldings and recesses, then panels, then horizontal rails, then vertical stiles — painting out of order leaves visible lap marks.
- Two thin coats always outperform one thick coat for adhesion and finish quality.
- In properties built before approximately 1960, paint layers may contain lead; dry sanding generates hazardous dust and must be managed in line with HSE guidance.
Preparation: the most important step
Gloss and semi-gloss surfaces are designed to resist moisture, so new paint will not bond reliably without physically keying the existing film. Work through this sequence before opening any tin:
- Remove door furniture or mask hardware you cannot take off.
- Wash with sugar soap, rinse, and allow to dry fully.
- Sand the whole surface with 120-grit paper. Use 100-grit first on heavily built-up paint.
- Fill dents and holes with fine surface filler; sand flush with 180-grit when dry.
- Wipe down with a tack cloth to remove all dust.
- Apply a suitable primer — oil-compatible under oil topcoats, multi-surface acrylic under water-based systems — and allow to reach hard-dry time.
Lead paint note: If the property was built before 1960, old paint layers may contain lead. Avoid dry sanding; use a damp technique, wear a minimum FFP2 mask, ventilate well, and follow HSE guidance on lead paint. For large stripping jobs, consider a professional decorator.
Oil-based or water-based: which paint should you choose?
Feature | Oil-based eggshell / gloss | Water-based alkyd | Standard water-based eggshell |
|---|---|---|---|
Hardness | Very hard — best for high-traffic doors | Hard — comparable to oil | Softer — lower wear resistance |
Recoat time | 16–24 hours | 4–6 hours | 2–4 hours |
VOC content | Higher — ventilate well | Lower | Lowest |
Self-levelling | Excellent | Good | Visible brushwork if poorly applied |
Yellowing | Can yellow in low-light areas | Minimal | Minimal |
Clean-up | White spirit | Water | Water |
Best for | High-traffic doors, matching existing oil finish, period joinery | Most interior doors in modern UK homes | Low-traffic doors, children's rooms |
Decision guide:
- Choose oil-based if the door is in a high-traffic location or you are matching existing oil-based woodwork throughout the property.
- Choose water-based alkyd for most interior doors — good durability with lower fumes and faster recoating.
- Choose standard water-based eggshell for low-traffic or children's rooms where quick recoating is more useful than maximum hardness.
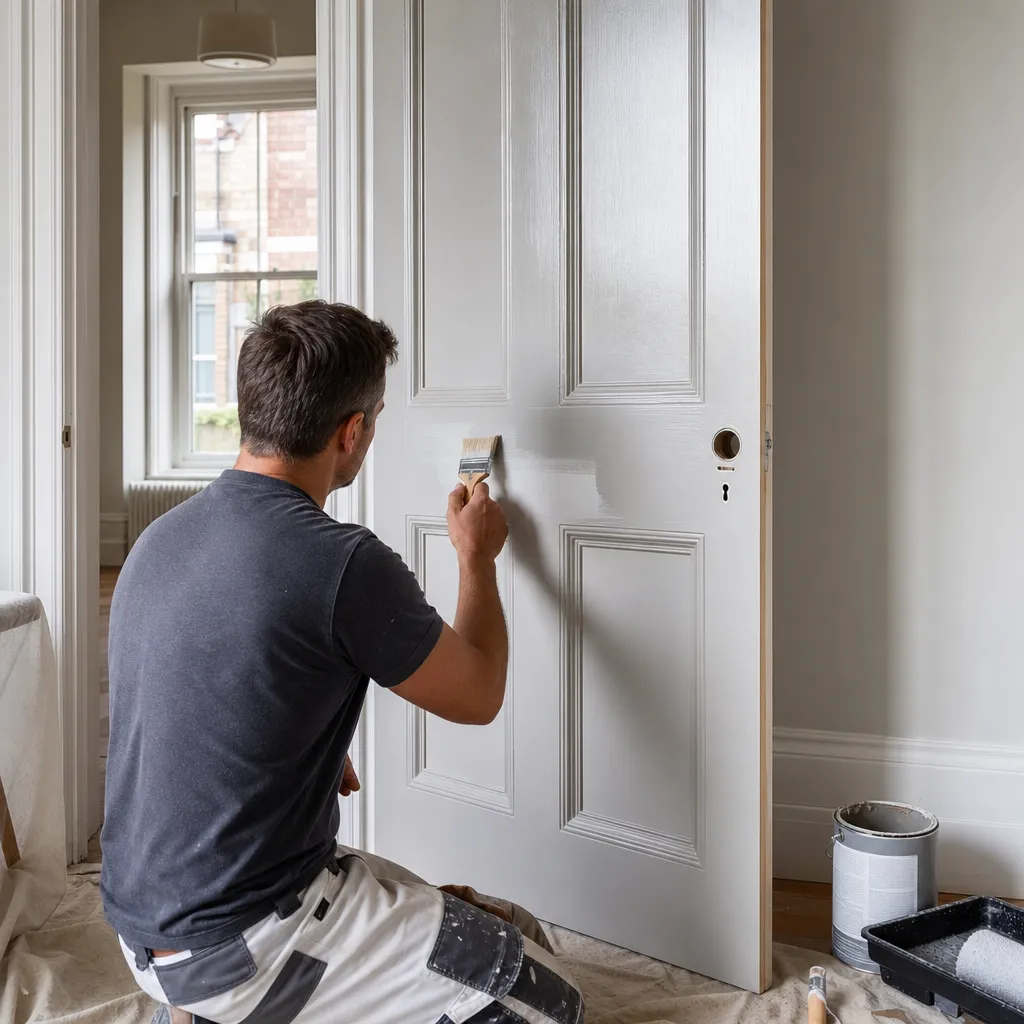
Painting sequence for a raised-panel door
For the most common door type found in UK homes, paint in this order to avoid lap marks:
- Mouldings and recesses — small cutting-in brush into profiles and corners.
- Panels — from the centre outward toward the moulding edges.
- Horizontal rails — the cross members between panels.
- Vertical stiles — the outer uprights full height of the door.
- Edges — top, lock edge, and hinge edge.
Apply in the direction of the grain and lay off with light strokes in one direction at the end of each section. A short-pile foam roller on flat sections followed by laying off with a brush reduces stipple and speeds up the work.
Common problems and how to avoid them
Runs and drips: caused by too much paint in one coat. Apply thin coats and check for runs 5–10 minutes after each section.
Brush marks that do not level: caused by paint that is too thick, a poor-quality brush, or a cold room (below 10 °C). Work at room temperature and use a quality brush.
Poor adhesion and peeling: almost always caused by an unsanded, unprimed, or wet surface. Allow each coat to reach hard-dry time — not just touch-dry — before recoating.
Paint sticking to the frame: fresh paint on a door sticks if the door is closed before it has cured. Leave the door wedged open for at least 24 hours after the final coat.
Preparation checklist
Work through this before starting:
When to get professional help
Consider instructing a professional decorator if:
- The door is in a pre-1960s property with built-up paint layers likely to contain lead, particularly where large areas need stripping.
- The door is in a listed building or conservation area where finish type must match the building's historic character.
- You need a large number of doors finished to a consistent standard in a short timeframe.
- The door has damaged veneer, deep cracks, or loose joinery that needs repair before painting.
How Housey can help
If your decoration project extends beyond a few doors, or you would prefer to hand the work to a professional, Housey connects homeowners with local tradespeople for improvement and decoration work across the UK.
Frequently asked questions
Do I need to sand interior doors before painting?
Yes, if the existing surface is gloss or semi-gloss. New paint needs a mechanical key to bond. Use 120-grit paper over the whole surface, wipe off dust with a damp cloth, then prime. Bare wood doors should also be sanded to raise the grain before sealing with a primer coat.
Can I paint interior doors without removing them?
Yes — most homeowners paint in situ. Mask hinges and hardware and work carefully at edges. The main drawback is that you cannot lay the door flat, making runs more likely on vertical surfaces. Reaching the top edge cleanly usually requires a small set of steps.
How long should I leave between coats?
Follow the manufacturer's stated recoat time, not just the touch-dry time. Water-based alkyd paints need 4–6 hours between coats; oil-based products need 16–24 hours. Applying a second coat too soon traps solvents beneath the surface and can cause wrinkling or long-term softness in the paint film.
What paint finish is best for interior doors?
Eggshell or satin is most commonly used on interior doors in UK homes. Full gloss gives maximum hardness but shows imperfections clearly. Eggshell is easier to apply, more forgiving on uneven surfaces, and wipes down well once cured. For high-traffic doors, a harder eggshell or satinwood finish is a practical choice.
Should I use a brush or roller on an interior door?
Both work, and many decorators use both together. A brush gives better control in mouldings and at edges. A short-pile foam or mohair roller speeds up flat areas and can give a smoother finish on panelled or flush doors. Lay off with a light brush stroke in the direction of grain after rolling to reduce stipple marks.
Sources and further reading
- Lead paint in the home — risks and precautions — Health and Safety Executive (HSE)
- Painting and decorating: health and safety — Health and Safety Executive (HSE)
- Volatile organic compounds (VOCs) in the home — UK Health Security Agency
Useful next reads
 Improvement & Build
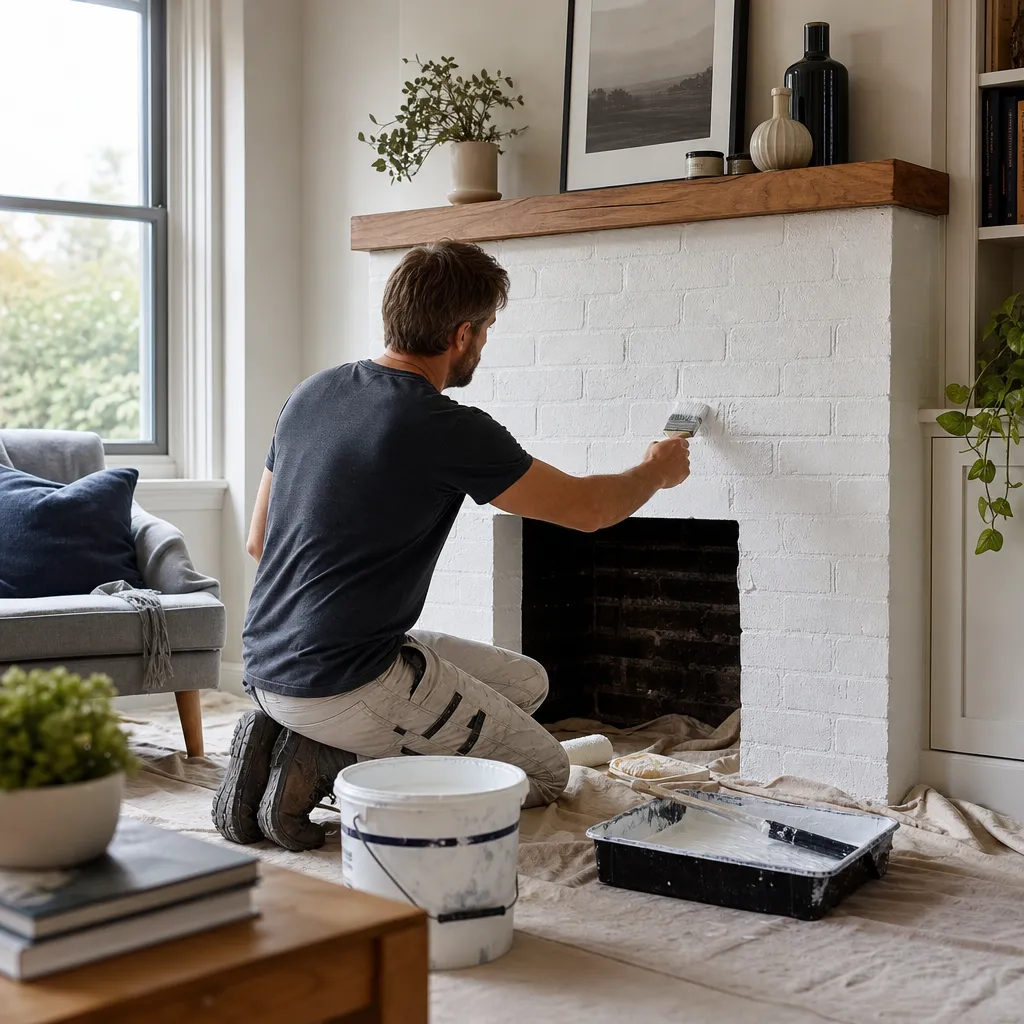
Painting Brick Fireplaces: Preparation, Materials and Technique
Painting a brick fireplace requires thorough cleaning, a masonry-specific primer, and heat-resistant paint rated to at least 200°C for the firebox area.
 Improvement & Build
When to Hire Professional Contractors vs. DIY Home Projects
Some home improvement work — including gas fitting, consumer-unit electrical work, structural alterations, and asbestos removal — is legally restricted to qualified professionals in the UK.
 Improvement & Build
Installing Replacement Windows in Your Home
Replacing windows in the UK requires compliance with Building Regulations Part L — a minimum centre-pane U-value of 1.
 Improvement & Build
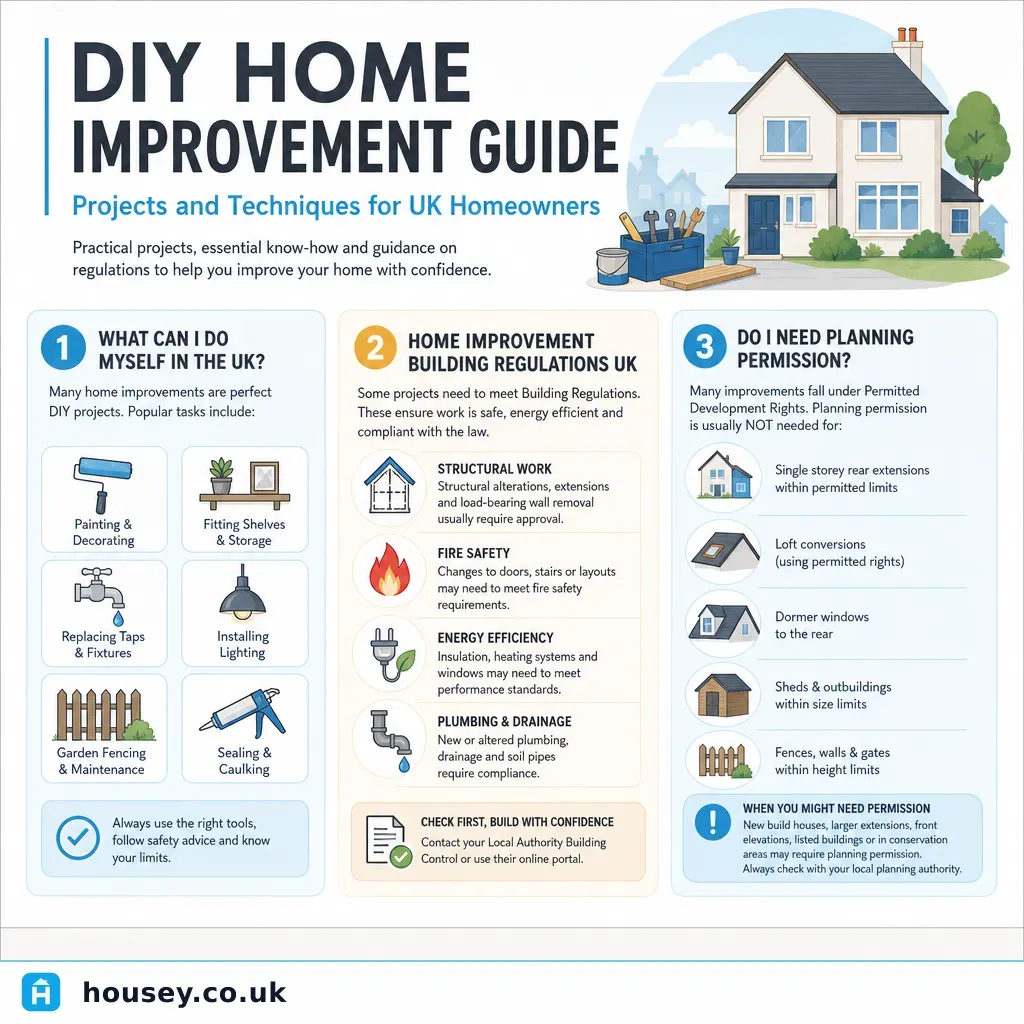
DIY Home Improvement Guide: Projects and Techniques for UK Homeowners
Most internal decorating, flooring, and basic maintenance sits within DIY reach for a competent UK homeowner.
 Improvement & Build
Small kitchen renovation: budgeting for costs and planning your project
A small kitchen renovation in the UK typically costs £5,000–£15,000 for a full refresh including new units, worktops, tiling, and appliances, though costs vary widely by specification, region, and whether structural changes or rewiring are involved.