Plasterboard Finishing: Mesh Tape vs Paper Tape
By Housey · Last reviewed 11th of May 2026
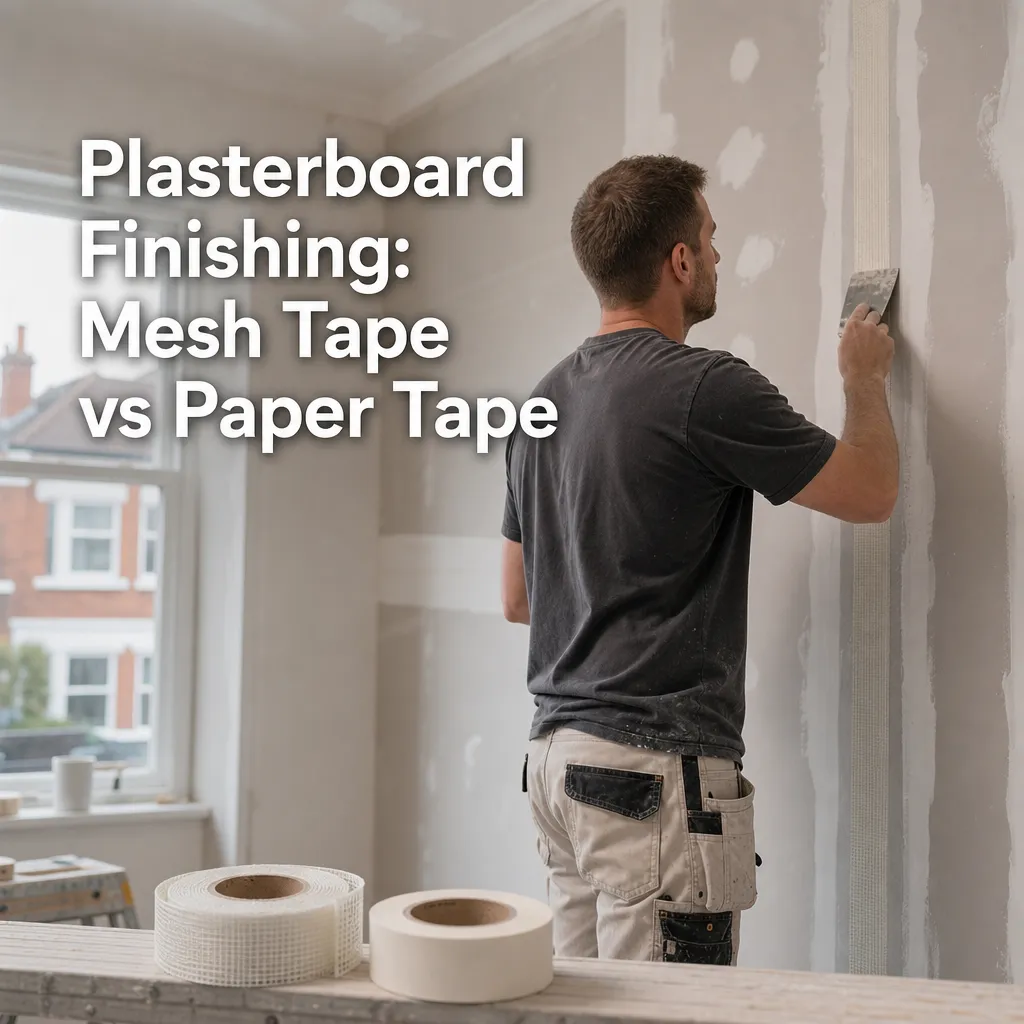
Plasterboard Finishing: Mesh Tape vs Paper Tape
Whether you are patching a damaged ceiling, boarding a new partition wall, or finishing a loft conversion, the tape you use at plasterboard joints affects the long-term quality and durability of the finished surface. In the UK trade, the choice between mesh tape (widely known as scrim tape) and paper tape is made on virtually every drylining job — and understanding the trade-offs helps you specify work correctly, brief a contractor with confidence, or pick the right material for a repair.
Key points
- Paper tape is generally stronger and less prone to cracking at plasterboard joints than mesh tape when used with a standard drying-type jointing compound.
- Mesh tape (scrim tape) is self-adhesive and faster to position, but requires a setting-type (chemically hardening) compound rather than a drying-type compound to achieve adequate joint strength.
- For flat tapered joints on standard plasterboard — the most common application in UK new-build and renovation — paper tape with jointing compound is the recommended method per BS 8212:1995 and most manufacturer system guides.
- Mesh tape suits internal corners, patch repairs to existing surfaces, and joints where some movement is expected, such as ceiling-to-wall junctions in timber-frame construction.
- An incorrectly taped joint is one of the most common causes of cracking in finished plasterboard walls and ceilings in UK homes.
What are mesh tape and paper tape?
Mesh tape (scrim tape)
Mesh tape is a self-adhesive fibreglass or alkali-resistant glass-fibre tape with an open weave. It adheres directly to the joint before compound is applied, removing the need for a wet bed coat underneath. Because of its open structure, mesh tape must be used with a setting-type compound — one that hardens by chemical reaction rather than by simple drying — to achieve sufficient hardness and crack resistance. Common UK trade products include USG Durabond and British Gypsum Thistle Base Coat applied as a setting material.
Typical widths: 50 mm to 100 mm for standard joints; wider reinforcing scrim is available for skim-coat applications over masonry.
Paper tape
Paper tape is a flat, non-adhesive strip of thin but strong kraft paper, creased along the centre to fold cleanly into internal corners. It is embedded into a wet bed coat of jointing compound, then covered by two or more further coats. Paper tape derives its strength from the bond between tape and compound — which is why the bed coat must be applied correctly, with no air pockets or dry patches underneath.
Typical width: 50 mm for standard tapered joints; 75 mm occasionally used for wider butt joints.
Mesh tape vs paper tape: a comparison
Feature | Mesh tape (scrim) | Paper tape |
|---|---|---|
Application method | Self-adhesive; press onto joint before first compound coat | Embedded in wet bed coat; no self-adhesive backing |
Application speed | Faster — no bed coat required | Slower — bed coat application and careful embedding needed |
Joint strength | Lower if paired with drying-type compound; adequate with setting compound | Consistently high with correct compound and technique |
Compound compatibility | Setting-type compound required | Compatible with drying-type and setting-type compounds |
Sanding ease | Can fray at edges if sanded aggressively | Sands cleanly with fine abrasive |
Best use | Corner repairs, patch repairs, masonry-to-board scrim applications | Flat tapered joints on new plasterboard partitions and ceilings |
DIY suitability | More forgiving for initial positioning | Requires practice to embed cleanly without ridges |
Cracking risk | Higher if compound choice is incorrect | Lower with correct compound and technique |
Which tape should you choose?
- Choose paper tape for flat tapered joints on new plasterboard fixed to timber studs or metal framing — this is the standard UK drylining method and produces the most durable joint.
- Choose mesh tape when repairing a crack or area of damage in existing plasterboard where self-adhesion is convenient and preparing a wet bed coat is impractical.
- Choose paper tape for internal corners on plasterboard partitions — the centre crease folds cleanly into 90-degree angles and produces a crisp finish.
- Choose wide mesh scrim when taping plasterboard to masonry before a skim coat, where the open weave reinforces the compound across the substrate change.
- Ask your plasterer or drylining contractor if the situation is unclear — jointing systems should match the board type, compound, and finish specification for the project.
How are plasterboard joints finished in UK practice?
In the UK, plasterboard is the standard term for what is called drywall in North America. Most domestic installations use tapered-edge boards, where the long edges are slightly recessed to accept a flush joint. Joints are finished using a multi-coat process:
- Bed coat: jointing compound applied into the tapered channel; paper tape embedded with no air pockets or creases. For mesh tape: self-adhesion applied first, then the first compound coat pressed firmly into the mesh.
- Fill coat: compound feathered out 150–200 mm either side of the tape, allowed to dry fully before proceeding.
- Finish coat: a thin coat feathered to 250–300 mm per side, dried, then sanded smooth with 120-grit abrasive.
This three-coat process creates a joint that is flush with the surrounding board face and invisible under paint or wallcovering.
Note on skim finish: In many UK homes, a 2–3 mm skim coat of finish plaster (such as British Gypsum Thistle Board Finish) is applied over the entire plasterboard surface after jointing. This is a common UK practice that differs from the unskim, direct-decorate approach used widely in North America. A skim coat makes the tape selection less visible in the final surface, though correct taping remains important in preventing cracks beneath the skim.
Common mistakes to avoid
- Using mesh tape with drying-type compound: the joint will almost certainly crack over time. Use a setting-type compound with mesh tape.
- Failing to embed paper tape fully: air pockets or raised edges will telegraph through finish coats as visible ridges or cracks.
- Applying compound too thickly in a single coat: thick coats shrink as they dry and crack. Build up in thin coats, allowing each to dry fully.
- Sanding aggressively over mesh tape: fibres can lift and create marks in the finish coat.
- Skipping the bed coat with paper tape: paper tape applied without a wet bed coat will not bond and will peel or crack in service.
Worked example: taping a partition wall in a loft conversion
A homeowner is fitting out a new bedroom in a loft conversion, with metal stud partitions boarded in 12.5 mm tapered-edge plasterboard. The specification calls for a direct-decorated painted finish without a skim coat.
- Flat tapered joints between boards: Paper tape with drying-type jointing compound, three coats, each feathered to 250 mm per side. Final coat sanded with 120-grit abrasive after full drying.
- Internal corner where the partition meets the existing ceiling: Paper tape folded along the centre crease, bedded in compound, returned on both surfaces, and finished flush.
- External corner on the doorframe reveal: Metal angle bead fixed mechanically or in compound, then skim-jointed over or left with the bead face exposed under paint.
- Patch repair to a small section cut back during electrical first-fix: Mesh tape (self-adhesive) applied over the cut joint, two coats of setting-type compound, sanded, and primed before decoration.
When to get professional help
Taping and jointing is a skill that requires practice to achieve a smooth, crack-free result. Call a qualified plasterer or drylining contractor if:
- The finished surface needs to be smooth enough for gloss or silk paint, both of which highlight imperfections clearly.
- You are jointing more than a small repair area — poorly finished large areas may need to be re-boarded.
- Tape is lifting, bubbling, or cracking on recently completed work, which points to incorrect compound selection, poor application, or structural movement.
- The building is subject to an NHBC Buildmark warranty or requires a building control completion certificate, as work must meet BS 8212 quality standards.
How Housey can help
Housey can connect you with experienced, vetted plasterers and drylining contractors across the UK — whether you need a small patch repair or a full partition boarded, taped, and finished to a professional standard.
Frequently asked questions
Can I use mesh tape for plasterboard repairs at home?
Yes. Mesh tape is well-suited to small repairs in existing plasterboard because it is self-adhesive and easy to position without preparing a bed coat. Use it with a setting-type jointing compound, not a standard drying-type filler, for the strongest result. Sand carefully with a fine abrasive to avoid lifting fibres at the tape edges.
Why does my taped plasterboard joint keep cracking?
The most common causes are: using drying-type compound with mesh tape; applying too thick a single coat; not allowing each coat to dry fully before adding the next; structural movement in a timber-frame building; or significant temperature and humidity variation during curing. A plasterer can diagnose whether the cause is application technique, compound choice, or movement in the substrate.
Is paper tape or mesh tape better for ceiling joints?
For flat tapered joints on plasterboard ceilings, paper tape with jointing compound is the standard approach and produces a stronger, more crack-resistant joint. Ceiling joints are subject to more vibration and thermal movement than wall joints, so paper tape is generally preferred by professional plasterers and drylining contractors for this application.
What jointing compound should I use with paper tape?
For most domestic UK applications, a ready-mixed drying-type jointing compound from manufacturers such as Knauf or British Gypsum is used for bed and fill coats, with a proprietary finishing compound for the final layer. Some contractors prefer setting-type compounds for faster working. Always follow the plasterboard manufacturer's full system specification for any warranty-backed installation.
Sources and further reading
Useful next reads
 Improvement & Build
Plastering Over Existing Paint and Wallpaper: Surface Prep and Technique
Whether you can plaster over existing paint or wallpaper depends on surface condition and adhesion.
 Improvement & Build
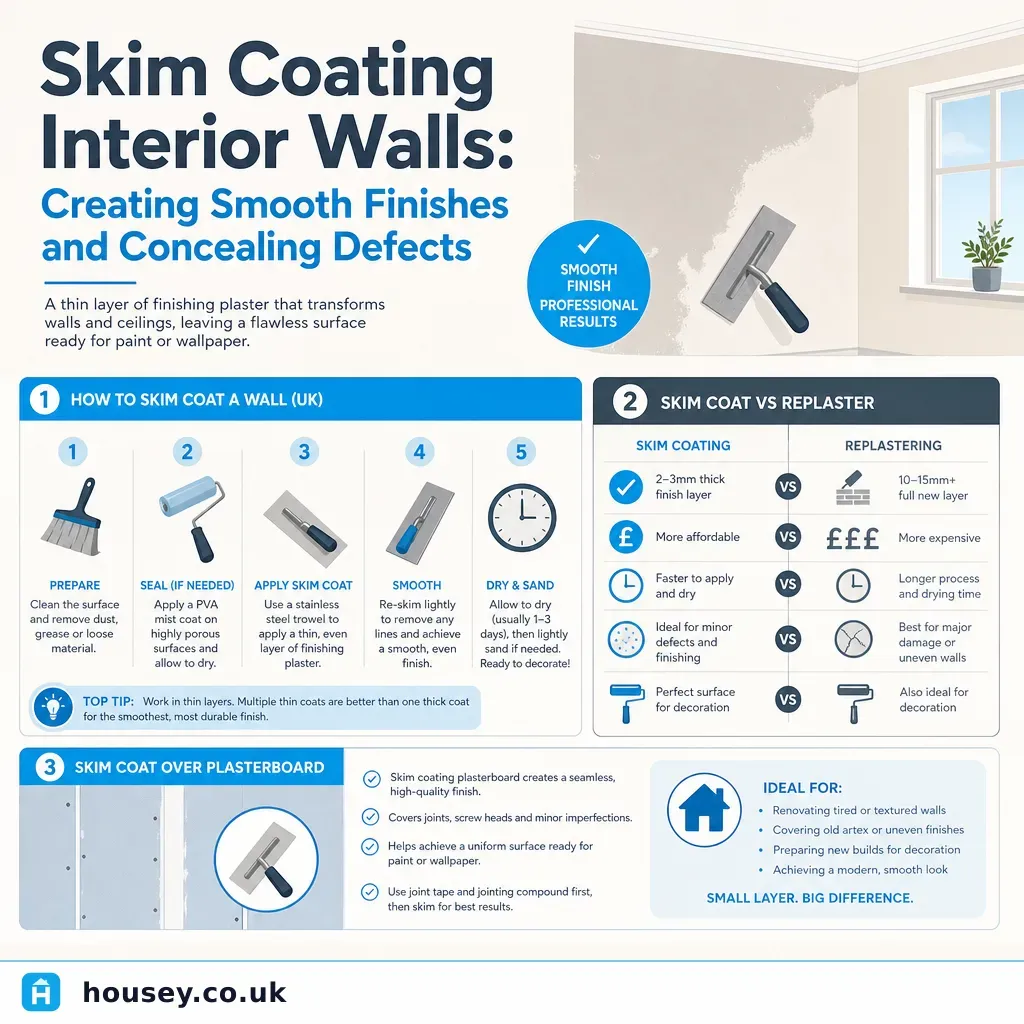
Skim Coating Interior Walls: Creating Smooth Finishes and Concealing Defects
Skim coating applies a 2–3 mm layer of finish plaster over prepared plasterboard or existing plaster, creating a smooth, paint-ready surface.
 Improvement & Build
Installing Peel-And-Stick Wallpaper: Application Techniques
Peel-and-stick wallpaper works best on smooth, emulsion-painted walls cured for at least 30 days, in rooms between 13°C and 30°C.
 Improvement & Build
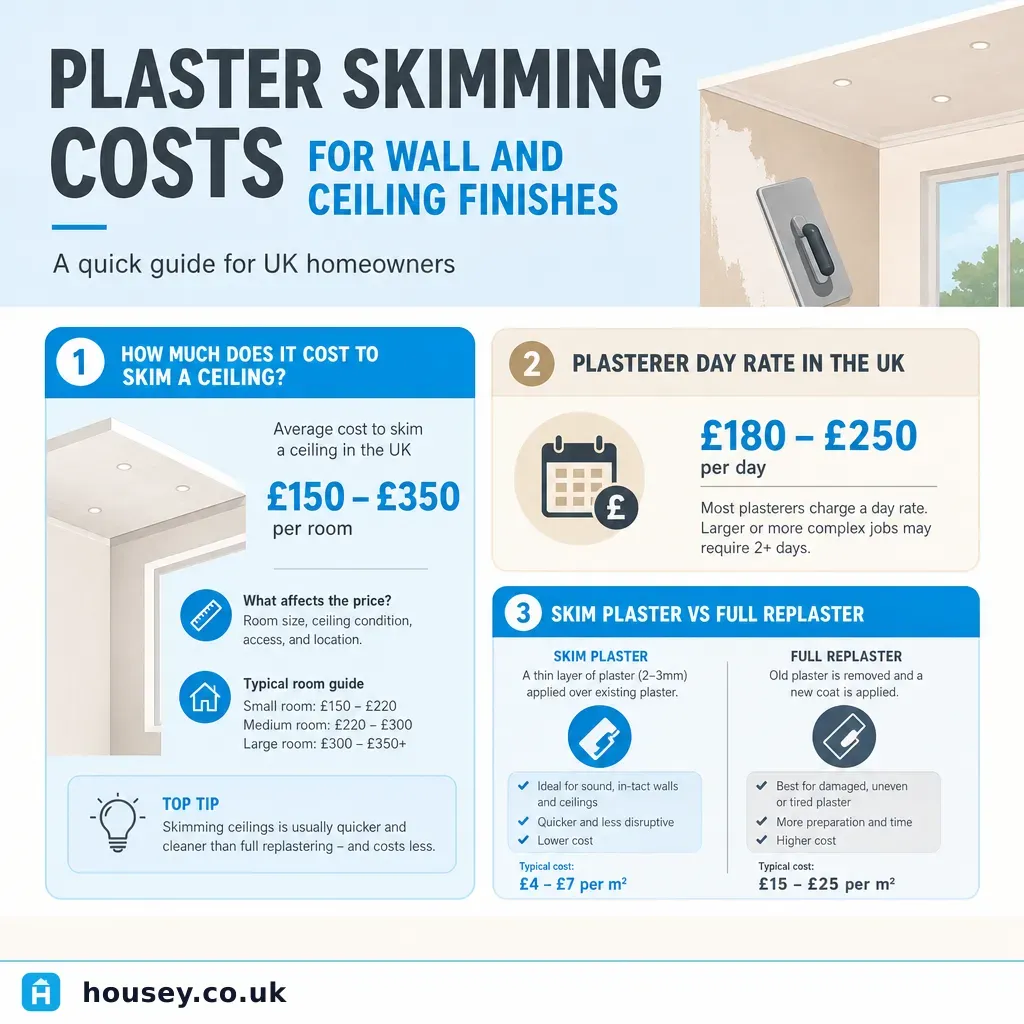
Plaster Skimming Costs for Wall and Ceiling Finishes
Skim plastering a typical bedroom costs £400–£750 for walls and ceiling combined; a single ceiling runs £150–£350 and a single wall £80–£180.
 Improvement & Build
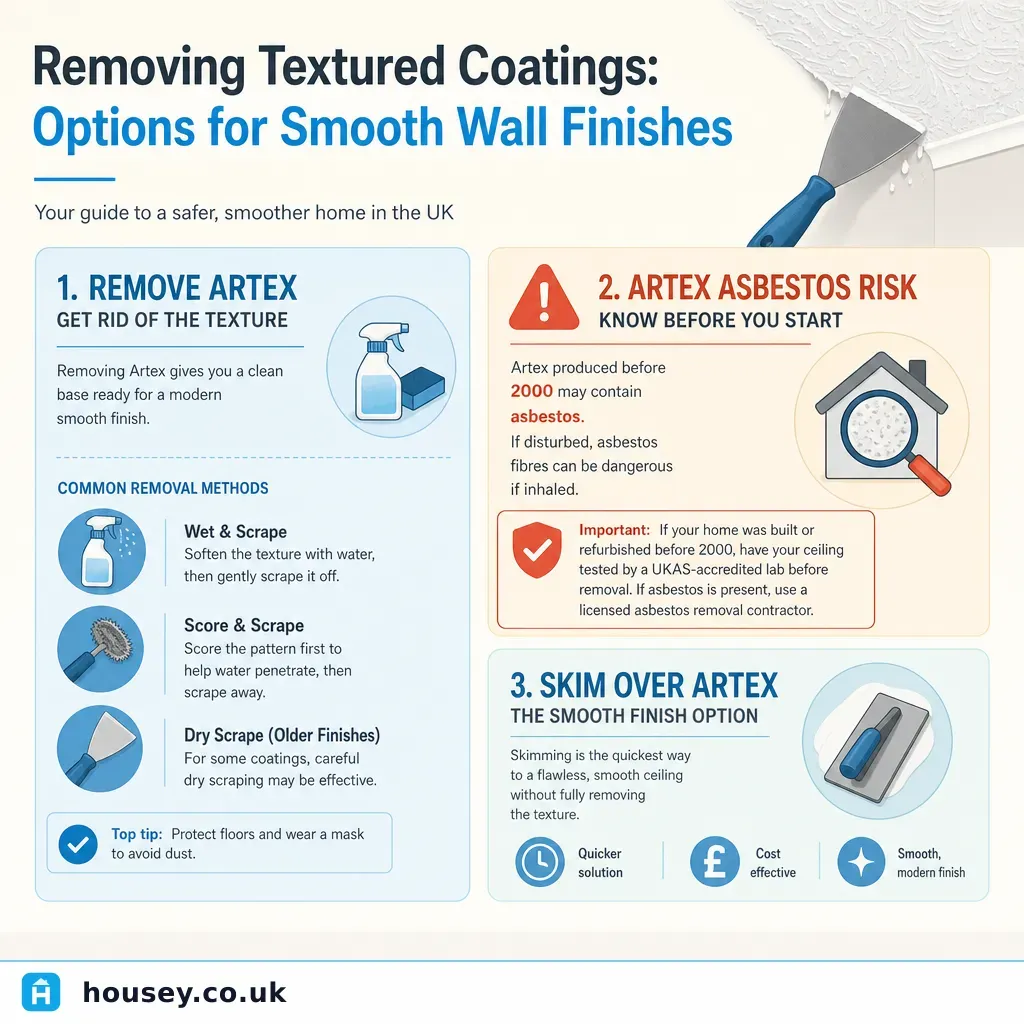
Removing Textured Coatings: Options for Smooth Wall Finishes
Textured coatings in UK homes built before 2000 may contain asbestos and must be tested before disturbance.