Drywall and Plasterboard Finishing Techniques for UK Interior Walls
By Housey · Last reviewed 30th of May 2026
Drywall and Plasterboard Finishing Techniques for UK Interior Walls
In the UK, plasterboard is fixed to timber or metal stud frames across new builds, loft conversions, extensions, and room reconfigurations. Once the boards are up, the finishing stage determines the long-term quality of your walls — visible joint lines, cracking, or a poor surface will show through paint for years. Whether you are specifying a finish for an extension or evaluating a contractor's quote, understanding the key techniques helps you set expectations, check workmanship, and avoid costly remediation.
Key points
- The two main finishing systems on UK plasterboard are skim plastering (a 2–3mm coat of finishing plaster over the full board surface) and tape-and-joint (multiple feathered coats of jointing compound without a skim); both begin with taping every board joint.
- British Gypsum's White Book sets the industry-standard specifications for drylining and plaster systems in UK construction, including acceptable compound types and joint-finishing procedures.
- Scrim tape (alkali-resistant fibreglass mesh) or paper tape must be embedded in the first coat of jointing compound before subsequent coats are applied; missing tape at joints is the primary cause of cracking.
- Finishing plaster must be matched to the substrate: Thistle Board Finish suits standard plasterboard; Thistle MultiFinish suits mixed or patched substrates; using the wrong product risks adhesion failure.
- A paint-grade finish requires a minimum of three coats of jointing compound (or a full skim over tape), with sanding between coats; a single fill coat is not ready for decoration.
What is plasterboard finishing and why does it matter?
Plasterboard finishing covers everything that happens after the boards are screwed to the frame: taping joints and internal angles, filling screw holes, applying finish coats, and achieving an even surface suitable for decoration. The quality of this stage directly affects the long-term appearance of your walls — failures show under any raking light and are difficult to correct without re-skimming or overboarding.
In the UK, two systems are in common use:
Finish system | How it works | Typical use in UK homes | Main trade |
|---|---|---|---|
Skim plaster | Full thin coat of finishing plaster over the entire board surface, applied after taping | Extensions, renovations, most domestic work | Plasterer |
Tape-and-joint (drylining) | Multiple coats of jointing compound, feathered and sanded; no skim coat | New-build developer projects, commercial fit-out | Drylining fixer |
Texture coat | Textured compound applied for decorative effect | Older UK homes; rarely specified new | Plasterer or decorator |
Both systems start with the same step: taping every joint.
Taping and jointing: the critical first stage
Regardless of whether the final finish is skim or tape-and-joint, the jointing stage is where most failures originate.
Scrim tape vs paper tape
- Alkali-resistant scrim tape (fibreglass mesh) is self-adhesive and fast to apply. It suits internal angles and straight joints but can crack over tapered board joints if compound depth is insufficient.
- Paper tape must be bedded into wet compound before it sets. It is stronger in tension than scrim and is less prone to cracking at butt joints. Many experienced plasterers prefer paper tape for primary joint lines.
Typical jointing sequence:
- Check all boards are flat and plumb, with all screw heads countersunk below the surface.
- Apply a first coat of jointing compound over each joint, embed tape fully, and allow to dry completely.
- Apply a second wider coat, feathering edges 150–200mm either side of the joint centreline.
- Sand lightly once dry; apply a third finishing coat if using tape-and-joint throughout.
- Fill all screw holes flush with compound; sand once dry.
Each coat must be fully dry before the next is applied. Applying compound below 5°C or in poorly ventilated spaces is the most common cause of cracking and surface defects.
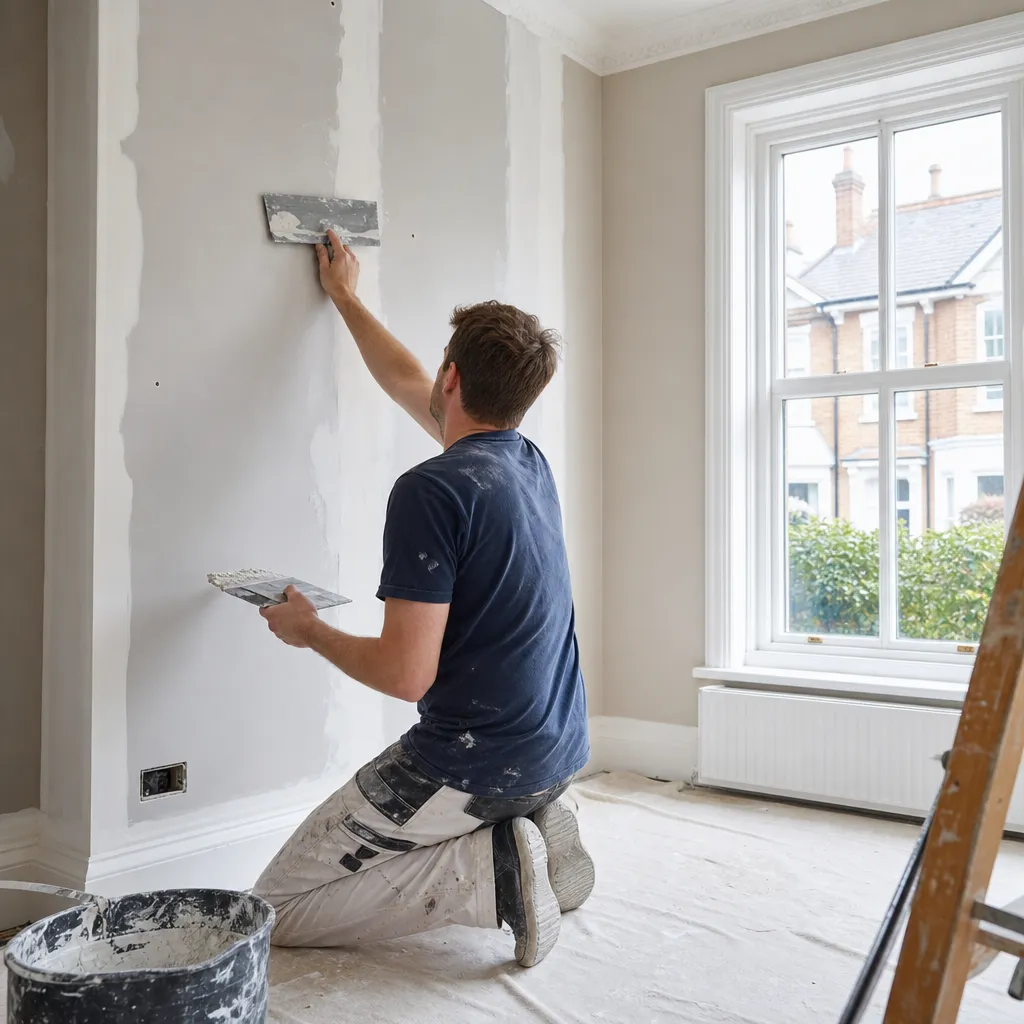
Skim plastering over plasterboard
A skim coat is a 2–3mm layer of finishing plaster applied over the full board surface once taping is complete. This is the traditional UK domestic approach and what most residential plasterers are trained to deliver.
Key rules for a good skim:
- Use the correct plaster for the substrate. Thistle Board Finish is formulated for plasterboard. Applying finishing plaster over bare concrete or mixed substrates without a bonding coat will cause adhesion failure.
- Prime or mist the board surface (diluted PVA coat) before skimming if suction is uneven — this controls how quickly the board draws moisture from the plaster.
- Two-coat skim (scratch coat plus finish coat) is standard practice; applying one thin coat across a large area risks trowel drag lines and an uneven finish.
- Setting time is approximately 90 minutes to 2 hours for most Thistle products; work in manageable sections and avoid going back over plaster that has begun to set.
A well-applied skim produces a harder, more uniform surface than tape-and-joint finish and is generally more resistant to minor dents and scuffs in everyday use.
Tape-and-joint finish: the drylining approach
Tape-and-joint finish builds up a smooth, paintable surface through multiple coats of ready-mixed or powder jointing compound, feathered well beyond each joint to blend into the board face. No skim coat is applied.
Decision guide: which finish suits your project?
- Choose skim plaster if you want a traditional UK plaster feel, a harder surface, or your plasterer specifically recommends it for the substrate and conditions.
- Choose tape-and-joint if the project specification requires it (common in new-build developer contracts) or if the contractor is a specialist drylining fixer rather than a wet-trade plasterer.
- Ask your contractor which system they are most experienced with — a poorly executed tape-and-joint finish telegraphs joints under paint and is harder to remediate than a skim.
- Check with your local building control body if the project is under a building control notice and a specific finish specification is referenced.
Red flags to watch for
During or after a plasterboard finishing job, the following indicate poor workmanship:
- Visible joint lines or shadowing through paint — caused by insufficient compound coats, poor feathering, or inadequate drying time between coats.
- Cracking at joints or corners — caused by rushing dry times, missing tape, or using incompatible compound for the conditions.
- Nail or screw popping — fixings not countersunk before finishing, or boards not properly bonded to the frame.
- Blistering or bubbling — compound applied over damp boards, or skim applied over under-primed or dusty surfaces.
- Uneven sheen under raking light — result of single-coat skim applied too thinly or worked over as the plaster was setting.
Homeowner checklist before finishing begins
When to get professional help
Plasterboard finishing requires a skilled trade; it is not a reliable DIY task without significant practice, as errors become visible under raking light. Seek professional input when:
- Work is in a damp environment (bathrooms, kitchen walls) requiring moisture-resistant board, specialist compound, and correct waterproofing details.
- The project is under building control and a specific finish performance must be demonstrated.
- You are buying a property and plastered walls show shadowing, cracking, or an uneven surface — a RICS-qualified surveyor can note workmanship defects as part of a Level 2 or Level 3 survey.
- You need remediation of an existing failed finish where coats are cracking or detaching.
How Housey can help
If you are planning an extension or internal fit-out, Housey can connect you with vetted extension builders and design-and-build firms who can specify and deliver the right plasterboard finish for your project from the outset.
Frequently asked questions
What is the difference between plasterboard and drywall in the UK?
In the UK, 'plasterboard' is the standard term for gypsum board fixed to stud frames; 'drywall' is the US term for the same product, increasingly used in trade contexts. Both refer to the same material. UK homes most often see a skim plaster finish applied over the boards, whereas US drywall practice typically uses tape-and-joint finish only.
How long does plasterboard finishing take to dry before painting?
A skim coat should be allowed at least 24–48 hours to dry fully in normal conditions (15–20°C, good ventilation) before mist-coating with diluted emulsion. Tape-and-joint compound can take 4–24 hours per coat depending on thickness and temperature. Never apply oil-based primers or full-strength emulsion to fresh plaster, as this seals the surface before moisture has fully escaped.
Can I skim over existing plasterboard that has already been painted?
Applying skim plaster over painted plasterboard risks adhesion failure if the surface is not properly prepared. A plasterer will typically abrade the surface and apply a bonding agent before fresh skim. In some cases, overlining with new plasterboard is the more reliable option — particularly on large areas or where the existing paint is glossy or poorly adhered.
Do I need building control approval for internal plasterboard partition walls?
Internal non-structural plasterboard partitions in most domestic situations do not require building control approval. However, walls enclosing escape routes, forming fire compartments, or acting as separating walls (such as party walls in a converted flat) must meet fire-resistance standards under Approved Document B. Always check with your local building control body if the partition has any structural, fire, or acoustic function.
Sources and further reading
- British Gypsum White Book — British Gypsum: specification guidance for drylining and plaster systems
- Building Regulations Approved Document B — Fire Safety — GOV.UK: fire-resistance requirements for internal walls and linings
- Building Regulations Approved Document E — Resistance to the Passage of Sound — GOV.UK: acoustic performance standards for partition walls
Useful next reads
 Improvement & Build
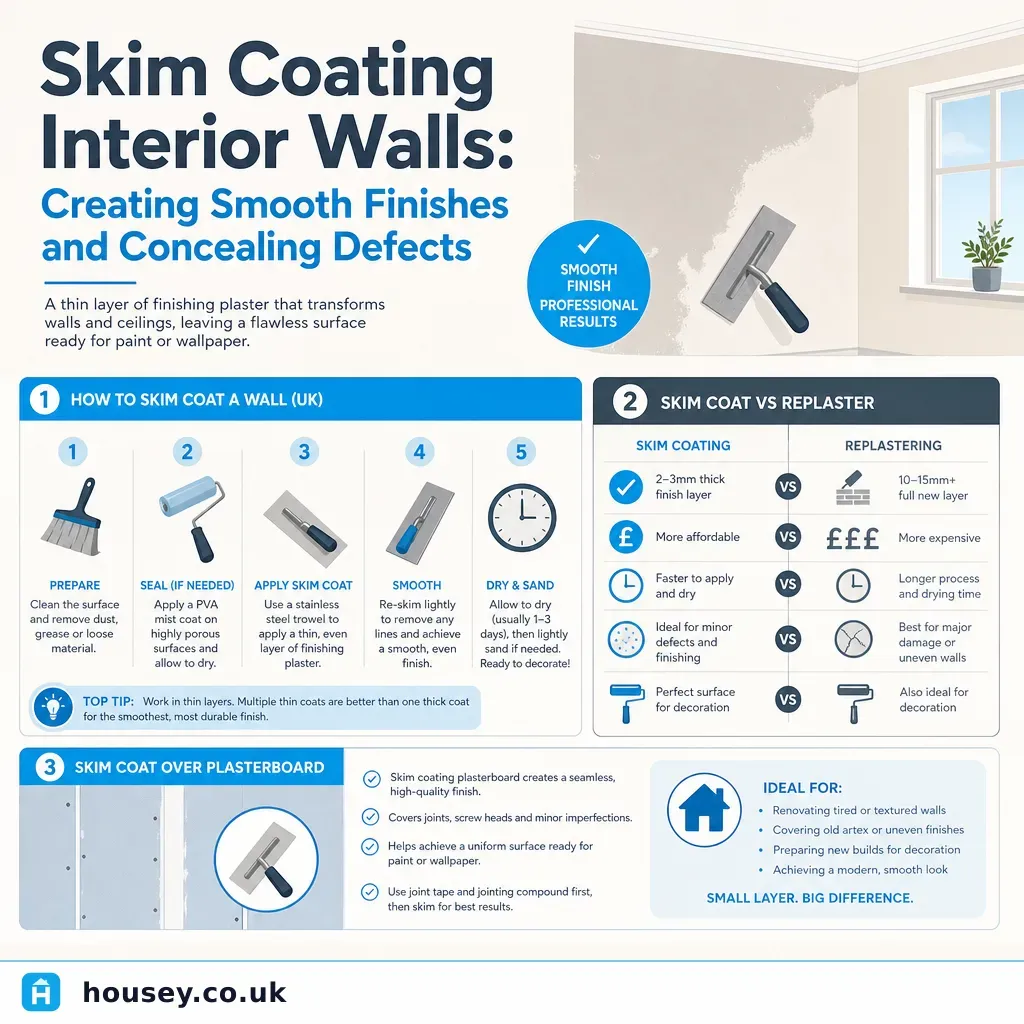
Skim Coating Interior Walls: Creating Smooth Finishes and Concealing Defects
Skim coating applies a 2–3 mm layer of finish plaster over prepared plasterboard or existing plaster, creating a smooth, paint-ready surface.
 Improvement & Build
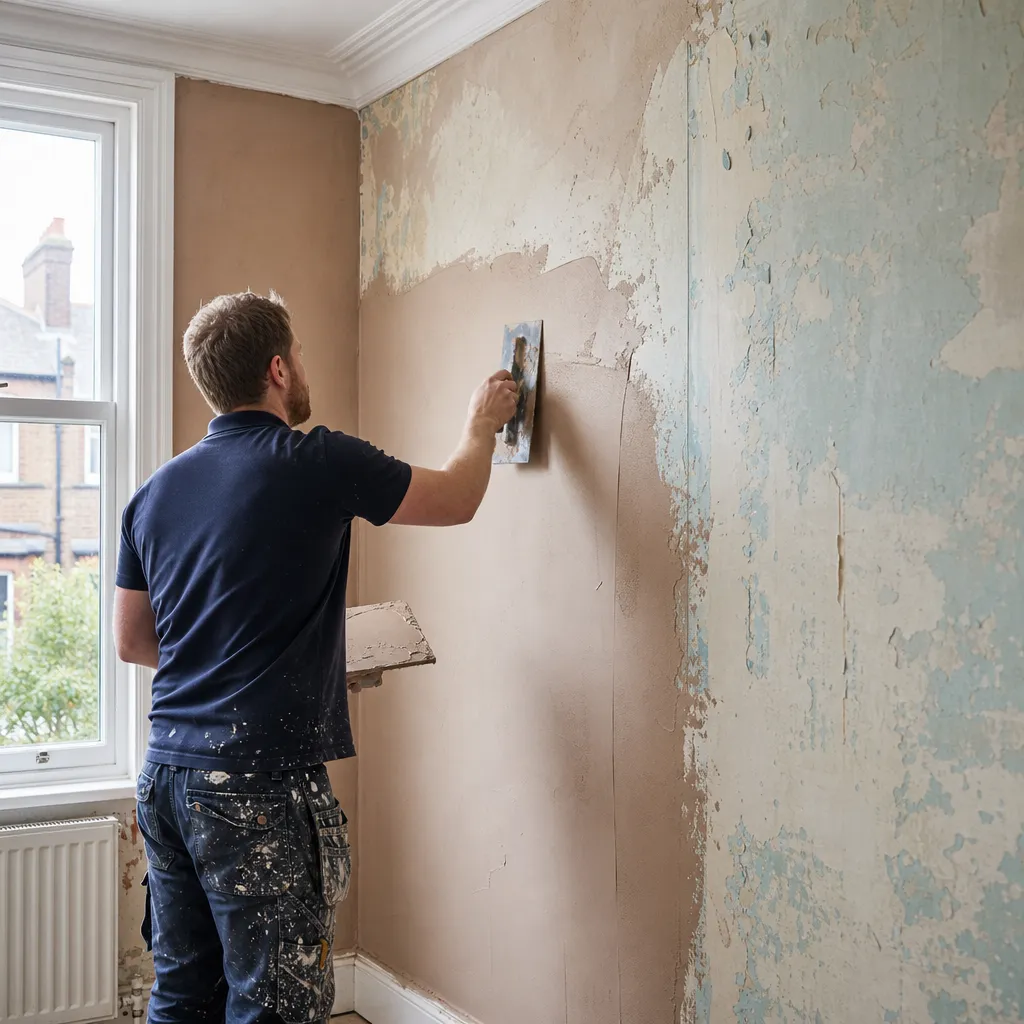
Plastering Over Existing Paint and Wallpaper: Surface Prep and Technique
Whether you can plaster over existing paint or wallpaper depends on surface condition and adhesion.
 Improvement & Build
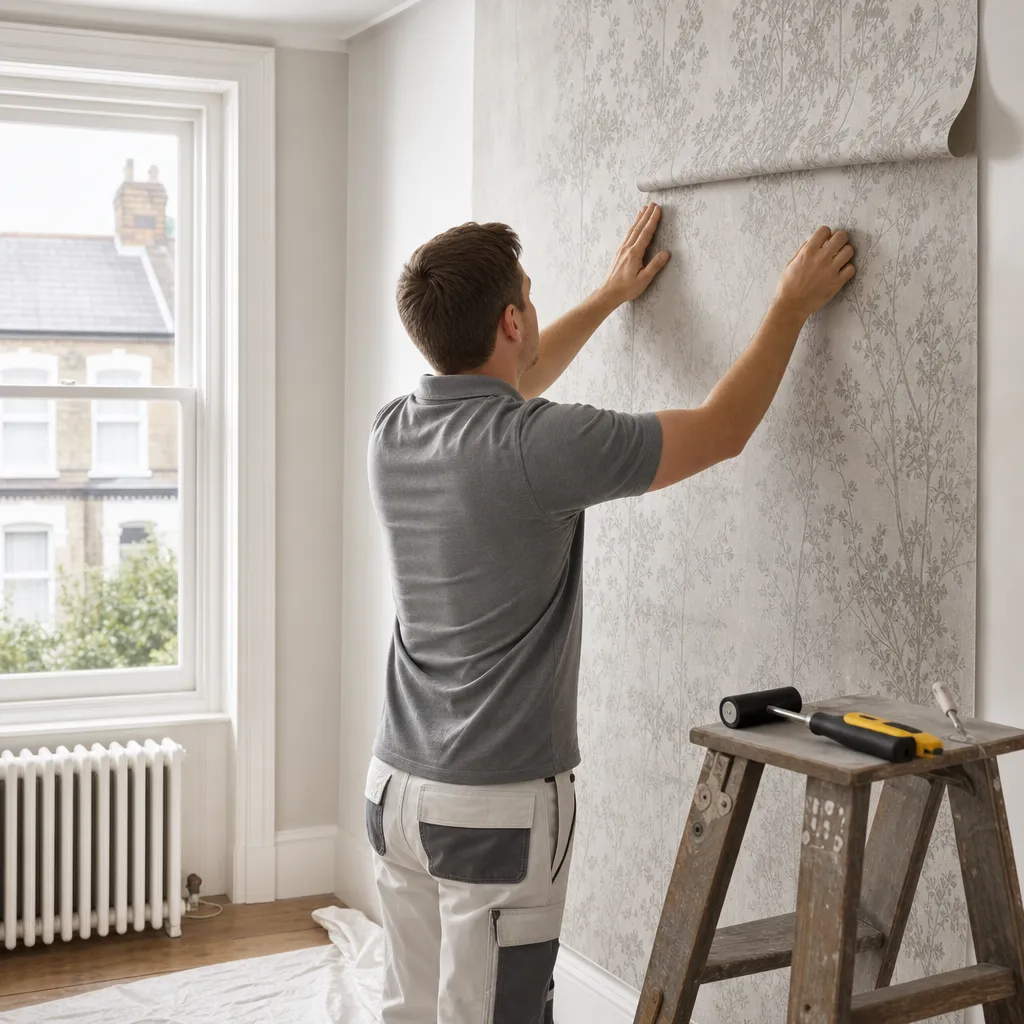
Installing Peel-And-Stick Wallpaper: Application Techniques
Peel-and-stick wallpaper works best on smooth, emulsion-painted walls cured for at least 30 days, in rooms between 13°C and 30°C.
 Improvement & Build
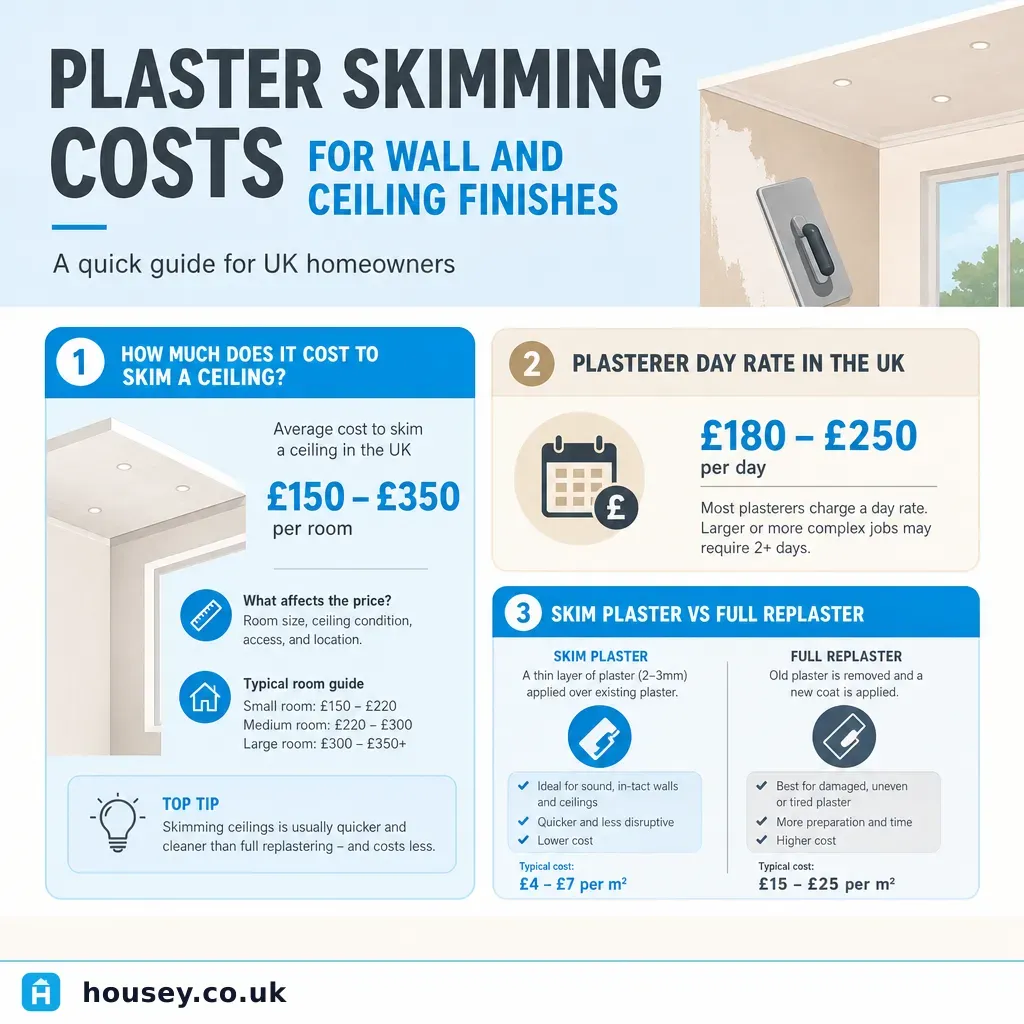
Plaster Skimming Costs for Wall and Ceiling Finishes
Skim plastering a typical bedroom costs £400–£750 for walls and ceiling combined; a single ceiling runs £150–£350 and a single wall £80–£180.
 Improvement & Build
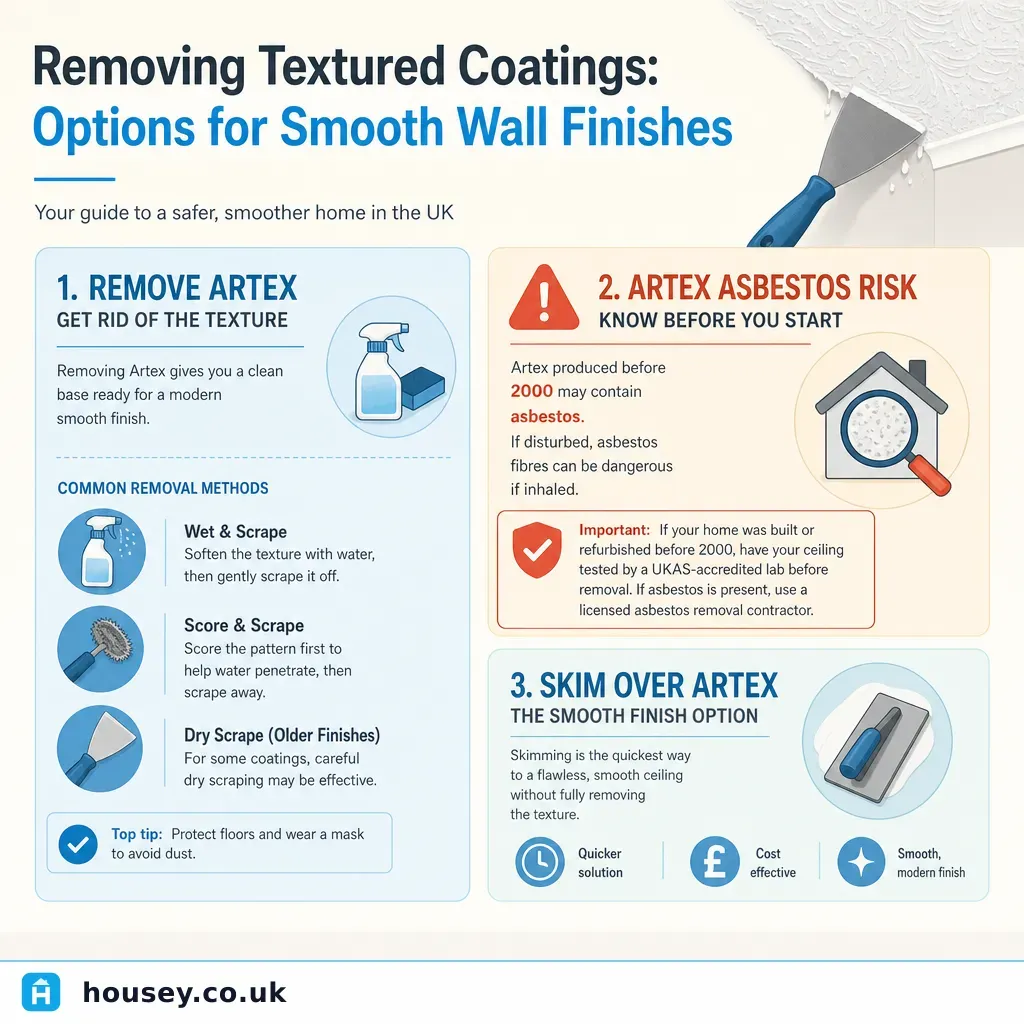
Removing Textured Coatings: Options for Smooth Wall Finishes
Textured coatings in UK homes built before 2000 may contain asbestos and must be tested before disturbance.