Surface Preparation for Rendering: Paint Removal and Substrate Preparation
By Housey · Last reviewed 4th of May 2026
Surface Preparation for Rendering: Paint Removal and Substrate Preparation
Applying render to an inadequately prepared surface is the single most common reason render systems fail within months of application. The situation arises most often when an older UK property has accumulated layers of masonry paint, stabilising solution, or bituminous coatings that were never intended to be rendered over. Getting this stage right protects a significant financial investment — rendered facades typically cost £30–£80 per m² to apply (indicative UK costs, last reviewed 2026-05-04), and remedial work after delamination can easily exceed the original outlay.
Key points
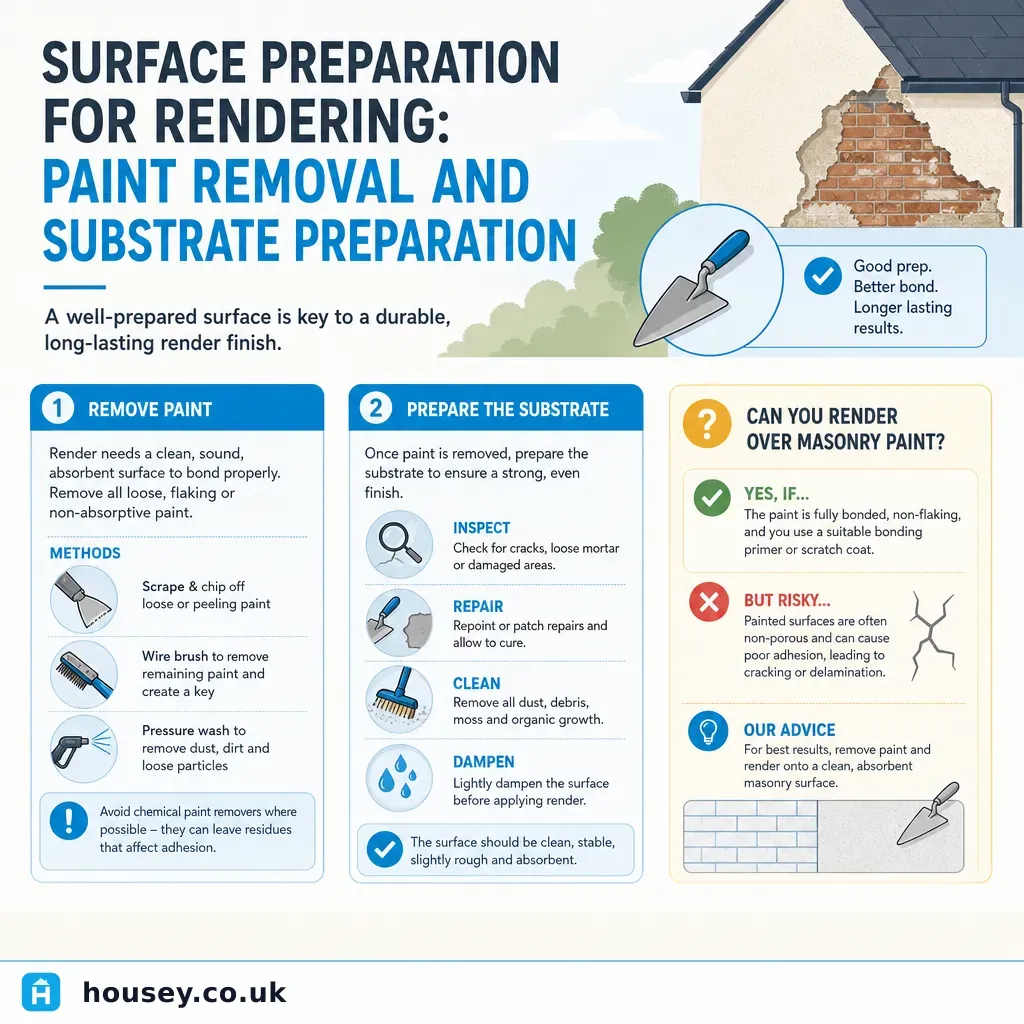
- All loose, flaking, or contaminated paint must be removed before rendering; residual paint acts as a bond-breaker and will cause render to delaminate.
- BS EN 998-1:2017 covers factory-made rendering mortars and requires substrates to be assessed for suction, strength, and contamination before application.
- Mechanical preparation (wire brushing, grinding, scarifying) is generally preferred over chemical stripping for external masonry substrates.
- A stabilising primer or PVA bonding agent should be used only where the render manufacturer's data sheet specifically requires it — over-priming can reduce adhesion on high-suction substrates such as porous brick or blockwork.
- Substrate moisture content should typically be below 20% before rendering commences; wet or saturated substrates cause carbonation problems and weak bond strength.
Why paint must be removed before rendering
Paint films — whether masonry paint, emulsion, gloss, bituminous coating, or old lime wash — create a weak interface between the render and the structural substrate. When render cures and shrinks, even modest thermal or moisture movement can cause it to shear away from a painted surface.
The standard site check is the coin scratch test: a sound substrate resists light scratching and shows minimal dust or paint transfer. If paint comes away easily, it must be removed. Professional renderers often carry out a pull-off adhesion test on sample areas (per BS EN 1542:1999) before finalising their preparation specification.
Surface coatings and preparation requirements
Coating type | Adhesion risk | Recommended removal method |
|---|---|---|
Flaking or chalking masonry paint | High — must remove | Wire brush, scraper, pressure wash |
Sound, well-bonded masonry paint | Medium — assess carefully | Scarifying; specialist primer only if render system-approved |
Bituminous or tar-based coating | Very high — must remove | Mechanical grinding; specialist chemical stripper |
Old lime wash | Low–medium | Wet scrubbing, wire brush |
PVA or stabilising solution (thick or multiple coats) | High | Remove; re-prime with render-system primer only |
New bare masonry | None | Pre-wet or prime per manufacturer's data sheet |
Mechanical preparation methods
Wire brushing and scraping removes loose, chalking, or flaking coatings from textured surfaces without chemical contamination.
Scarifying and grinding uses an angle grinder with a cup wheel to remove firmly bonded coatings and roughen smooth substrates. Essential on smooth concrete or painted smooth-faced blockwork. Produces significant dust; a minimum FFP2 mask and eye protection are required under COSHH Regulations 2002.
Pressure washing removes chalking paint and algae or moss contamination. Allow 48–72 hours to dry in dry conditions before rendering. Not a substitute for mechanical keying on smooth surfaces.
Shot or grit blasting suits smooth, dense substrates such as engineering brick or dense concrete. Specialist equipment; typically contracted separately.
Chemical stripping for rendering substrates
Chemical stripping is less commonly used for rendering preparation because residues can contaminate the substrate and inhibit adhesion. Where it is necessary — for example on intricate heritage stonework where mechanical abrasion would cause damage — the substrate must be fully neutralised per the stripper manufacturer's instructions, thoroughly rinsed, and allowed to dry below 20% moisture content before rendering.
Substrate assessment checklist
Before rendering begins, confirm each of the following:
Bonding agents and primers: when to use them
Use a bonding agent (typically SBR latex or acrylic-based) on low-suction or smooth substrates that cannot be adequately keyed mechanically — dense concrete, smooth engineering brick, or previously painted surfaces where the render manufacturer's system explicitly approves overcoating.
Do not apply a bonding agent to high-suction substrates such as porous brick or aerated concrete blocks — it can seal the surface and cause fresh render to slide before setting. Always verify compatibility with the render manufacturer's technical data sheet, as using an incompatible primer can invalidate a product warranty.
Which preparation method should you choose?
- Choose wire brushing and scraping if the paint is loose or chalking and the substrate texture is already adequate.
- Choose pressure washing if there is widespread algae or soiling alongside loose paint — follow with mechanical keying once dry.
- Choose scarifying or grinding if the paint is firmly bonded and the substrate is smooth.
- Choose chemical stripping only on heritage stonework where mechanical abrasion would cause irreversible damage — neutralise and rinse thoroughly before rendering.
- Ask a specialist if you are dealing with bituminous coatings, tar, or unknown industrial coatings that may contain hazardous substances.
- Check with the render system manufacturer if the substrate is unusual (insulated render board, SIP panel, or mixed substrate).
Red flags: when to stop and get professional advice
- Cracking that returns after repair — may indicate ongoing structural movement. Do not render over active cracks; consult a structural engineer.
- Widespread hollow-sounding existing render — suggests a moisture or structural issue requiring diagnosis before re-rendering.
- Persistent damp patches or dark staining — render will not resolve rising damp, penetrating damp, or a plumbing leak; diagnose the source first.
- Bituminous or tar coating of unknown composition — older coatings may contain hazardous materials; arrange a materials assessment before mechanical disturbance.
- Active efflorescence — soluble salts migrating through the wall indicate an active moisture source; rendering over them traps salts and causes failure.
- Listed building or conservation area — lime render systems on historic fabric have specific preparation requirements; consult a conservation officer or specialist contractor.
When to get professional help
Straightforward paint removal and surface preparation is within the capability of a competent rendering contractor. Seek professional assessment when the building is listed or in a conservation area, when there is evidence of structural cracking or widespread persistent damp, when the existing coating may contain lead or tar (common in pre-1980 properties), when specifying an external wall insulation (EWI) render system where preparation affects building regulation compliance, or when the substrate is mixed and suction rates vary significantly across the wall.
How Housey can help
Housey connects homeowners with vetted rendering and exterior-works contractors across the UK. Whether you need a full substrate assessment, paint removal, or a complete external render system, you can use Housey to request quotes and compare contractors in your area.
Frequently asked questions
Can I render directly over sound, well-bonded masonry paint?
Some modern thin-coat and silicone render systems allow application over sound, well-bonded masonry paint if a compatible primer is applied first — but this depends entirely on the render manufacturer's technical guidance. If the paint is chalking, flaking, or of uncertain condition, remove it first. Always check the manufacturer's data sheet; if in doubt, removing the coating gives a more reliable result.
How do I know if the substrate is dry enough to render?
Use a calibrated pin-type or capacitance moisture meter on several areas of the wall. Most render manufacturers recommend a moisture content below 20% for masonry. Allow at least 48–72 hours of dry weather after washing or rain before testing, and avoid rendering in temperatures below 5°C or above 30°C.
Do I need to apply a spatterdash coat before rendering?
A spatterdash coat — a rough cement-and-coarse-sand slurry thrown onto the wall — creates a mechanical key on smooth, low-suction substrates such as dense concrete or smooth blockwork. It is not required on textured brick or stone with adequate surface profile. Check whether the render manufacturer recommends it for your specific substrate type.
How long after paint removal should I wait before rendering?
Allow the substrate to dry fully — typically 48–72 hours in mild, dry conditions after pressure washing, or longer in cold or humid weather. Check moisture content with a meter rather than relying on visual inspection alone, and follow the render manufacturer's data sheet for specific drying time requirements.
Sources and further reading
- BS EN 998-1:2017 — Specification for mortar for masonry — BSI Group
- Building Regulations Approved Document C: Site preparation and resistance to contaminants and moisture — HM Government
- Practical Building Conservation: Mortars, Renders and Plasters — Historic England
- Control of Substances Hazardous to Health (COSHH) — Health and Safety Executive
Useful next reads
 Improvement & Build
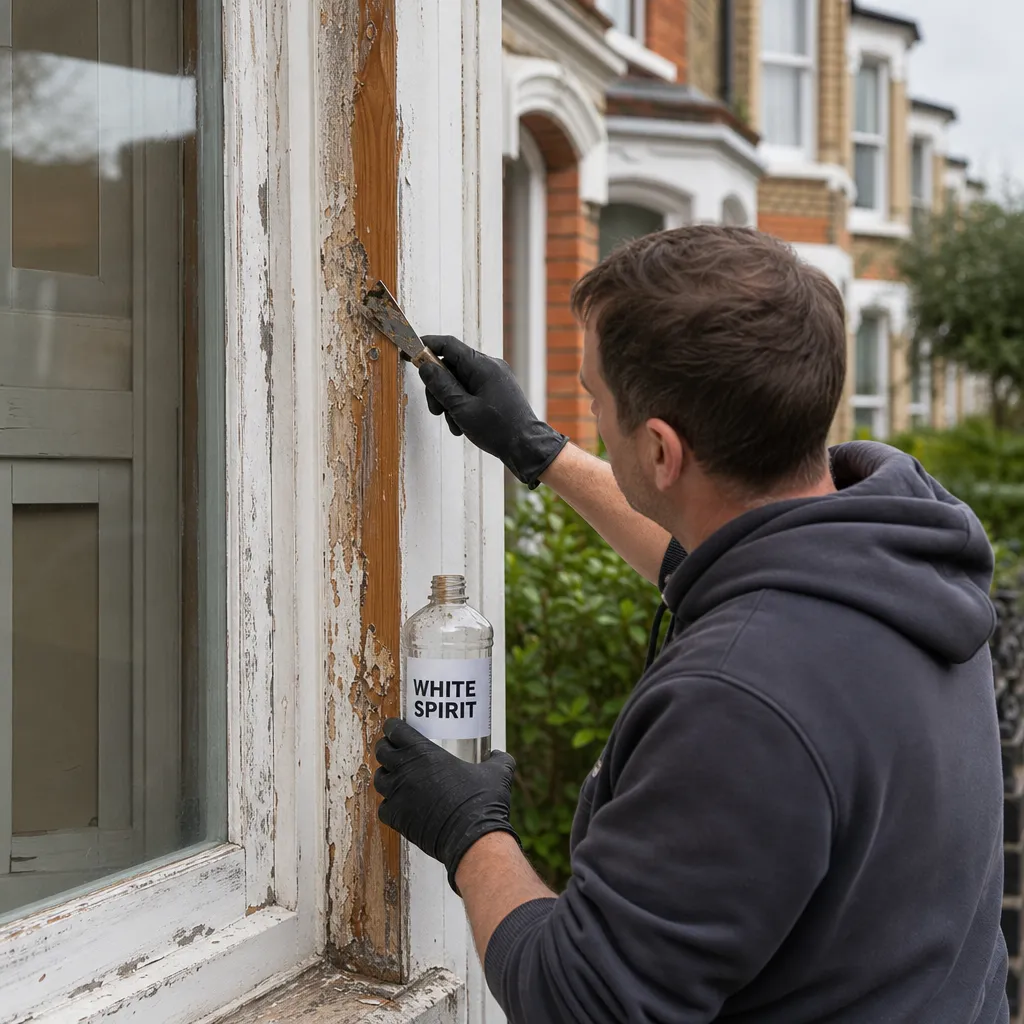
Paint Removal with White Spirit: Effectiveness and Application
White spirit dissolves uncured, freshly applied oil-based paints and is useful for cleaning brushes and removing fresh drips, but has very limited effect on fully dried or cured paint films.
 Improvement & Build
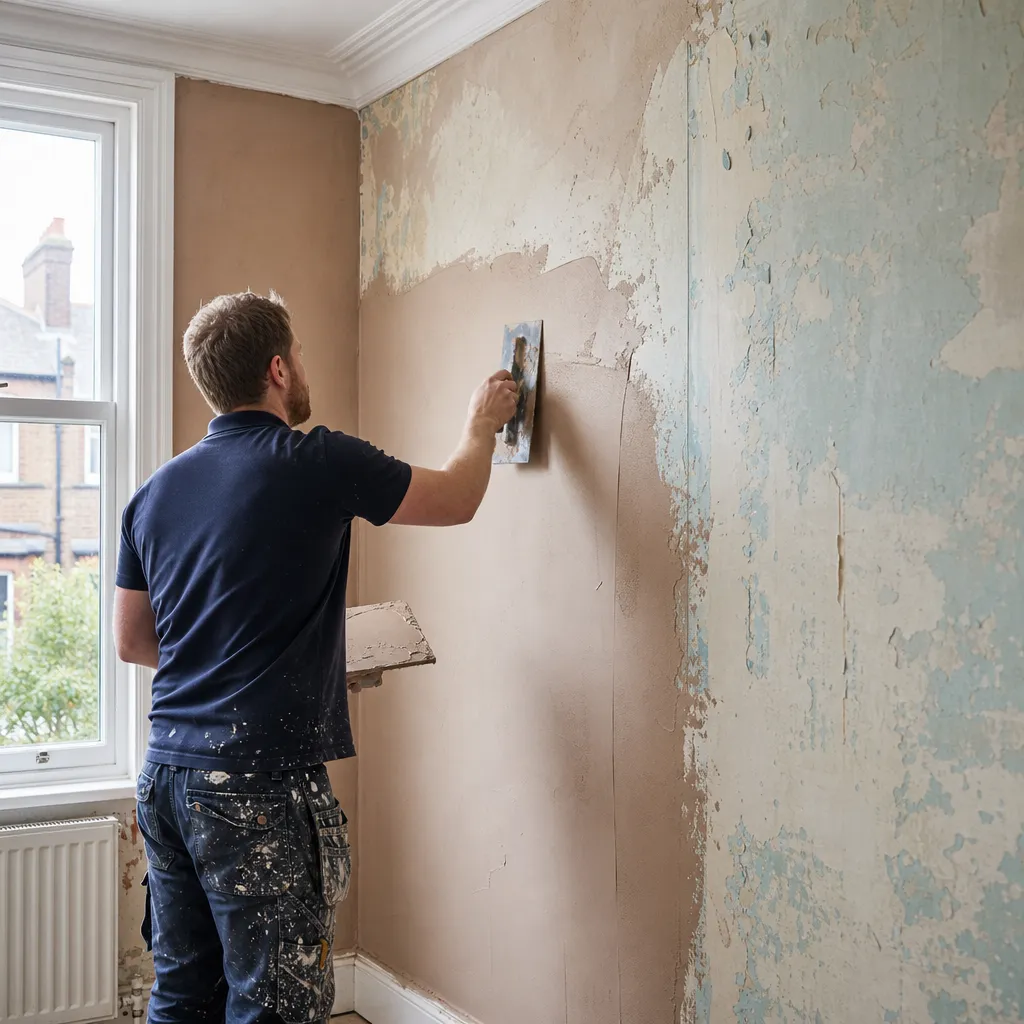
Plastering Over Existing Paint and Wallpaper: Surface Prep and Technique
Whether you can plaster over existing paint or wallpaper depends on surface condition and adhesion.
 Improvement & Build
Labour and material costs for floor tiling projects
Floor tiling in the UK typically costs £30–£60 per m² in labour, plus materials ranging from £10–£40/m² for ceramic to £50–£150+/m² for natural stone.
 Improvement & Build
Essential Steps for Driveway Installation
Installing a driveway in England requires planning permission only when using an impermeable surface (standard tarmac, concrete, or block paving) on a front garden area over 5 m².
 Improvement & Build
Preparing Walls for Patching: Surface Preparation Best Practice
Durable wall patching starts with removing all loose material, cutting back to a clean and stable edge, cleaning the substrate, and priming with a construction-grade PVA bonding agent before applying any filler or plaster.