Removing Wallpaper Adhesive Residue Before Redecorating
By Housey · Last reviewed 18th of May 2026
Removing Wallpaper Adhesive Residue Before Redecorating
Stripping wallpaper is rarely the end of the preparation job. Once the paper comes off, most UK walls retain a film of dried paste that is almost invisible when the surface dries but can cause paint to streak, bubble, or peel within weeks of a fresh redecoration. Skipping or rushing this stage is one of the most common causes of early decoration failure — and it is entirely avoidable with the right approach.
Key points
- Dried wallpaper paste prevents emulsion paint from bonding evenly to the plaster surface, causing streaking, cloudiness, or early flaking of the finished coat.
- Sugar soap solution, diluted at the manufacturer's recommended ratio (typically 1:8 to 1:10 with warm water), is effective for removing most cellulose and starch-based wallpaper adhesives from sound plaster.
- Vinyl-backed, heavy-duty, or ready-mixed adhesives are less soluble in plain water and may require a proprietary adhesive remover or additional passes with a stronger cleaning solution.
- Walls must dry completely — typically 24–48 hours in a well-ventilated room — before any primer or paint is applied; painting too soon traps moisture and causes bubbling under emulsion.
- On older properties with lime plaster, use minimal water and a light touch; excessive wetting can soften and damage the plaster coat beneath the skim.
Why adhesive residue causes problems
Wallpaper paste is designed to bond paper firmly to the wall and penetrates slightly into the plaster surface as it sets. When the wallpaper is stripped, a thin film almost always remains, even on walls that appear clean. This dried residue causes problems in three distinct ways:
- It is hydrophilic — it reabsorbs moisture from water-based emulsion as the paint is applied, causing localised swelling and the characteristic patchy or cloudy finish that appears as the paint dries.
- It weakens paint adhesion — bonds formed over a paste film are weaker than those formed directly on clean plaster, making the coating more likely to lift or flake in the months after decoration.
- It creates surface irregularities — dried lumps or ridges of old paste show through the finished paint coat, particularly under raking light.
How to remove wallpaper adhesive residue
What you will need
- Bucket and warm water
- Sugar soap concentrate or washing-up liquid (for light residue)
- Proprietary adhesive remover (for heavy, vinyl-based, or stubborn residue)
- Large sponge or soft-bristle scrubbing brush
- Clean lint-free cloths
- Flexible plastic or fine metal scraper
- Medium-grit sandpaper (120–150 grit)
Step by step
- Test a small area first. Before washing the entire room, wet a 30 cm square section and observe how the plaster responds. Sound modern plaster should remain firm; lime plaster or fragile areas may soften with prolonged wetting and need a gentler approach.
- Mix your cleaning solution. For standard cellulose paste, dissolve sugar soap concentrate in warm water at the manufacturer's recommended dilution. For very light residue, a few drops of washing-up liquid in warm water is often sufficient.
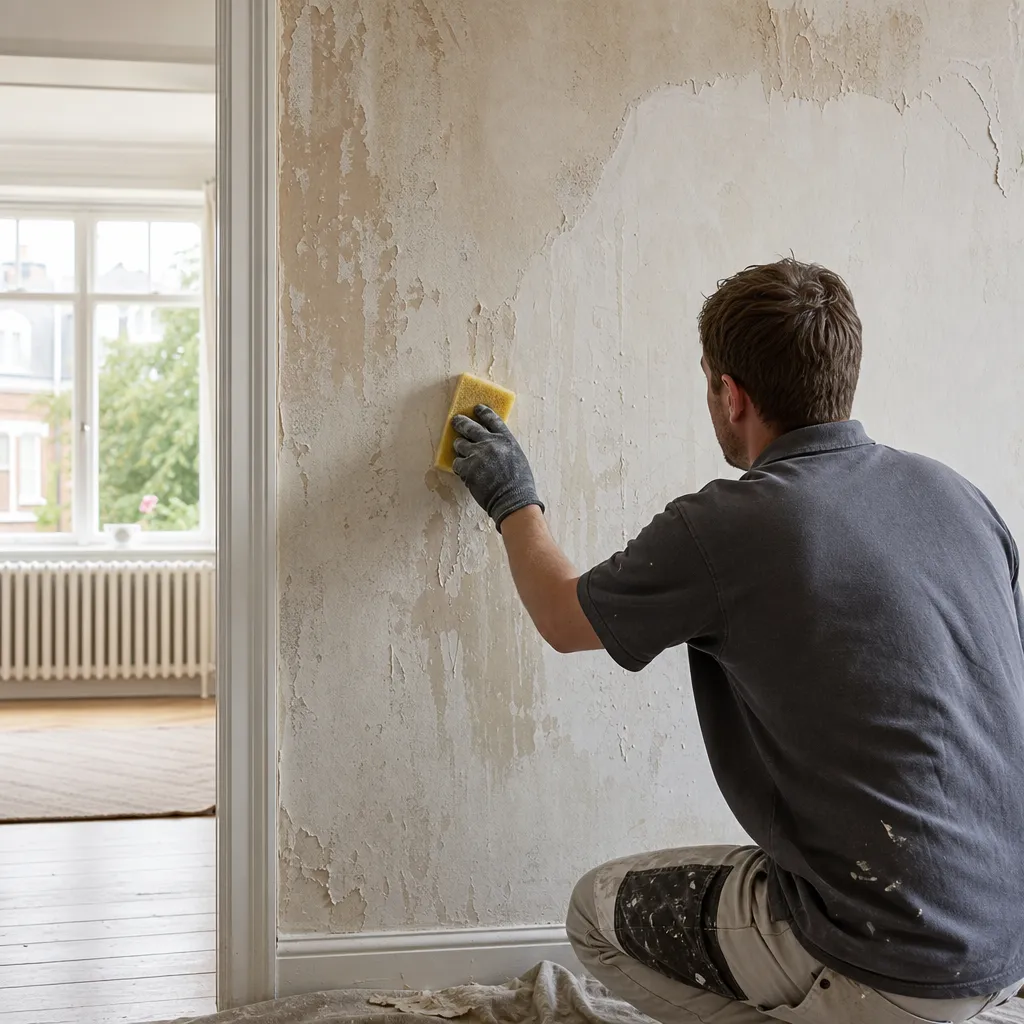
- Work in manageable sections. Apply the solution with a sponge or soft brush in approximately 1 m² areas. Allow 2–3 minutes for the solution to soften the paste before wiping.
- Wipe and rinse. Remove the loosened paste with a clean, damp sponge or cloth. Rinse the sponge frequently to avoid redistributing paste across the surface.
- Repeat for heavy build-up. Older properties where paper was hung directly on bare plaster without a size coat, or where several layers were applied over the years, may need two or three cleaning passes.
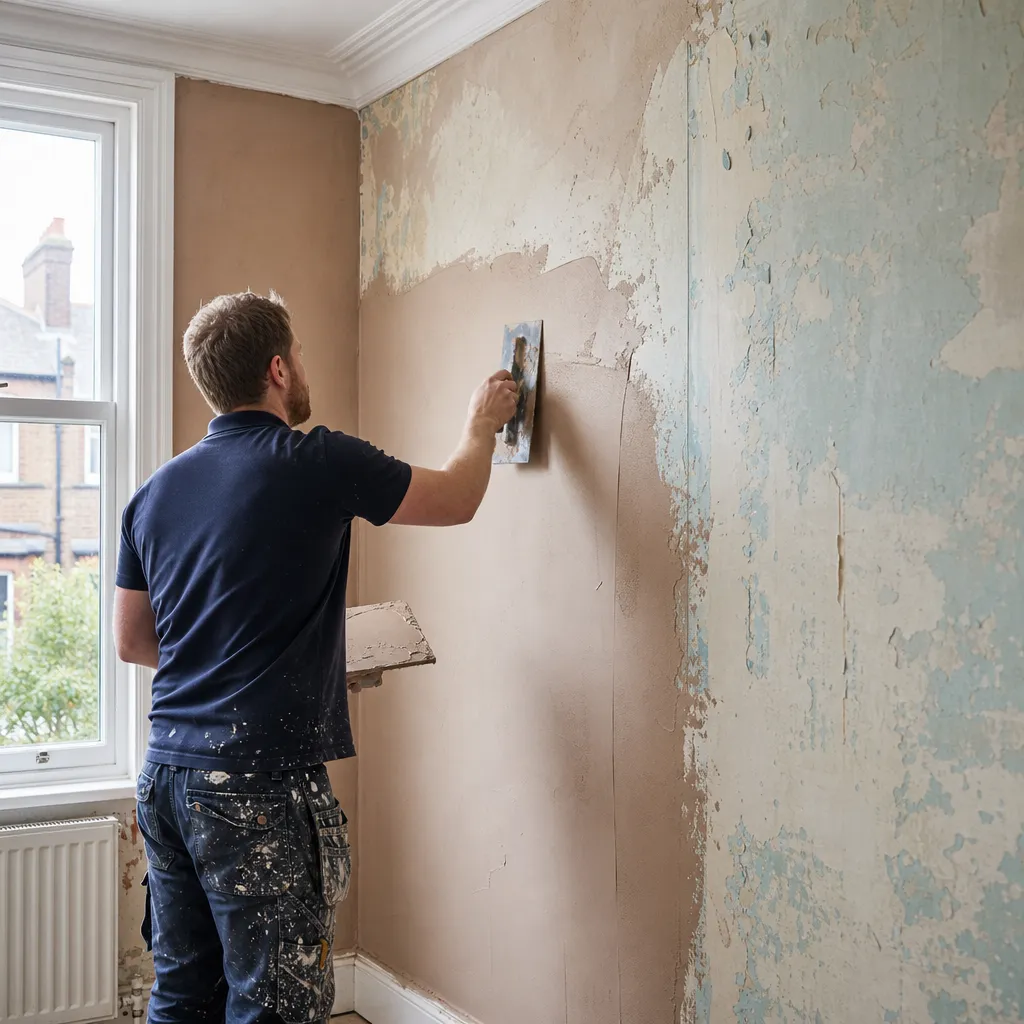
- Lift stubborn dried lumps. Use a flexible scraper to gently remove hardened deposits, then re-wet and wipe. Avoid gouging the plaster surface.
- Final rinse with clean water. A rinse with plain warm water removes any residual sugar soap, which can also impair paint adhesion if left on the surface.
- Allow to dry thoroughly. Leave the room well ventilated for at least 24 hours — 48 hours in winter or in rooms with limited airflow — before priming or painting.
- Light sanding once dry. A single pass with medium-grit sandpaper after drying knocks back any raised grain in the plaster and improves the surface for priming.
What not to assume
"If the wall looks clean and dry, the paste is gone." Dried paste is almost transparent against white plaster. Wipe a damp cloth across a stripped wall and check the cloth — if it turns beige or grey, residue is present regardless of how clean the wall appears.
"A good primer will seal over the residue." Standard primers are not formulated to bond reliably over adhesive residue. Some specialist stabilising or bonding primers can improve adhesion on lightly contaminated surfaces, but a heavily paste-covered wall will still show paint failures in time. Cleaning first is always more effective than attempting to cover with primer alone.
"I will need to re-skim the whole room." Not necessarily. Minor surface scarring from stripping is normal and can usually be filled and sanded smooth. A full re-skim is only needed if the plaster is extensively damaged, if large areas of skim coat have been pulled away during stripping, or if the substrate is severely uneven. Assess the extent of damage carefully before commissioning a plasterer.
"Sugar soap is only for cleaning gloss paintwork." Sugar soap is a general-purpose surface degreaser and cleaner used by decorators before painting on all substrates — walls, woodwork, and previously painted surfaces alike. It is equally effective for breaking down dried wallpaper paste.
"The walls will be ready to paint the same day." Wet plaster dries more slowly than many homeowners expect, particularly in winter or in rooms with little ventilation. Painting before the wall has dried thoroughly traps moisture and almost guarantees bubbling under emulsion. Press the back of your hand firmly against the wall: it should feel cool but not perceptibly damp before any coating is applied.
Pre-redecorating wall preparation checklist
Before applying primer, paint, or new wallpaper, confirm each of the following:
When to get professional help
Most adhesive residue removal is straightforward DIY preparation. Consider instructing a professional decorator or plasterer if:
- Large sections of plaster have been pulled away during stripping and require re-skimming.
- The property has lime plaster that must be preserved — it requires careful handling and lime-compatible repair materials.
- Repeated layers of wallpaper have created heavy adhesive build-up that cannot be removed without risking damage to the plaster surface below.
- Damp patches are visible after stripping — these should be diagnosed and treated before any new decoration proceeds.
How Housey can help
If stripping wallpaper has revealed underlying problems — damaged plaster, persistent damp, or extensive surface repairs beyond basic filling — Housey can connect you with vetted local tradespeople who can assess and quote for plastering, damp treatment, or full room preparation and decoration. Browse professionals near you at Housey.co.uk.
Frequently asked questions
Can I use a wallpaper steamer to help remove adhesive residue?
A steamer is primarily used to loosen stubborn wallpaper rather than remove dried paste, but it can soften adhesive residue. Use it cautiously — excessive steam on standard plaster risks softening the skim coat, and on older lime plaster, prolonged steaming can cause significant surface damage. Short bursts with time for the surface to respond between passes are safer than sustained application.
What if the paste has soaked into porous plaster and will not come off?
On older or highly porous plaster, paste can penetrate deeply. Multiple cleaning passes will remove the surface layer; any residue bound into the substrate can be consolidated once the wall is fully dry using a specialist stabilising primer, available from decorator's merchants. Ask your local merchant for a recommendation suited to your specific wall type and condition.
How do I know if I have a skim coat or bare plaster?
In most post-war UK properties, walls have a smooth skim coat over a sand-and-cement undercoat. In older properties — particularly pre-1900 terraces — original lime plaster may be present. If stripping reveals a rough, sandy surface rather than a smooth grey or white layer, treat it as a porous substrate, use minimal water, and allow extended drying time before priming.
Do I need to clean walls even if I am re-wallpapering rather than painting?
Yes. Hanging new wallpaper over adhesive residue causes uneven paste absorption, bubbling at seams, and poor adhesion — particularly with lightweight or embossed papers. Cleaning the wall and allowing it to dry fully before re-papering gives the new adhesive the best chance of forming a sound, even bond across the whole surface.
Sources and further reading
- Surface preparation and best practice advice for decorators — Painting and Decorating Association (PDA)
- How to prepare walls for painting — Dulux
- Preparing surfaces for decoration — Crown Paints
Useful next reads
 Improvement & Build
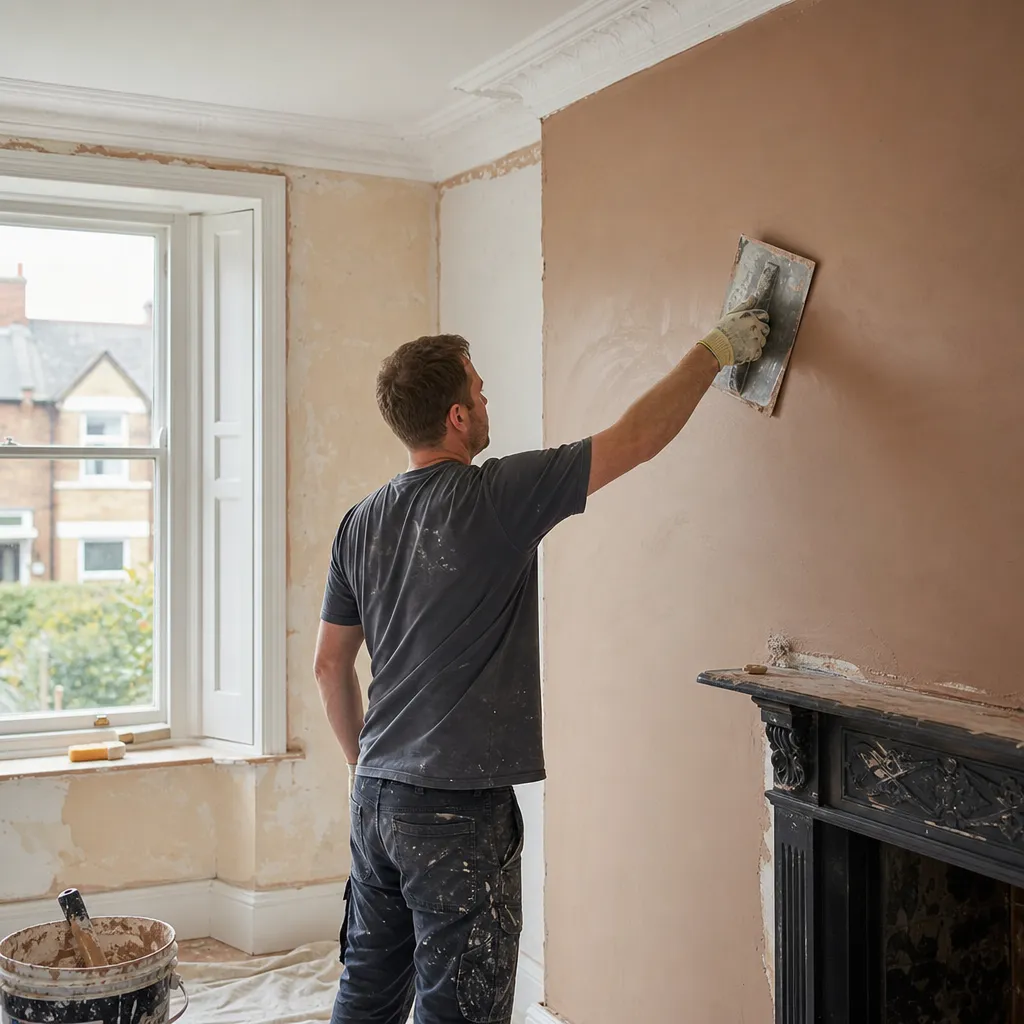
Plastering Over Existing Paint and Wallpaper: Surface Prep and Technique
Whether you can plaster over existing paint or wallpaper depends on surface condition and adhesion.
 Improvement & Build
Replastering Interior Walls: Techniques for Smooth Finishes and Problem Solving
Replastering interior walls involves removing all loose or damaged plaster, preparing the substrate, and applying coats suited to the wall type.
 Improvement & Build
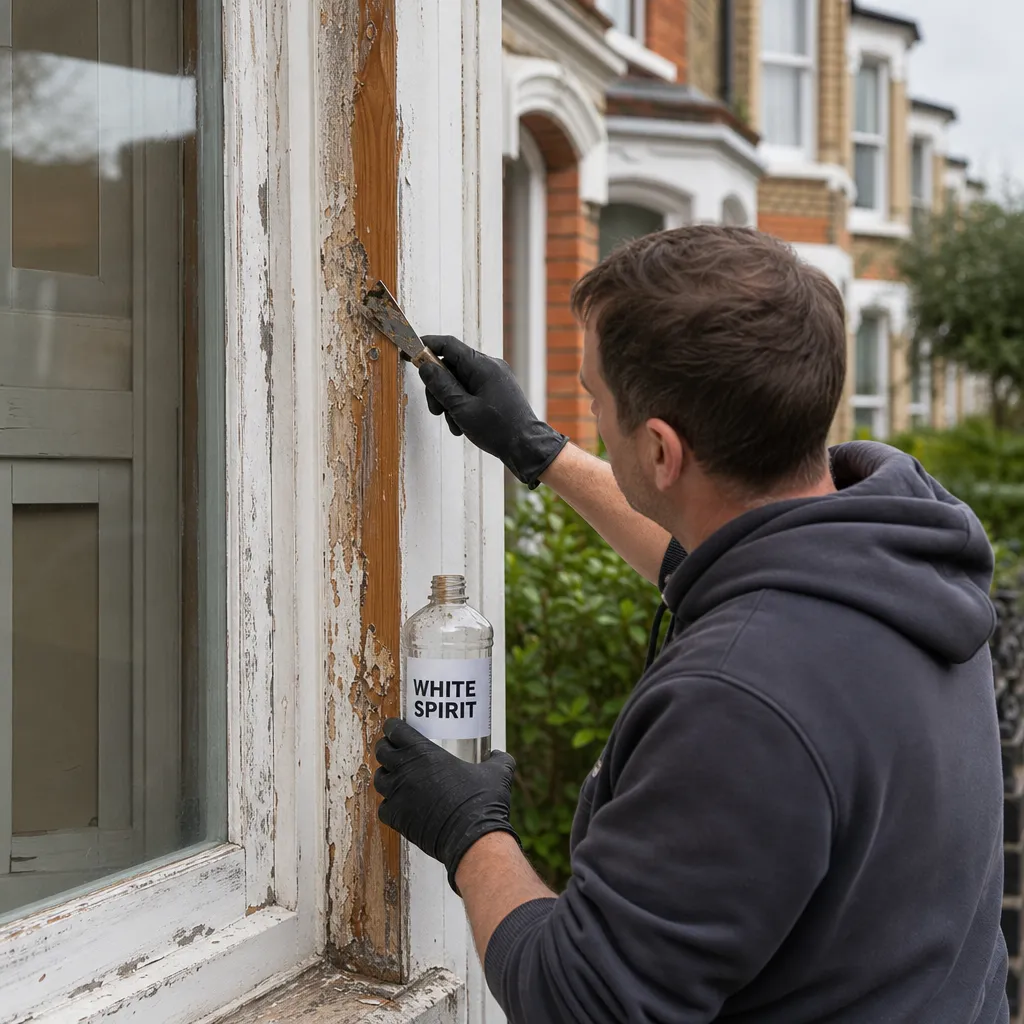
Paint Removal with White Spirit: Effectiveness and Application
White spirit dissolves uncured, freshly applied oil-based paints and is useful for cleaning brushes and removing fresh drips, but has very limited effect on fully dried or cured paint films.
 Improvement & Build
Labour and material costs for floor tiling projects
Floor tiling in the UK typically costs £30–£60 per m² in labour, plus materials ranging from £10–£40/m² for ceramic to £50–£150+/m² for natural stone.
 Improvement & Build
Essential Steps for Driveway Installation
Installing a driveway in England requires planning permission only when using an impermeable surface (standard tarmac, concrete, or block paving) on a front garden area over 5 m².