Pond Liners: Materials and Installation for Garden Water Features
By Housey · Last reviewed 26th of May 2026
Pond Liners: Materials and Installation for Garden Water Features
Choosing the right liner is one of the most consequential decisions in pond construction — get it wrong and you face leaks, premature failure, or a complete rebuild within a few years. Whether you are installing a new feature in a contemporary garden or replacing a failed liner in an existing Victorian-walled garden, the material, thickness, and installation method all affect long-term performance. This guide covers the main liner types available in the UK, how to size and install them correctly, and what to do when a liner begins to fail.
Key points
- EPDM (ethylene propylene diene monomer) rubber liners are rated for 20–50 years; butyl rubber is comparable but typically 10–20% more expensive per square metre.
- The standard sizing formula is: liner length = pond length + (2 × maximum depth) + 0.6 m; the same applies to width — the 0.6 m provides 300 mm of overlap on each side for anchoring.
- PVC liners have a typical lifespan of 10–15 years; polypropylene liners sit between PVC and EPDM in both longevity and cost.
- A geotextile underlay of at least 300 gsm should be installed beneath all flexible liners to prevent puncture from stones, roots, and ground movement.
- Preformed fibreglass shells require a compacted, level base with 50 mm of sharp sand bedding; poor levelling is the leading cause of cracking and early structural failure.
Liner types compared
Liner type | Lifespan | Best for | Not ideal for | Indicative cost per m² |
|---|---|---|---|---|
EPDM rubber | 20–50 years | Most garden ponds; wildlife ponds; irregular shapes | Budget-only projects | £3–£6 |
Butyl rubber | 20–50 years | Formal ponds; large features; koi ponds | Cost-sensitive projects | £4–£8 |
PVC | 10–15 years | Small ornamental ponds; short-term features | Long-term wildlife ponds; koi ponds | £1–£3 |
Polypropylene (PP) | 15–30 years | DIY installs; good puncture resistance | Complex shapes — less flexible when cold | £2–£4 |
Preformed fibreglass | 20–40 years | Simple shapes; quick installs; formal features | Large or irregular ponds; sloped sites | £40–£200 per unit |
Concrete (rendered) | 25–50 years with maintenance | Large formal ponds; commercial features | DIY; frost-prone soils without reinforcement | High; variable by size |
Indicative UK costs, last reviewed 2026-05-26. Prices vary by supplier, liner thickness, and quantity ordered. Always obtain itemised quotes before purchasing.
Which liner material should you choose?
Decision tree
- Choose EPDM if you want the best balance of longevity, flexibility, and value. It performs well in UV exposure and cold weather, handles irregular shapes well, and is the most widely specified flexible liner in UK garden ponds.
- Choose butyl rubber if you need maximum elasticity for complex contouring or heavy rock edging and are willing to pay a modest premium over EPDM.
- Choose PVC if budget is the primary constraint and the pond is small (under 5 m²) or intended as a temporary feature.
- Choose polypropylene if you want improved puncture resistance over PVC at modest additional cost and the pond has a straightforward shape.
- Choose a preformed fibreglass shell if you want a guaranteed shape, the site is level and accessible, and the pond footprint fits a standard mould size.
- Consult a landscaper or pond specialist if the pond will house koi (which require deeper water and higher liner quality), or if the site has reactive soils, a high water table, or poor drainage.
Calculating liner size: a worked example
The formula used by UK suppliers:
Liner length = pond length + (2 × maximum depth) + 0.6 m Liner width = pond width + (2 × maximum depth) + 0.6 m
The 0.6 m addition provides 300 mm of overlap on each side for anchoring under coping stones or into a liner anchor strip.
Worked example — typical UK garden pond (1990s estate house garden):
Pond dimensions: 3 m long × 2 m wide × 0.8 m deep
- Liner length = 3 + (2 × 0.8) + 0.6 = 5.2 m
- Liner width = 2 + (2 × 0.8) + 0.6 = 4.2 m
Order at least 5% additional area to allow for irregular profiles, folds at internal corners, and planting shelf contouring. For a pond with two planting shelves of different depths, use the deepest point in the calculation.
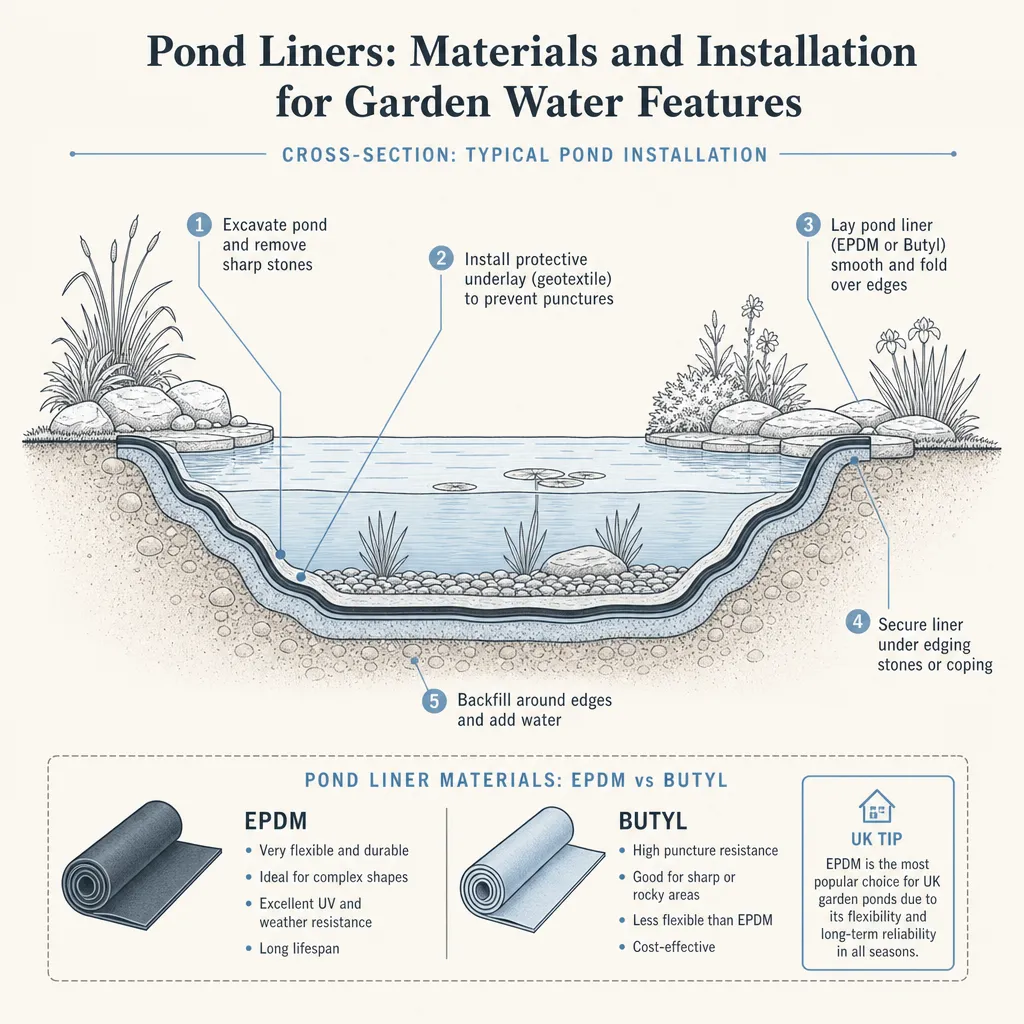
Installation: step by step
1. Site preparation
Mark out the pond footprint and excavate to finished depth, including planting shelves at 20–30 cm depth for marginal plants. Remove all sharp stones, roots, and debris from the base and sides. Compact the base gently without leaving loose, uneven soil.
2. Underlay
Lay geotextile underlay (minimum 300 gsm) across the full excavation including shelves and sides, with 150–200 mm extending beyond the top edge. Overlap joins by at least 200 mm; no adhesive is needed for garden-scale installations.
3. Liner draping
Unfold the liner on a warm day above 10°C — EPDM and butyl are significantly more pliable and easier to handle in warm conditions. Drape it loosely over the excavation, leaving even overlap on all sides. Do not stretch it taut before filling begins.
4. Water filling
Begin filling slowly. The water weight moulds the liner into the excavation shape; guide it by hand at corners and shelves to form neat, flat folds rather than bunched creases. Fill to within 100 mm of finished water level before cutting and anchoring the edges.
5. Anchoring and edging
Trim the liner leaving 300 mm of overlap beyond the pond edge. Anchor under coping stones, paving slabs, or a purpose-made liner anchor strip. Use off-cuts of underlay as cushioning beneath any sharp coping edges. For formal ponds with mortar-bedded coping, sandwich the liner between two courses of mortar to prevent capillary wicking along the liner surface.
What not to assume
Do not assume a thicker liner is always better. A 0.75 mm EPDM liner with quality underlay typically outperforms a 1 mm PVC liner without underlay. The protective layer provided by the underlay is as important as liner thickness in preventing puncture damage.
Do not assume a preformed shell needs minimal preparation. Poor base levelling is the most common cause of preformed pond failure. Even a modest tilt creates sustained edge-loading stress that can crack fibreglass over several seasons of thermal movement.
Do not assume all black liners are equivalent. EPDM, butyl, and PVC look similar once installed. Check the product specification before purchasing — liners described as fish-safe should be free of plasticisers or chemicals that could leach into the water and harm aquatic life.
Do not assume a leaking pond always needs a full liner replacement. Small punctures in EPDM and butyl can be repaired successfully with compatible self-adhesive patches, often providing many further years of service. Identify the source of the leak systematically before committing to replacement.
Liner repair vs replacement
Situation | Recommended action |
|---|---|
Single puncture under 50 mm | Self-adhesive repair patch — must be EPDM-compatible for EPDM liners |
Multiple small leaks across a wide area | Full replacement; liner has likely reached end of useful life |
Seam failure on a joined or factory-welded liner | Re-bond with compatible pond liner tape or contact adhesive; inspect both sides |
Liner torn at edge beneath coping stone | Lift coping, re-lay with padded underlay buffer, patch the tear |
PVC liner cracking or becoming brittle | Replace with EPDM; UV degradation in PVC is not repairable |
When to get professional help
Consider engaging a professional when:
- The pond is larger than 10 m² or deeper than 1 m
- The site is on a slope or has drainage or groundwater issues
- The pond will house koi or other fish requiring deeper, well-filtered water
- Concrete-based construction is preferred
- You are unsure of the liner material already installed and need to identify it before purchasing compatible repair products
An experienced landscaper experienced in pond construction can calculate liner requirements accurately and manage installation to ensure watertight results. A garden designer can advise on integrating liner choice with planting, edging, and overall water feature design.
How Housey can help
Housey can match you with landscapers experienced in pond construction and liner installation as well as garden designers who can plan a complete water feature from excavation through to planting. Describe your project and receive itemised quotes from local specialists.
Frequently asked questions
How long does a pond liner last in the UK?
EPDM and butyl rubber liners typically last 20–50 years when installed with quality underlay and not subjected to physical damage. PVC liners usually last 10–15 years before UV degradation causes brittleness. Preformed fibreglass shells can last 20–40 years. Exposure to direct sunlight where the liner surfaces above the waterline accelerates ageing in all flexible liner types.
Can I install a pond liner myself?
Yes, for most garden ponds. Flexible liners up to around 20–25 m² are manageable as a DIY project if the site is accessible and the excavation well prepared. Larger ponds, those on slopes, or those requiring concrete work or complex plumbing benefit from professional installation to ensure accurate sizing and watertight edge anchoring.
What thickness of pond liner should I choose?
For most garden ponds, 0.75 mm EPDM with quality underlay is the standard recommendation. Koi ponds or ponds in areas with stony or reactive soils often specify 1 mm EPDM. Do not compromise on underlay — it protects the liner from below and is as important as liner thickness in determining long-term performance.
How do I find a leak in a pond liner?
Mark the water level with masking tape and observe overnight with the pump off. If the level drops, the leak is in the liner rather than the plumbing. Work systematically across shelves, sides, and base, checking for folds, trapped debris, or root penetration near the edges. EPDM and butyl liners can often be repaired with compatible self-adhesive patches without full replacement.
Sources and further reading
- RHS: building a garden pond — Royal Horticultural Society
- Check if you need a flood risk activity environmental permit — Environment Agency / GOV.UK
- Ornamental Aquatic Trade Association (OATA) — fish-safe pond product and environment guidance
Useful next reads
 Improvement & Build
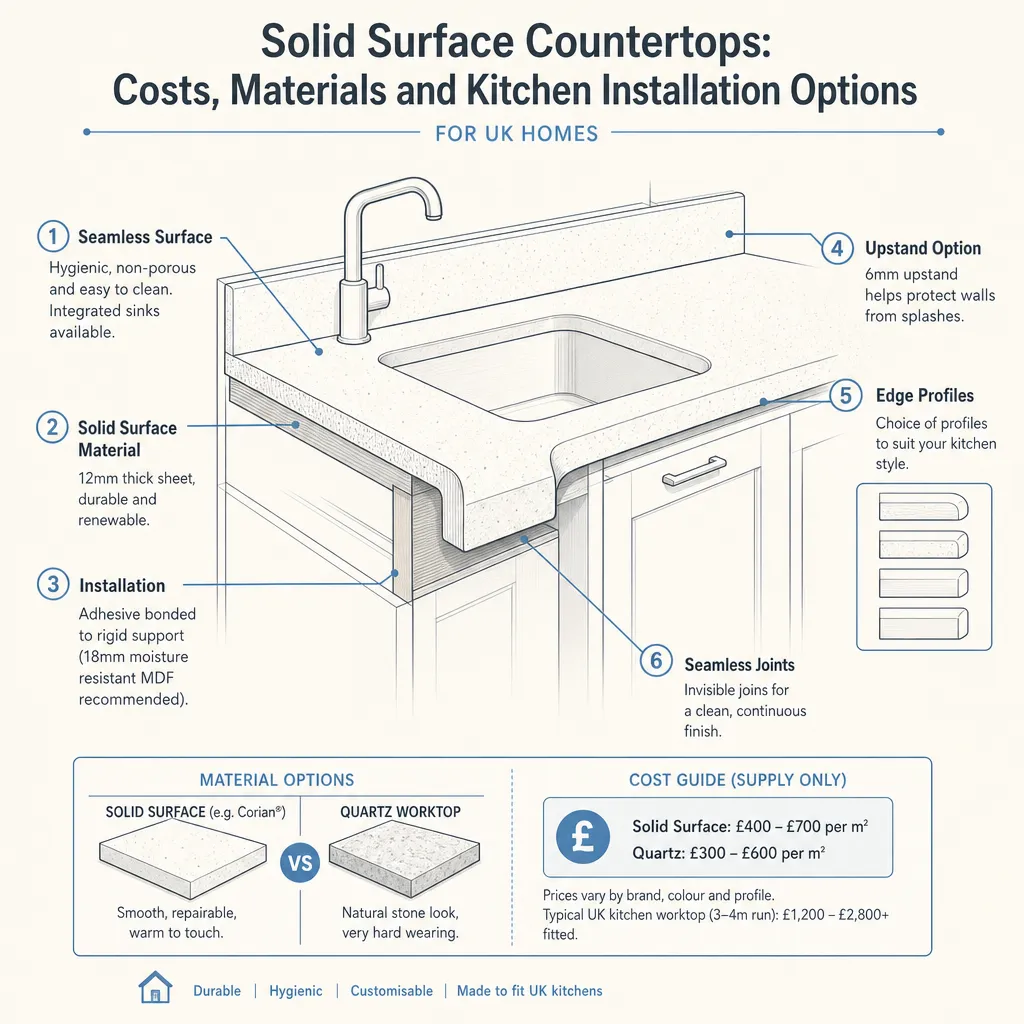
Solid surface countertops: costs, materials and kitchen installation options
Solid surface worktops such as Corian and Hi-Macs offer seamless joins, non-porous surfaces, and can be repaired by sanding out scratches.
 Improvement & Build
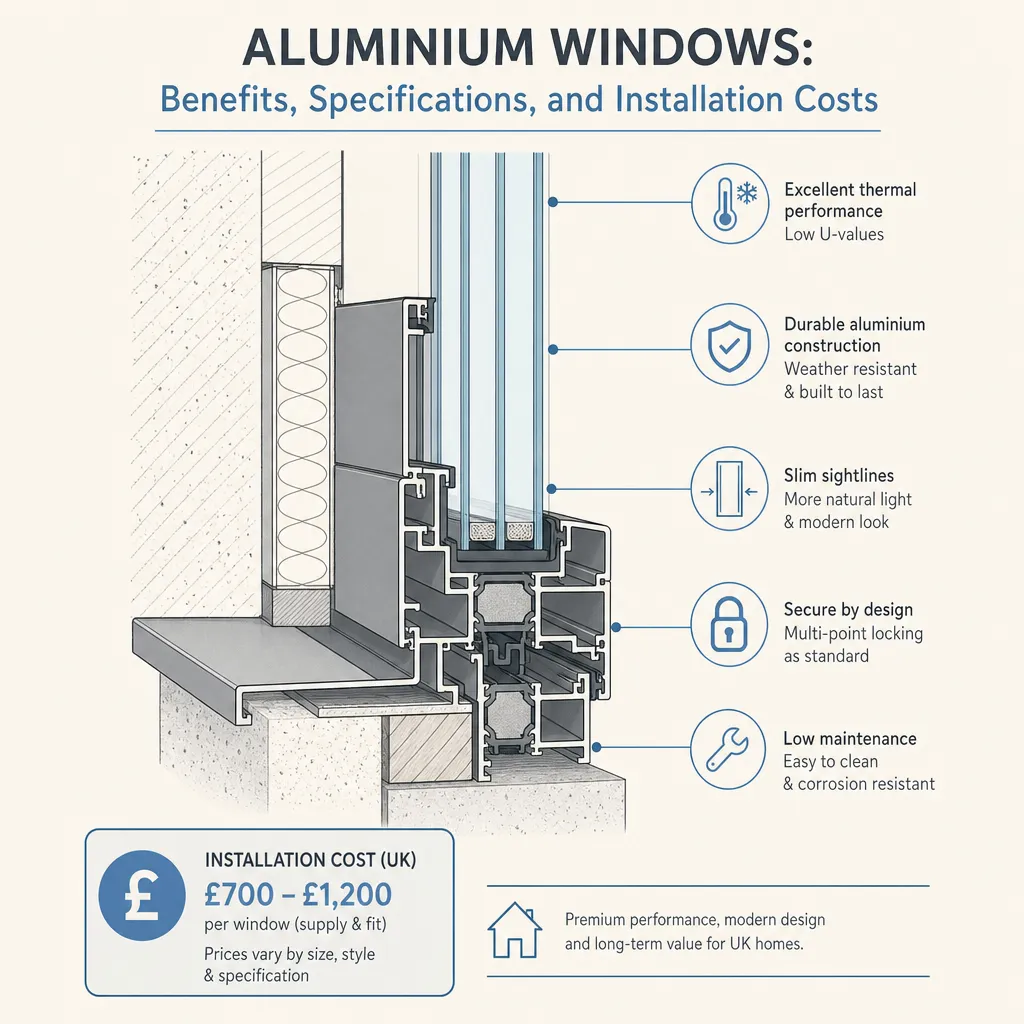
Aluminium Windows: Benefits, Specifications, and Installation Costs
Aluminium windows typically cost £600–£1,800 per window installed in the UK, depending on size and specification.
 Improvement & Build
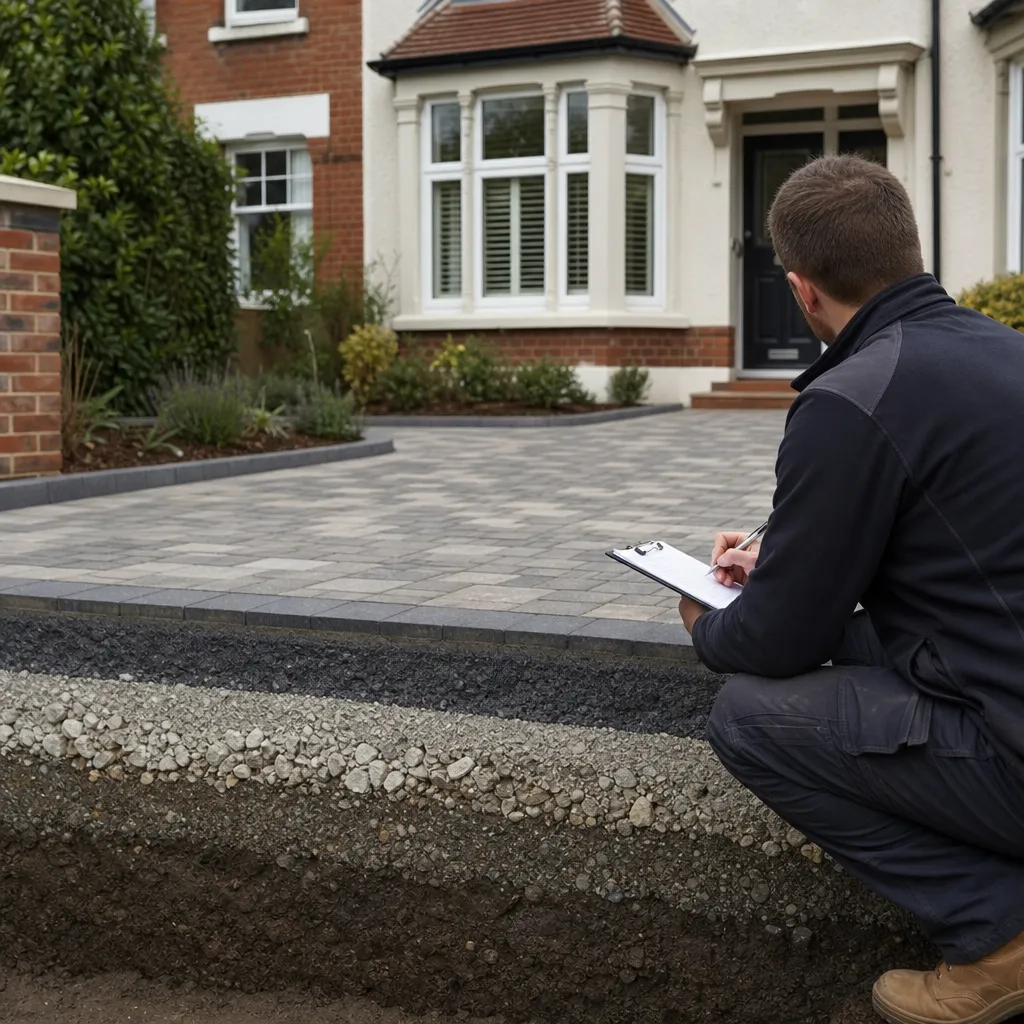
Driveway Thickness: Achieving the Right Specification for Residential Properties
The correct thickness for a residential driveway depends on the surface material and the traffic it will carry.
 Improvement & Build
Composite Window Installation: Costs and Benefits
Composite windows combine two or more frame materials — typically a timber or aluminium core with a uPVC or aluminium outer casing — for better thermal performance and durability than standard uPVC.
 Improvement & Build
Aluminium Windows: Properties, Benefits, and Installation Considerations
Aluminium windows offer slim sightlines, long lifespan, and minimal maintenance.