Preparing Wooden Surfaces: Paint Removal Techniques
By Housey · Last reviewed 10th of May 2026
Preparing Wooden Surfaces: Paint Removal Techniques
Removing old paint from timber is a task that comes up regularly in UK homes — whether you are restoring Victorian sash windows, refreshing pine floorboards, or preparing oak joinery for a new finish. Older UK properties often carry multiple generations of paint, each with different compositions and adhesion properties, and some pre-1960 layers may contain lead pigments that require specific precautions before any stripping work begins.
Key points
- UK homes built before approximately 1960 may contain lead-based paint; use a lead test swab kit before stripping any existing paintwork.
- Dichloromethane (DCM)-based paint strippers were banned for consumer sale in the UK under retained EU law derived from Regulation (EC) No 1005/2009; always check current product labels carefully.
- Heat guns should be kept moving continuously and positioned at least 5 cm from the surface when working near suspected lead paint layers to limit fume generation.
- The Health and Safety Executive (HSE) recommends P3-rated respiratory protection when stripping paintwork that may contain lead.
- Mechanical dry-sanding of lead paint generates hazardous fine dust; wet sanding or chemical stripping is the safer approach for high-risk layers.
Which paint removal method is right for your wood?
Three main approaches are used on timber surfaces: chemical stripping, heat stripping, and mechanical abrasion. Each suits different situations, wood profiles, and risk levels.
Method | Best for | Not ideal for | Key risk |
|---|---|---|---|
Chemical stripper (water-based) | Mouldings, carvings, spindles, intricate profiles | Horizontal surfaces where pooling is a problem | Skin and eye contact; wear nitrile gloves and safety goggles |
Heat gun | Large flat boards, skirting, door panels in ventilated spaces | Lead paint layers; thin veneers | Fire risk; toxic fumes if lead paint present |
Orbital or belt sander | Large flat areas such as floorboards and decking | Shaped profiles; softwood where grain tears easily | Dust inhalation; removes material quickly if not controlled |
Hand scraper | Small areas after chemical or heat softening | Large areas (too slow) | Low — the most controlled approach |
Wet sanding | Final surface preparation before finishing | Removing heavy paint build-up | Slow; most useful as a final prep step |
Should you use chemical, heat, or mechanical stripping?
- Choose chemical stripping if the wood has detailed profiles, carved sections, or you are working indoors with limited ventilation.
- Choose a heat gun if you are stripping large flat sections outdoors or in a well-ventilated space and have confirmed the paint is post-1960.
- Choose mechanical sanding for large horizontal surfaces such as floorboards, where speed matters and dust can be controlled with a vacuum attachment.
- Choose wet sanding as a final preparation stage before priming, particularly on softwood where raising the grain is a concern.
- Ask a specialist decorator or occupational hygienist if you suspect lead paint, if the property predates 1960, or if the building is listed and the original finish may need to be recorded before removal.
Preparing the surface before you start
Good preparation removes variables that cause problems later. Before picking up a stripper or sander:
- Clean the wood surface with a damp cloth to remove loose dust and grease — strippers and heat work more effectively on a clean substrate.
- Test for lead paint using a lead testing swab kit (available from UK hardware retailers); wait for the result before proceeding with any stripping method.
- If lead is detected, switch to wet methods or a chemical stripper with a dust-suppression approach and avoid dry mechanical abrasion.
- Mask adjacent surfaces — chemical strippers can stain brickwork and damage glass if they run during application.
- Ensure adequate ventilation: open windows and doors, and use a fan to direct fumes away from your breathing zone.
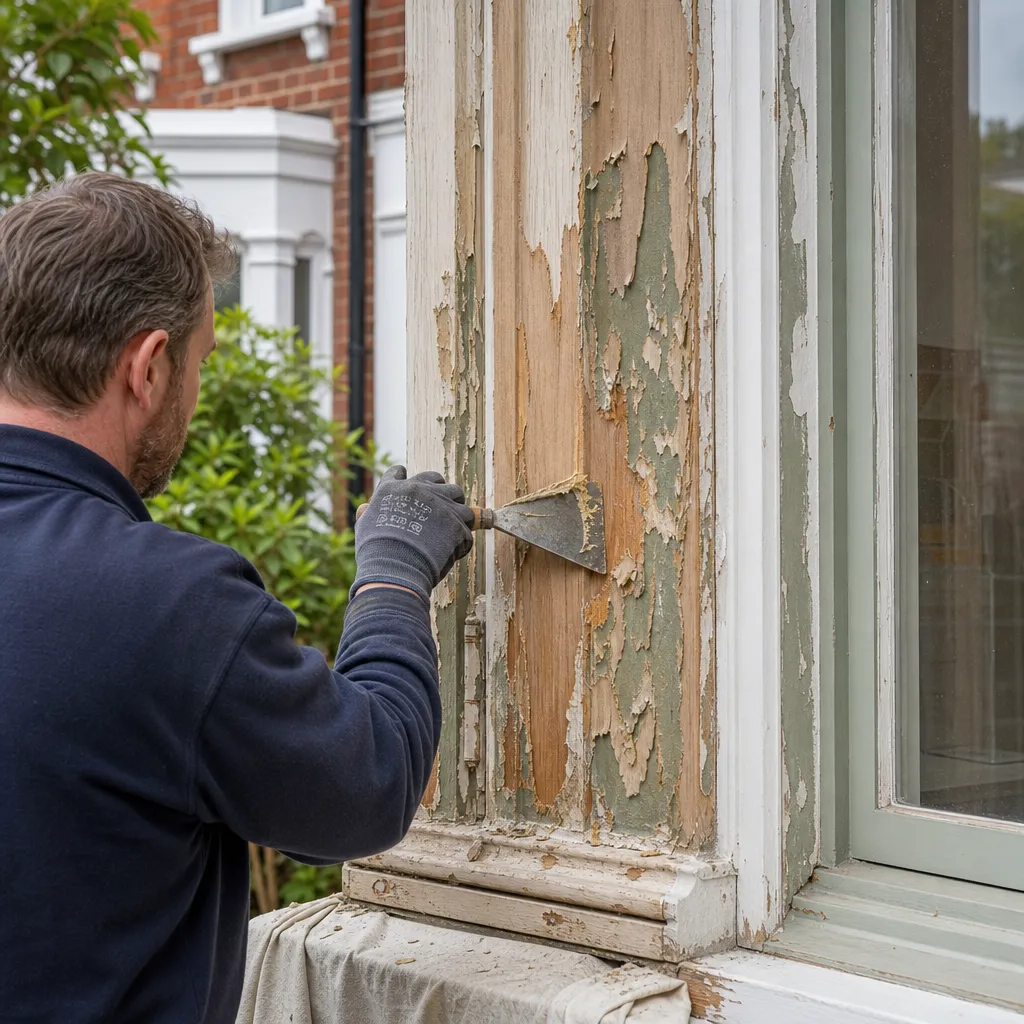
Applying and removing chemical stripper
Water-based chemical strippers have largely replaced solvent-based products in the UK consumer market since the DCM ban. They break the bond between paint layers and the timber, allowing removal with a scraper after a dwell period specified on the product label — typically 20–60 minutes depending on paint thickness and the number of coats.
Homeowner checklist — chemical stripping
Using a heat gun safely
A heat gun softens paint by raising the surface temperature to around 150–200°C, at which point the coating can be removed with a scraper. Work safely by following these rules:
- Keep the gun moving continuously — holding it still risks scorching the timber or igniting accumulated paint deposits.
- Work in small sections of around 20–30 cm: heat, then scrape immediately before the paint re-hardens.
- Keep the nozzle at least 5 cm from the surface on softwood; heat transfers more quickly through thin sections than it appears.
- Collect hot scrapings in a metal bucket — they remain hot for longer than expected and can ignite cardboard or nearby timber shavings.
- Never use a heat gun close to glazing bars on original windows; rapid heating can crack glass panes.
Sanding after stripping
Once the bulk of old paint has been removed by chemical or heat methods, sanding levels remaining residue and prepares the surface for its new finish. Begin with 80-grit abrasive paper to level any residue, progress to 120-grit, then finish at 180-grit for a smooth, priming-ready surface. Always sand with the grain to avoid cross-grain scratches that show through the finished coat.
For floorboards or decking, a hired drum sander substantially reduces effort and achieves a more even result than hand sanding. Drum sanders are available from most UK tool-hire companies. Wear ear protection — drum sanders typically exceed 85 dB — and a minimum P2 dust mask throughout.
When to get professional help
Some situations are better handled by a specialist rather than a DIY approach:
- Confirmed lead paint that you cannot or do not wish to manage within the containment and disposal requirements set out by the HSE.
- Listed buildings — stripping historic paint layers on a Grade I or Grade II listed property may require listed building consent, and the original finish may need to be documented or partially preserved before removal.
- Suspected hidden defects beneath the paint — if stripping reveals significant wet rot, insect damage, or deep cracking in the timber, a joiner or timber specialist should assess the substrate before finishing work continues.
- Large-scale projects such as whole-house floors, external cladding, or any project requiring scaffold access above 2 m.
How Housey can help
Housey connects UK homeowners with experienced decorators, joiners, and restoration specialists who can assess the scope of paint removal work, advise on lead paint management, and deliver a professional finish on complex surfaces, period properties, or listed buildings.
Frequently asked questions
Is it safe to use a heat gun on old paint?
A heat gun is safe for post-1960 paintwork in well-ventilated conditions. For older properties, test for lead paint first using a swab kit. Heating lead paint above around 230°C can release toxic fumes. If lead is present, use a chemical stripper or wet-sanding method instead, and wear P3-rated respiratory protection as recommended by the HSE.
Do I need to strip all old paint before repainting wood?
Not always. If existing paint is sound, well-adhered, and not excessively thick, you may be able to sand lightly, clean, and apply new paint directly. Stripping is necessary when paint is flaking or blistering, or if you are switching finish types — for example, from oil-based gloss to a water-based product.
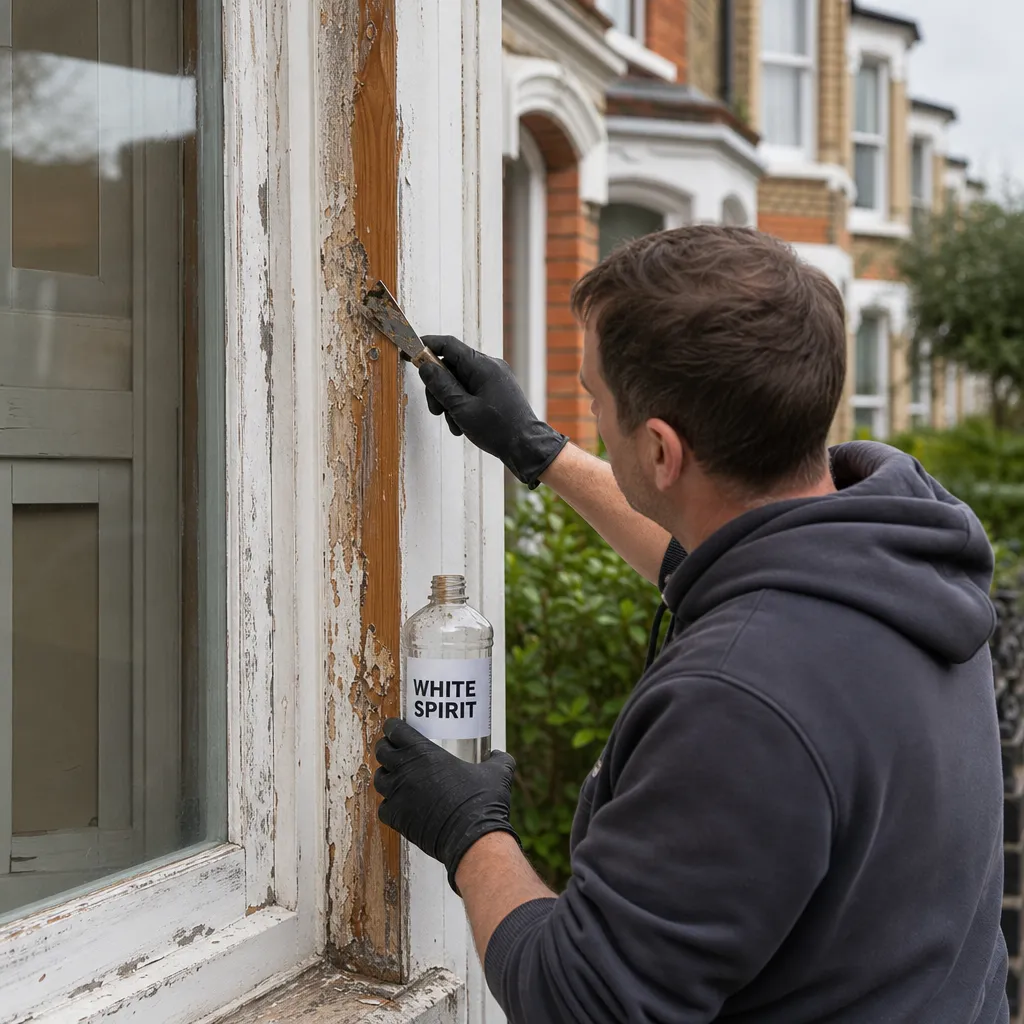
How do I strip paint from window frames without cracking the glass?
Use a chemical stripper and a narrow plastic scraper around glazing bars rather than a heat gun, which risks cracking glass panes through rapid temperature change. Mask the glass with tape before applying the stripper, and remove it carefully before any liquid can drip onto glazed areas.
Can stripped paint go in household waste?
Dried paint scrapings can go in general household waste in small quantities in most UK local authority areas. Chemical stripper residue and confirmed lead-paint waste should be disposed of via your local council's hazardous household waste facility. Do not place lead-paint debris in kerbside recycling bins.
Sources and further reading
- Lead paint: health risks and precautions — Health and Safety Executive
- COSHH essentials for painting and decorating — Health and Safety Executive
- Chemical safety: dichloromethane (DCM) — Health and Safety Executive
Useful next reads
 Improvement & Build
Paint Removal with White Spirit: Effectiveness and Application
White spirit dissolves uncured, freshly applied oil-based paints and is useful for cleaning brushes and removing fresh drips, but has very limited effect on fully dried or cured paint films.
 Improvement & Build
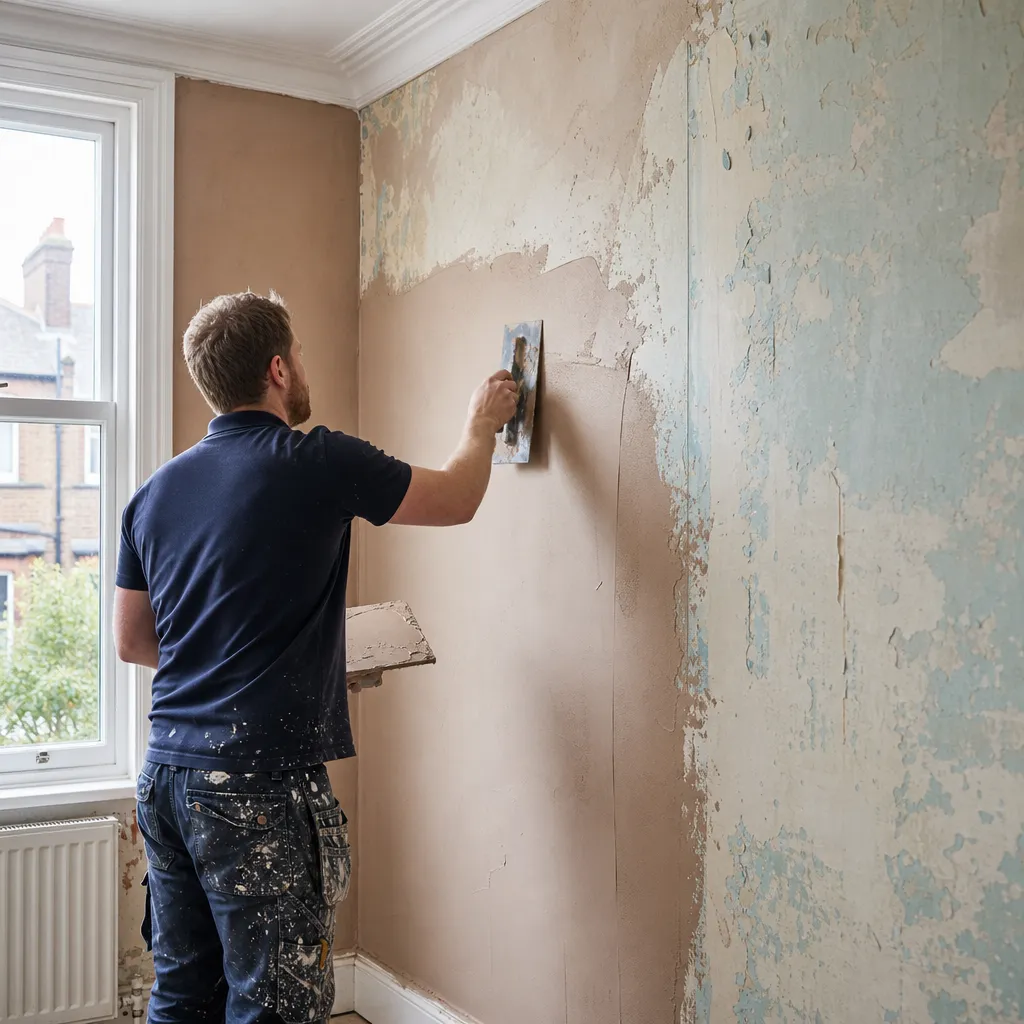
Plastering Over Existing Paint and Wallpaper: Surface Prep and Technique
Whether you can plaster over existing paint or wallpaper depends on surface condition and adhesion.
 Improvement & Build
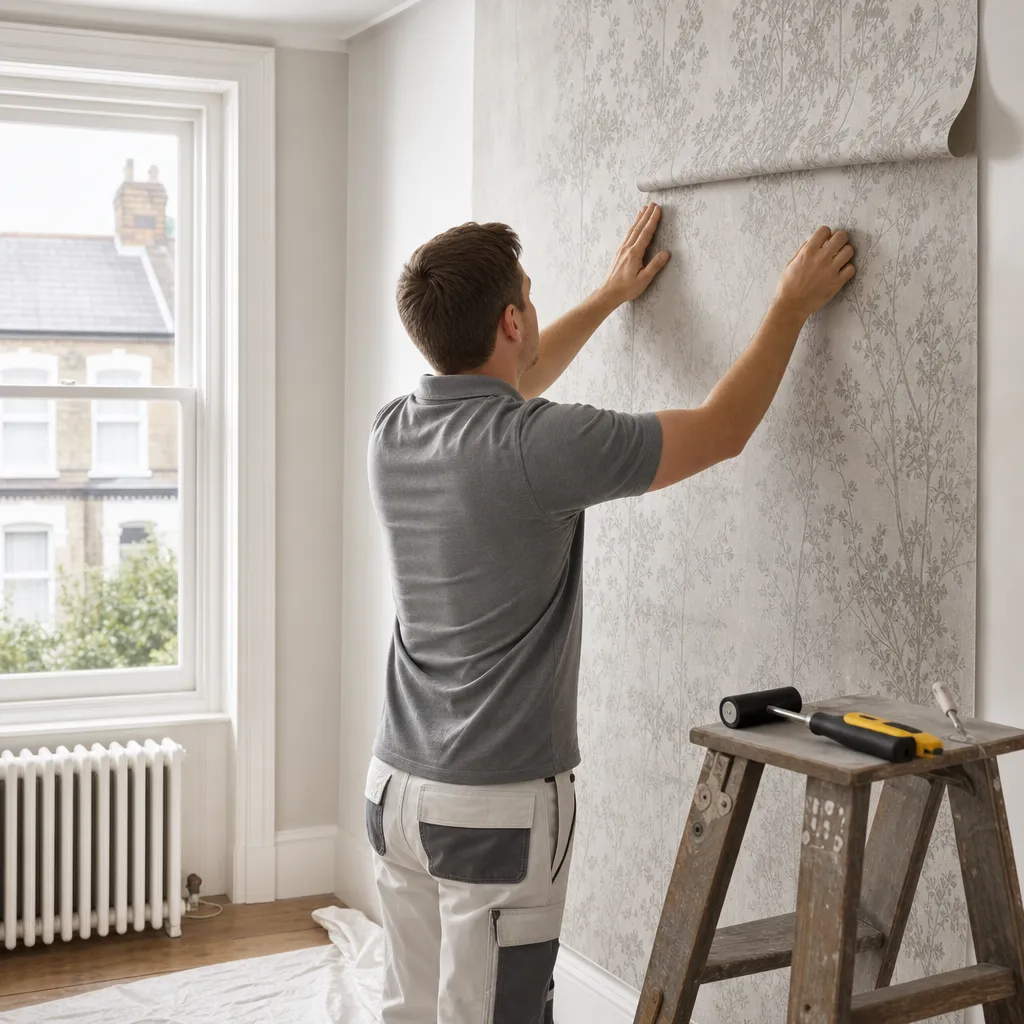
Installing Peel-And-Stick Wallpaper: Application Techniques
Peel-and-stick wallpaper works best on smooth, emulsion-painted walls cured for at least 30 days, in rooms between 13°C and 30°C.
 Improvement & Build
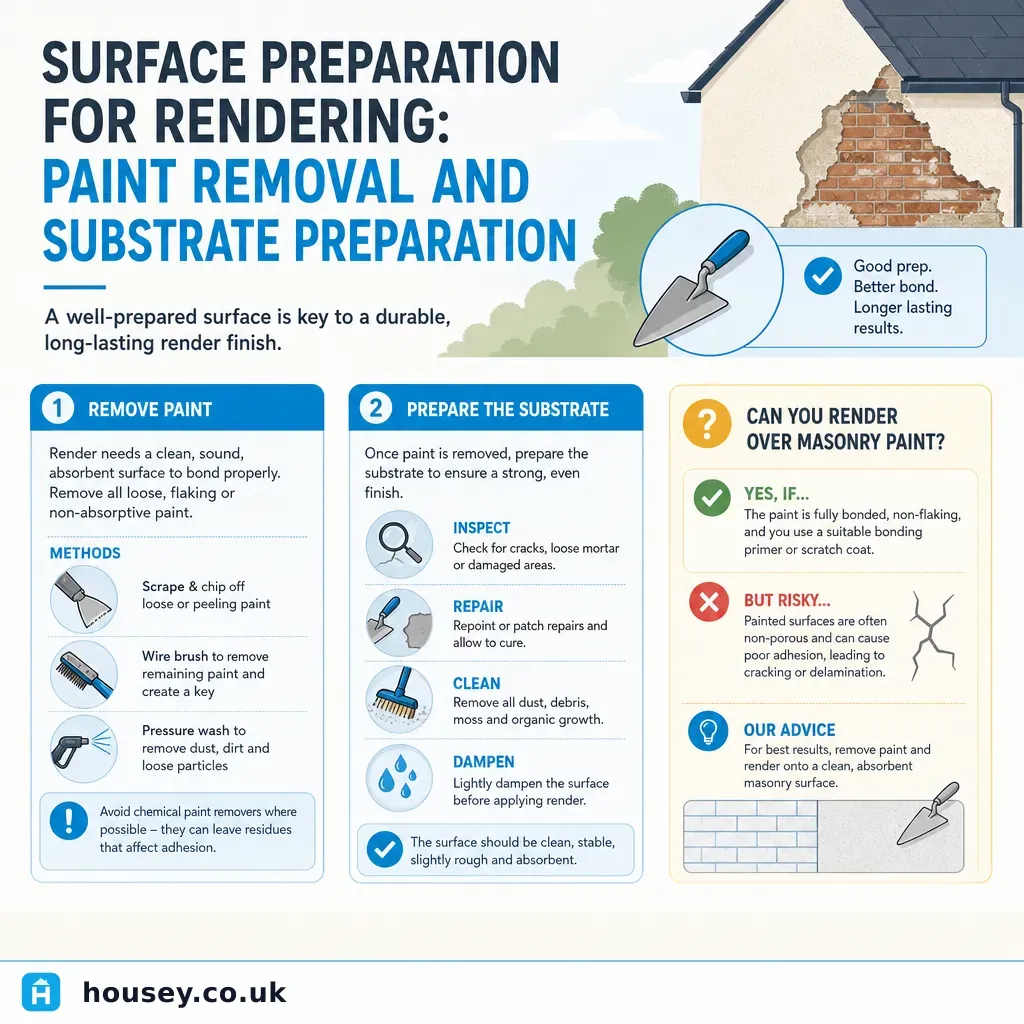
Surface Preparation for Rendering: Paint Removal and Substrate Preparation
Before applying render to any wall, all loose, flaking, or contaminated paint must be removed to prevent delamination.
 Improvement & Build
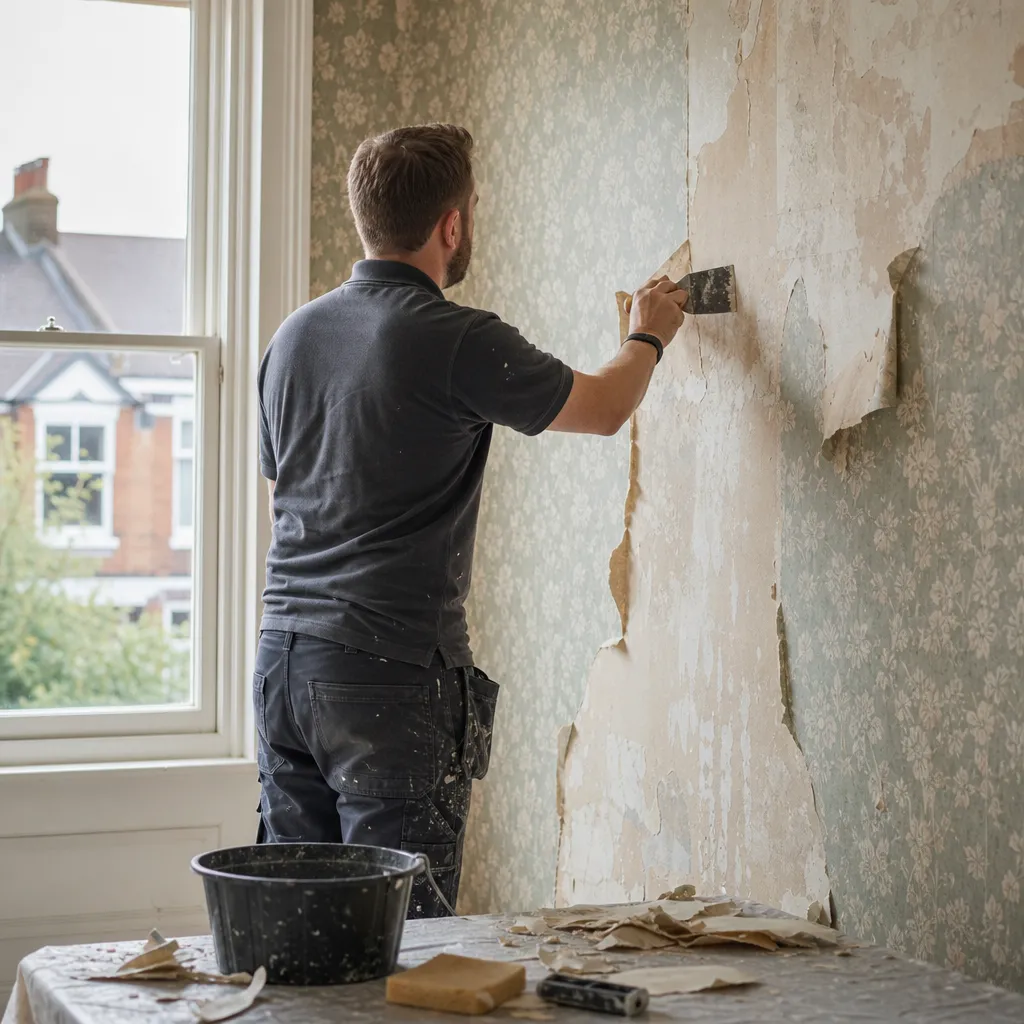
Stripping Wallpaper: Techniques for Interior Wall Preparation
Strip wallpaper by scoring the surface, soaking with warm water or a chemical stripper solution, then lifting with a broad scraper.