Professional solar panel inspection: what to expect and why it matters
By Housey · Last reviewed 31st of May 2026
Professional solar panel inspection: what to expect and why it matters
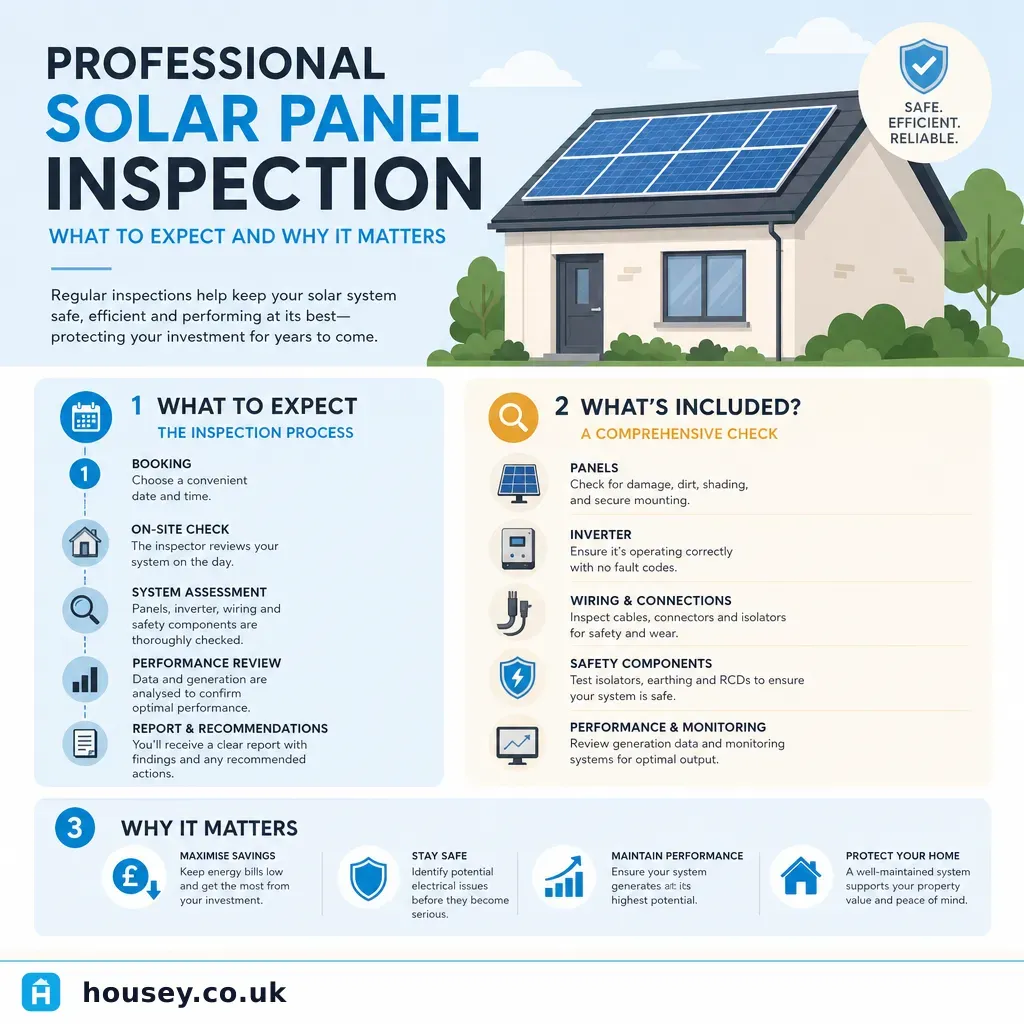
A professional solar panel inspection is not simply someone climbing onto your roof to wipe the glass — it is a structured technical assessment of a generating system that sits at the intersection of electrical safety, structural integrity, and financial performance. Whether you have noticed a drop in output, are preparing to sell, or want documented assurance that a system installed a decade ago is still performing safely, knowing what the process involves helps you prepare properly, understand the report you receive, and act on the findings.
Key points
- A professional inspection covers visual panel condition, mounting hardware, inverter performance data, wiring integrity, and shading analysis — not just surface cleanliness.
- Thermal imaging uses infrared cameras to detect hotspots and cell-level faults invisible to the naked eye; it is most reliable in dry conditions with direct or strong diffuse sunlight.
- Solar panels generate DC voltage whenever they are exposed to light — including diffuse daylight — so inspectors must safely isolate the DC circuit before working near connections; this is a specialist task, not a DIY one.
- The expected deliverable from an inspection is a written report with dated, annotated photographs; verbal-only feedback is insufficient for conveyancing, insurance, or warranty purposes.
- MCS competence and NICEIC Solar PV registration are the two most widely recognised accreditation routes for UK domestic solar inspectors.
What happens before the inspector arrives?
A thorough inspector will ask for key information ahead of the visit:
- The date of installation and the original installer's name
- System size (kWp) and number of panels
- Inverter make, model, and any monitoring app access
- Recent inverter output data or generation logs
- Any previous inspection reports or warranty documents
This preparation allows the inspector to compare actual performance against expected output for the system's age, size, and UK location, and to flag anomalies before arriving on site.
The inspection process: stage by stage
Stage 1: Ground-level and roof-level visual inspection
The inspector examines all panels — from the roof, via a drone, or using a telephoto camera from ground level — depending on roof access and working-at-height risk. They look for:
- Cracked, chipped, or delaminated glass
- Discolouration (yellowing or browning), which may indicate encapsulant degradation
- Soiling patterns: heavy fouling, bird droppings, lichen growth at frame edges
- Frame and mounting hardware condition: corrosion, loose fixings, or signs of movement
- Flashings and roof penetration points for signs of water ingress associated with the mounting
Stage 2: Inverter and monitoring review
The inverter is the system's central hub. The inspector checks:
- Error and fault code history
- Daily and lifetime generation records
- String-level performance data, where the inverter supports it
- Monitoring and communication system function
- Age and physical condition — most inverters have a rated lifespan of 10–15 years
Stage 3: Wiring and electrical assessment
Solar PV systems have both an AC side (grid-connected) and a DC side (panel strings). The inspector assesses:
- Cable condition and UV degradation
- MC4 connector quality and secure termination
- Junction box condition on panel undersides, where accessible
- DC isolator function and correct labelling
- AC connection at the consumer unit or generation meter
For a full electrical test to IEC 62446-1, the inspector safely isolates the DC circuit and performs insulation resistance, continuity, and polarity measurements on each string.
Stage 4: Thermal imaging (where included)
Thermal imaging requires adequate daylight and ideally clear or lightly overcast conditions for reliable results. An infrared camera identifies panels or cells running significantly hotter than their neighbours — signs of:
- Hotspot degradation: a localised cell fault causing it to act as a resistor rather than a generator
- Bypass diode failure: the protection mechanism for shaded cells is not functioning correctly
- Partial shading effects: one soiled or obstructed cell reducing output across an entire string
- PID (Potential Induced Degradation): a voltage-related degradation mode more common in older systems
Stage 5: Report and recommendations
At the end of the visit — or within a few working days for a full written report — you should receive:
- A written condition report with dated photographs of every identified issue
- Performance analysis comparing actual output against expected figures for the system's age and location
- A prioritised list of recommended actions: urgent, advisory, or monitoring only
- Confirmation of any safety concerns requiring immediate attention
Worked example: 2012 installation on a 1930s semi in the East Midlands
A homeowner in Nottinghamshire with a 3.6kWp system installed in 2012 — now 14 years old — requested a full inspection before putting the property on the market. The inspector found:
- Two panels with cell cracks, confirmed by thermal imaging as hotspots running 18°C above adjacent panels
- The original string inverter approaching end of rated lifespan, with fault codes logged over the previous 18 months
- MC4 connectors on one string showing UV-related brittleness, raising a connection integrity concern
- Mounting hardware in good structural condition with no signs of water ingress at penetration points
The written report allowed the vendor to obtain repair quotes for the two panels and the inverter before listing, giving them the choice to carry out the work or reflect the cost in the asking price — with a documented basis for any negotiation.
Red flags that require prompt attention
A qualified inspector should treat the following as requiring urgent attention:
- Any panel showing blackening, burn marks, or charring near junction boxes
- Hotspots exceeding 20°C above adjacent panels, consistently across multiple readings
- Exposed or damaged wiring on the DC circuit
- Water ingress at roof penetrations associated with the mounting system
- Inverter fault codes that have not been investigated and cleared
- DC isolators that cannot be safely operated or are incorrectly labelled
What to ask a qualified solar inspector before booking
- What accreditations do you hold — MCS competence, NICEIC Solar PV, NAPIT, or equivalent?
- Does the quote include thermal imaging, or is that an additional cost?
- Will I receive a written report with photographs suitable for conveyancing or insurance purposes?
- How will the DC circuit be safely isolated before any electrical testing?
- Are you insured for work at height and public liability?
- How long will the inspection take, and what access is required?
- What happens if you identify an urgent safety concern during the inspection?
When to get professional help
Book a professional inspection rather than relying on self-assessment when:
- The system is more than 5 years old and has not been formally assessed
- You are buying or selling a property with an existing solar installation
- Output has dropped noticeably and cleaning has made no difference
- You have received an insurance renewal request for a system condition report
- Visible damage — cracking, discolouration, or loose mounting — is present
- The original installer has ceased trading and no commissioning records can be located
How Housey can help
If you are ready to arrange an assessment, a solar survey booked through Housey connects you with vetted professionals who hold the appropriate accreditations and deliver written reports suitable for conveyancing, insurance, or ongoing performance monitoring. Describe your system and situation, and compare quotes from local specialists before committing.
Frequently asked questions
How long does a professional solar panel inspection take?
For a typical domestic system of 12–16 panels, a visual and inverter inspection usually takes 1–2 hours on site. A full inspection including thermal imaging and electrical testing to IEC 62446-1 may take 2–4 hours depending on roof access, system complexity, and report requirements. Allow extra time if loft access is needed for wiring checks.
Do I need to be present during the inspection?
You should be present, or have someone available who can provide access to the loft space, the consumer unit, and any locked external enclosures. You do not need to accompany the inspector onto the roof. Being present also gives you the opportunity to raise specific concerns about system performance directly.
What qualifications should a solar panel inspector hold?
Look for MCS competence, NICEIC Solar PV registration, or NAPIT Solar PV accreditation. Membership of the Solar Trade Association is an additional indicator of professional commitment. For electrical testing, the inspector should hold a relevant City and Guilds or equivalent qualification in PV installation and testing.
Will the inspector fix any faults they find?
Some inspection companies also carry out repairs; others are inspection-only. Clarify this before booking. For larger issues — such as inverter replacement or multiple panel replacements — it is worth obtaining independent repair quotes rather than automatically instructing the inspection company, particularly if the report will be used for conveyancing.
Is thermal imaging always included in a solar inspection?
No — thermal imaging is typically offered as an optional extra or as part of a premium inspection package. It adds meaningful diagnostic value for older systems or where output problems are suspected. Ask specifically whether it is included when requesting quotes, and check what lighting conditions the inspector requires for an accurate result.
Sources and further reading
- MCS — Microgeneration Certification Scheme — MCS
- NICEIC — Solar PV competency — NICEIC
- Energy Saving Trust — solar panels — Energy Saving Trust
- Solar Trade Association — consumer guidance — Solar Trade Association
- HSE — working at height — Health and Safety Executive
Useful next reads
 Energy & Retrofit
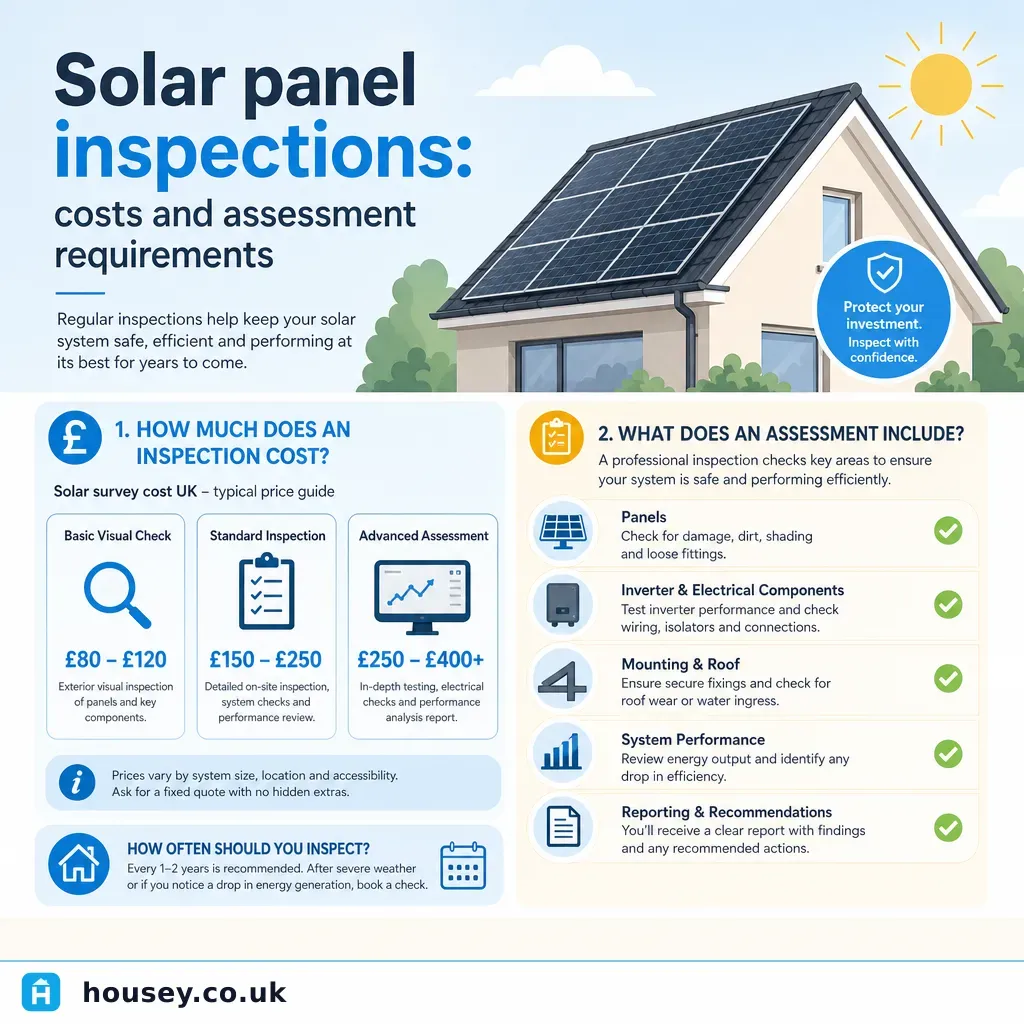
Solar panel inspections: costs and assessment requirements
A professional solar panel inspection in the UK typically costs £150–£300 for a basic visual and inverter check, rising to £350–£600 or more for a full assessment including thermal imaging and electrical testing.
 Energy & Retrofit
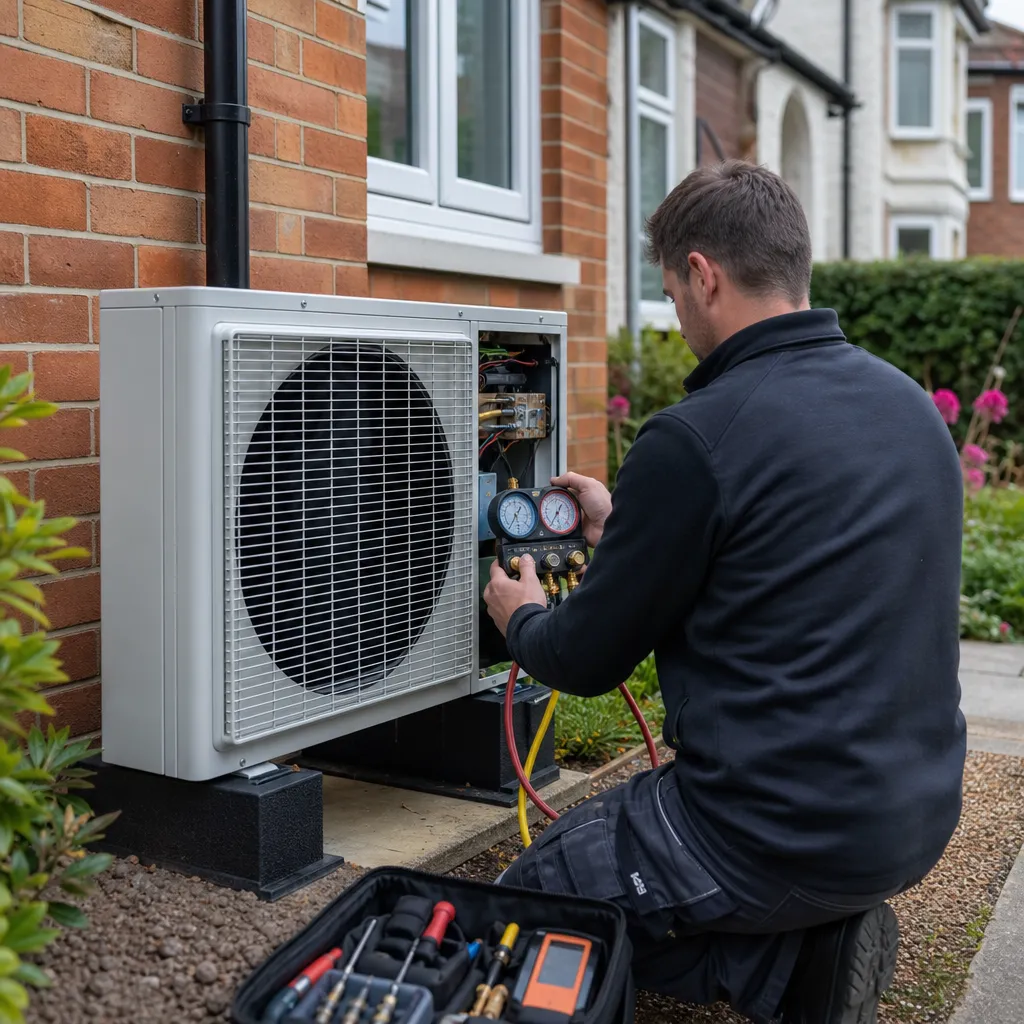
Diagnosing Heat Pump Performance Issues: Why Cooling Fails
Heat pump cooling failure is usually caused by refrigerant loss, a dirty air filter, a blocked outdoor unit, incorrect controller settings, or an undersized system.
 Energy & Retrofit
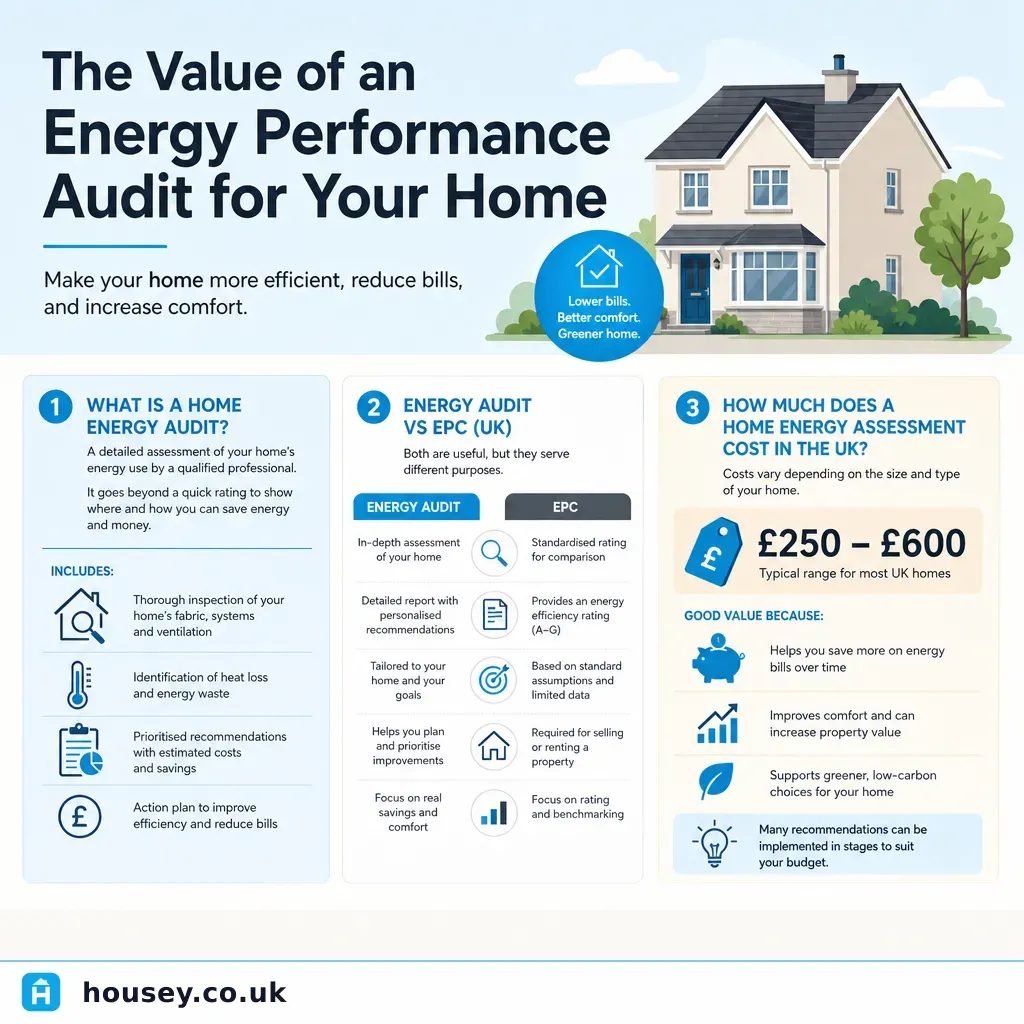
The Value of an Energy Performance Audit for Your Home
A home energy performance audit is a detailed, site-specific assessment of a property's fabric, heating, ventilation, and controls.
 Energy & Retrofit
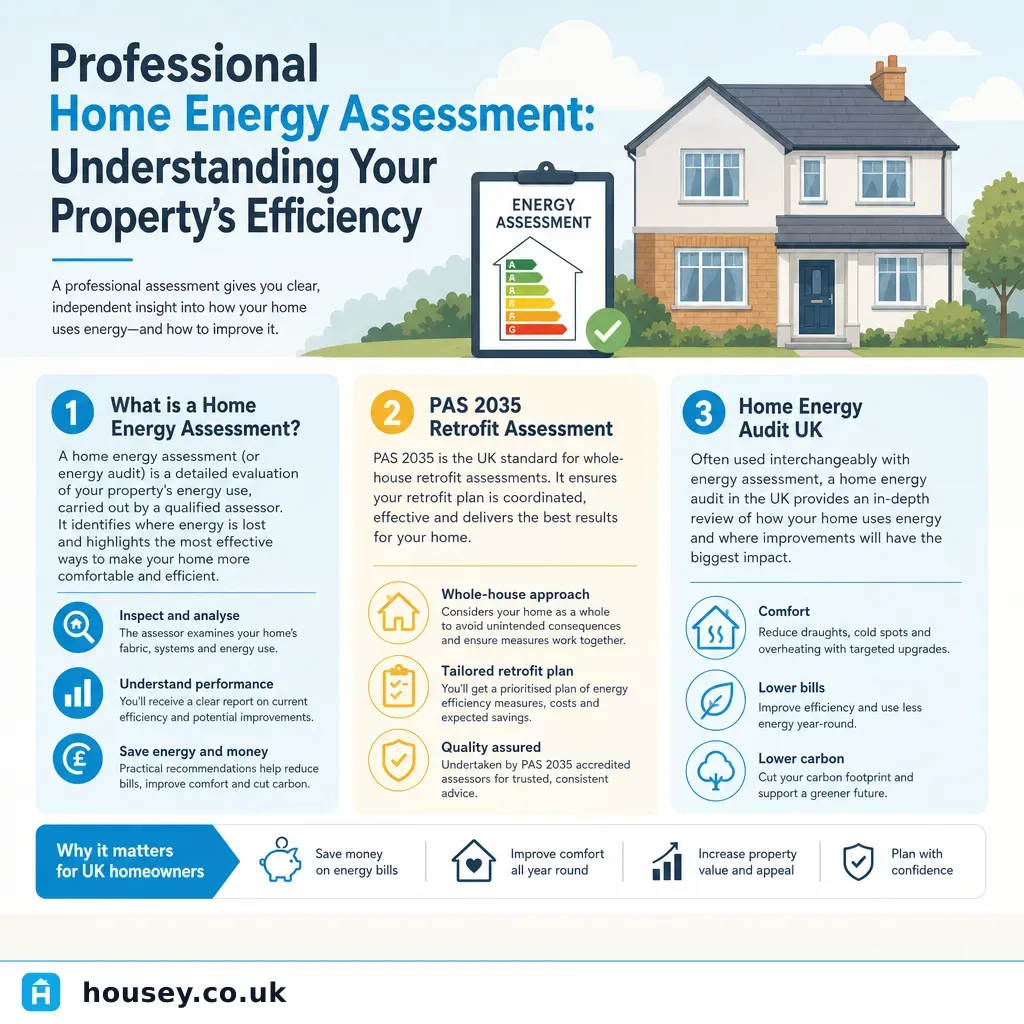
Professional Home Energy Assessment: Understanding Your Property's Efficiency
A professional home energy assessment goes beyond an EPC to evaluate how your property loses heat, where insulation is inadequate, and what improvements should be made in what order.
 Energy & Retrofit
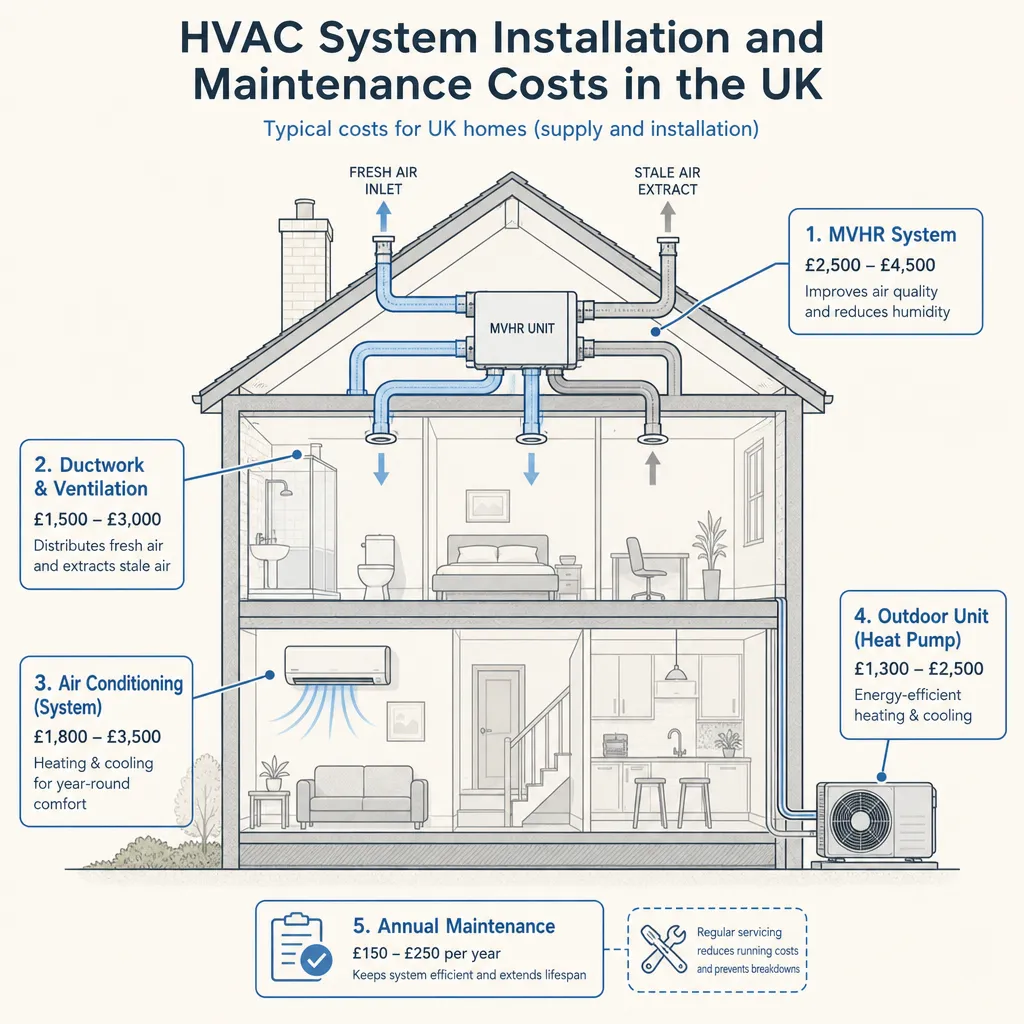
HVAC System Installation and Maintenance Costs in the UK
HVAC costs in UK homes vary by system type.