PVA Sealer on Previously Painted Walls: Surface Preparation Techniques
By Housey · Last reviewed 3rd of May 2026
PVA Sealer on Previously Painted Walls: Surface Preparation Techniques
Surface preparation determines the durability of any new finish, and the role of PVA sealer on previously painted walls is one of the most commonly misunderstood steps in plastering and decorating. This question arises most often when preparing a room for replastering after stripping wallpaper, patching repairs, or removing surface coverings — and choosing the wrong preparation product can cause new plaster or paint to fail prematurely.
Key points
- Standard PVA (polyvinyl acetate) sealer works by penetrating an absorbent, porous surface; on a previously painted, non-absorbent wall it dries as a glossy film, which may reduce rather than improve adhesion.
- For painted walls being prepared for a plaster skim, an SBR-based bonding agent (such as Thistle Bond-It) or a bonding coat plaster is more appropriate than neat or diluted PVA.
- If PVA is used on an absorbent substrate, it must become tacky — not fully dry and not wet — before plaster is applied; fully dry PVA creates a near-release surface.
- Painted walls being repainted (not replastered) do not need PVA or bonding agent; correct preparation is cleaning, sanding, filling, and priming.
- Walls stripped of wallpaper often present a mixed-absorbency surface with bare plaster patches alongside painted areas, each requiring different treatment.
What PVA does — and when it works
PVA sealer is designed to reduce suction in highly absorbent surfaces such as bare plaster, bare brickwork, fresh sand-and-cement render, and porous concrete. On these substrates, PVA penetrates, binds loose particles, and creates a regulated suction level so wet plaster bonds and cures at a controlled rate. Too much uncontrolled suction pulls moisture from plaster too quickly, causing cracking and delamination.
On a painted wall, this mechanism does not apply. Paint forms a film on the surface that PVA cannot penetrate. Applied over emulsion or oil-based paint, PVA dries as a thin flexible layer on top — and when wet plaster is applied, that film can peel from the paint surface, taking the plaster with it.
What not to assume about PVA on painted surfaces
Common assumption | What is actually true |
|---|---|
"PVA always improves adhesion" | PVA improves adhesion on absorbent substrates; on painted surfaces it forms a weak film that can reduce adhesion |
"PVA is always used before plastering" | PVA is for absorbent surfaces only; smooth or painted surfaces need a bonding coat or SBR bonding agent |
"Diluted PVA is a universal primer" | Diluted PVA is appropriate as a mist coat on new bare plaster; it is not a substitute for a proper primer on painted or contaminated surfaces |
"More PVA means a better bond" | Excessive PVA, especially if allowed to fully dry, actively reduces bond strength |
"PVA and bonding agent are the same product" | They differ; SBR-based bonding agents (e.g., Thistle Bond-It, Unibond) are more appropriate for smooth, low-suction, or painted surfaces |
The correct approach for previously painted walls
Preparing for a plaster skim over a painted wall
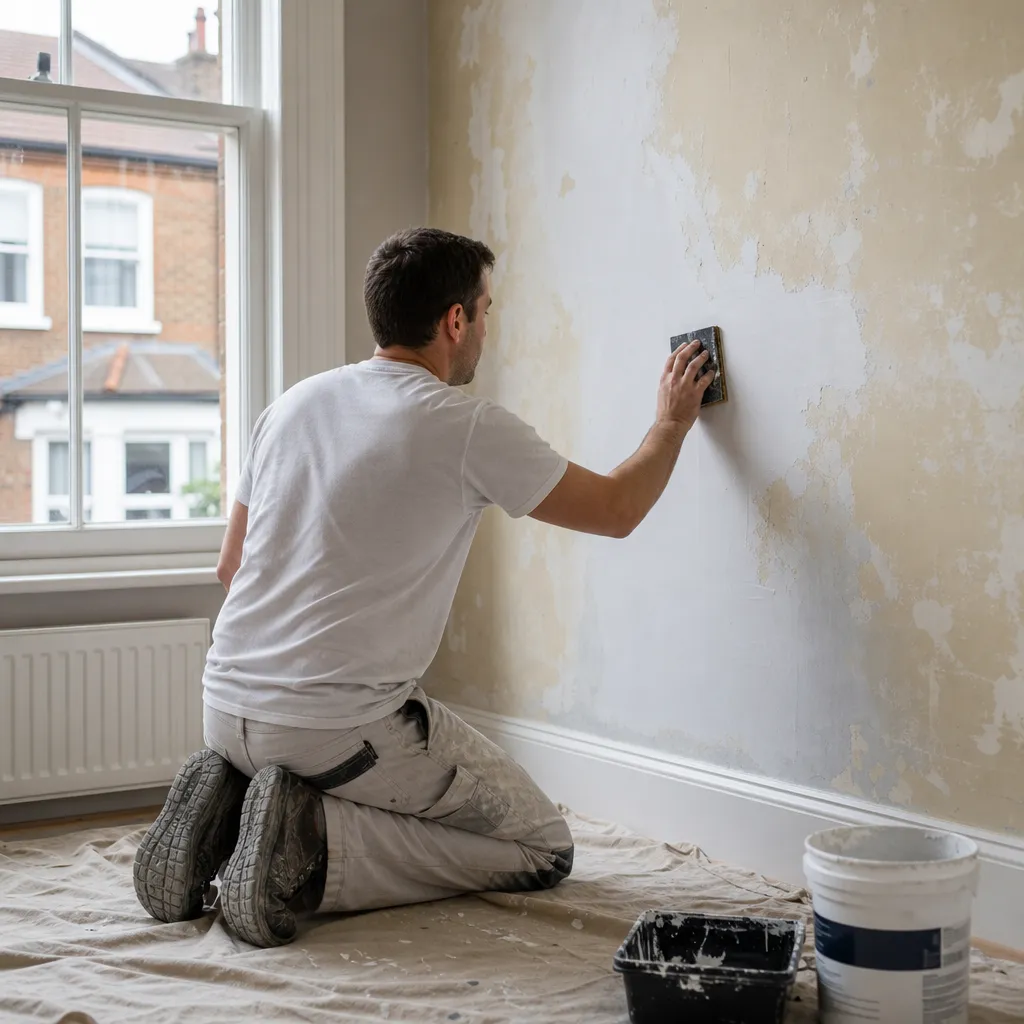
- Check paint adhesion. Press strong adhesive tape onto the surface and pull sharply — any paint that lifts must be scraped back before proceeding.
- Remove all loose or flaking paint by scraping and sanding.
- Clean with sugar soap solution; rinse thoroughly and allow to dry completely.
- Mechanically key the surface using 60–80 grit sandpaper or a scarifier. This gives plaster a physical grip independent of any bonding agent.
- Apply an SBR bonding agent diluted per manufacturer's instructions (typically 1:1 with water). Allow to become tacky before plastering — usually 20–40 minutes depending on temperature and airflow.
- Consider a bonding coat plaster (such as Thistle BondingCoat) for very low-suction surfaces before applying the finish skim.
Preparing painted walls for repainting
Where no replastering is required:
- Clean with sugar soap; rinse and dry thoroughly.
- Sand any rough patches or brush marks.
- Fill holes and cracks with appropriate filler; sand smooth when dry.
- Spot-prime any bare filler areas.
- Apply a full primer coat where large areas of bare plaster are exposed.
- PVA is not needed at any stage for a painted wall in sound condition being repainted.
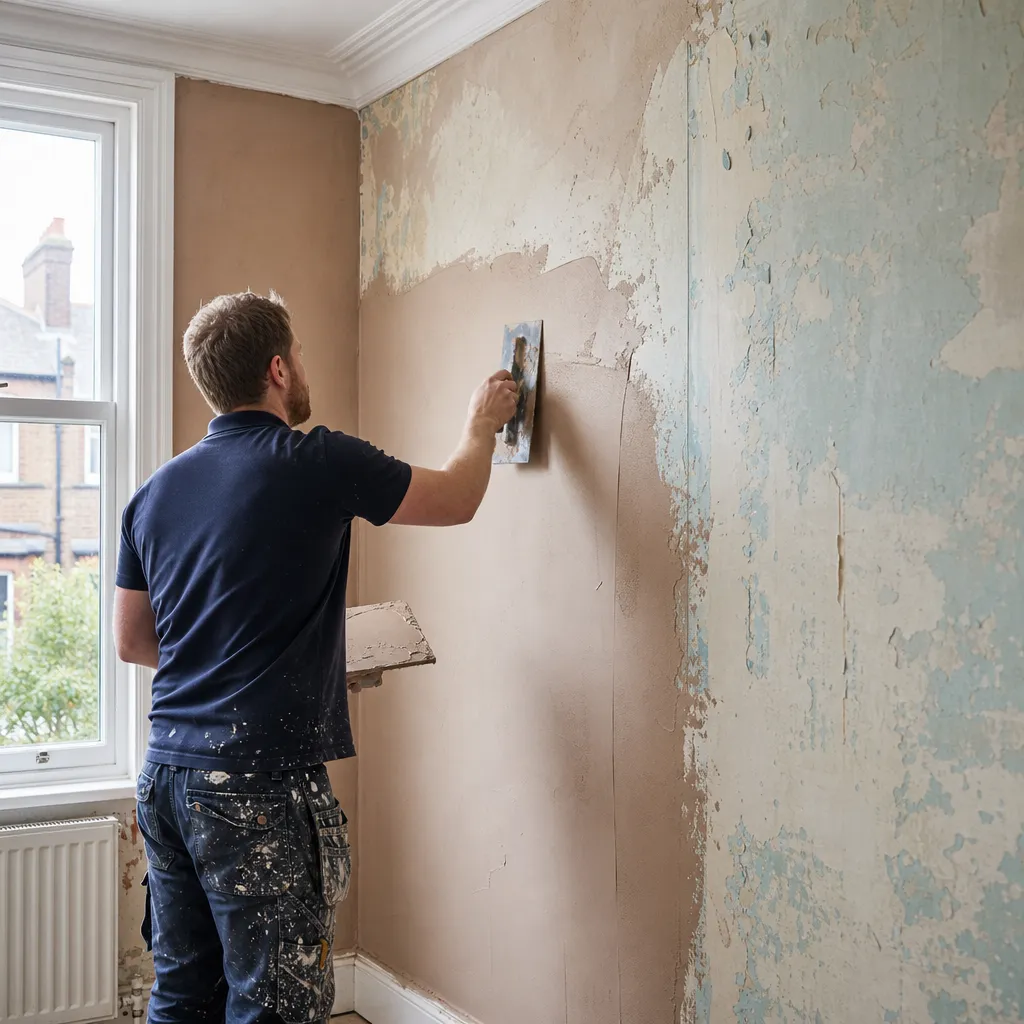
Preparing walls stripped of wallpaper
Wallpaper stripping often exposes a mixed-absorbency surface — bare skim plaster patches alongside areas where the skim remains painted, plus residual paste. For this:
- Remove all paste residue with warm water and a scraper; allow to dry for at least 24–48 hours.
- If the skim layer has been removed across large areas, a full re-skim is usually more durable than multiple patches.
- If re-skimming: apply diluted PVA (1:4) to bare plaster areas and SBR bonding agent to painted areas, timing both so they reach the tacky stage simultaneously before plastering begins.
Homeowner checklist: preparing previously painted walls
When to get professional help
For small repairs and straightforward repainting, an experienced DIYer can manage surface preparation well with the right products. Consider professional involvement if:
- The walls are in very poor condition with widespread blown or delaminating plaster.
- There is evidence of damp, efflorescence, or staining beneath the paint — surface preparation will not resolve underlying moisture problems.
- You are preparing for a full-room skim: most plasterers prefer to specify their own preparation or include it in their quote.
- The room is a bathroom or kitchen where persistent moisture or condensation is an issue.
How Housey can help
If your wall preparation reveals significant damage, damp, or the need for professional replastering, Housey can help you find and compare quotes from experienced plastering and damp-proofing professionals across the UK.
Frequently asked questions
Can you apply PVA to a painted wall before tiling?
PVA is not recommended as a tile primer on painted walls. The painted surface is non-absorbent and PVA will not reliably improve tile adhesion. Instead, remove the paint back to the substrate, or use a proprietary tile primer or bonding agent specified for smooth and non-absorbent surfaces. Always check the tile adhesive manufacturer's surface preparation guidance.
Does diluted PVA work as a mist coat on new plaster before painting?
Yes — diluted PVA (one part PVA to four or five parts water) is a traditional mist coat for new bare plaster before painting. However, many decorators now prefer diluted trade emulsion for this purpose, as it provides a better base for subsequent coats. PVA mist coat is for new or freshly repaired bare plaster, not for previously painted surfaces.
Why does plaster fall off painted walls?
The most common causes are: PVA allowed to fully dry before plastering, losing its tack; insufficient mechanical keying of the painted surface; loose or contaminated paint not removed beforehand; and poor plaster mixing or application technique. Using an SBR bonding agent correctly on a clean, keyed surface significantly reduces the risk of adhesion failure.
How long should I leave PVA before plastering?
PVA should be left until it becomes tacky and slightly transparent — typically 20–40 minutes depending on temperature and airflow. It must not be allowed to dry fully, as fully dry PVA behaves as a near-release agent. On warm or breezy days drying is faster, so check the surface regularly rather than relying on a fixed time.
Sources and further reading
- British Gypsum installation and specification guides — British Gypsum / Saint-Gobain
- Thistle plaster product and application information — British Gypsum / Saint-Gobain
- Painting and Decorating Association technical guidance — Painting and Decorating Association (PDA)
Useful next reads
 Improvement & Build
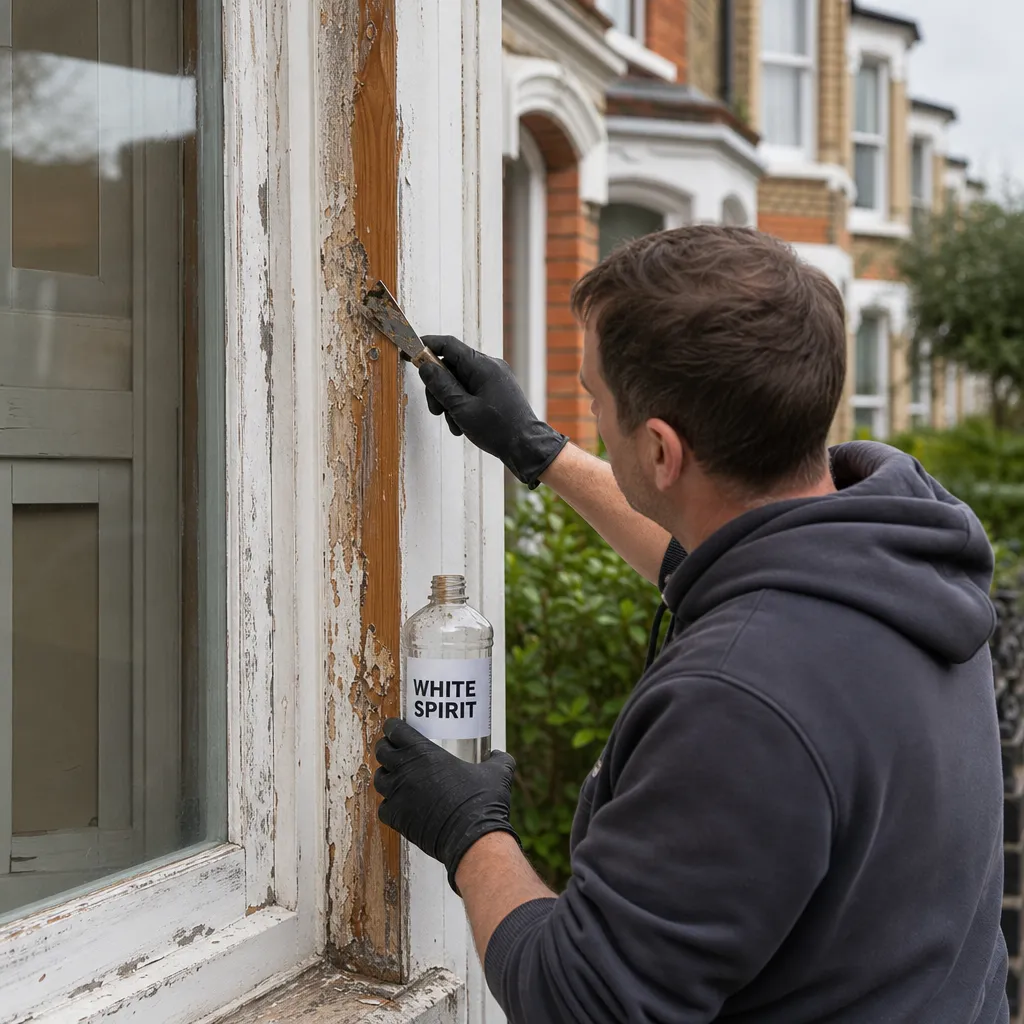
Paint Removal with White Spirit: Effectiveness and Application
White spirit dissolves uncured, freshly applied oil-based paints and is useful for cleaning brushes and removing fresh drips, but has very limited effect on fully dried or cured paint films.
 Improvement & Build
Plastering Over Existing Paint and Wallpaper: Surface Prep and Technique
Whether you can plaster over existing paint or wallpaper depends on surface condition and adhesion.
 Improvement & Build
Labour and material costs for floor tiling projects
Floor tiling in the UK typically costs £30–£60 per m² in labour, plus materials ranging from £10–£40/m² for ceramic to £50–£150+/m² for natural stone.
 Improvement & Build
Essential Steps for Driveway Installation
Installing a driveway in England requires planning permission only when using an impermeable surface (standard tarmac, concrete, or block paving) on a front garden area over 5 m².
 Improvement & Build
Preparing Walls for Patching: Surface Preparation Best Practice
Durable wall patching starts with removing all loose material, cutting back to a clean and stable edge, cleaning the substrate, and priming with a construction-grade PVA bonding agent before applying any filler or plaster.