Removing Pebbledash Rendering from Exterior Walls
By Housey · Last reviewed 6th of May 2026
Removing Pebbledash Rendering from Exterior Walls
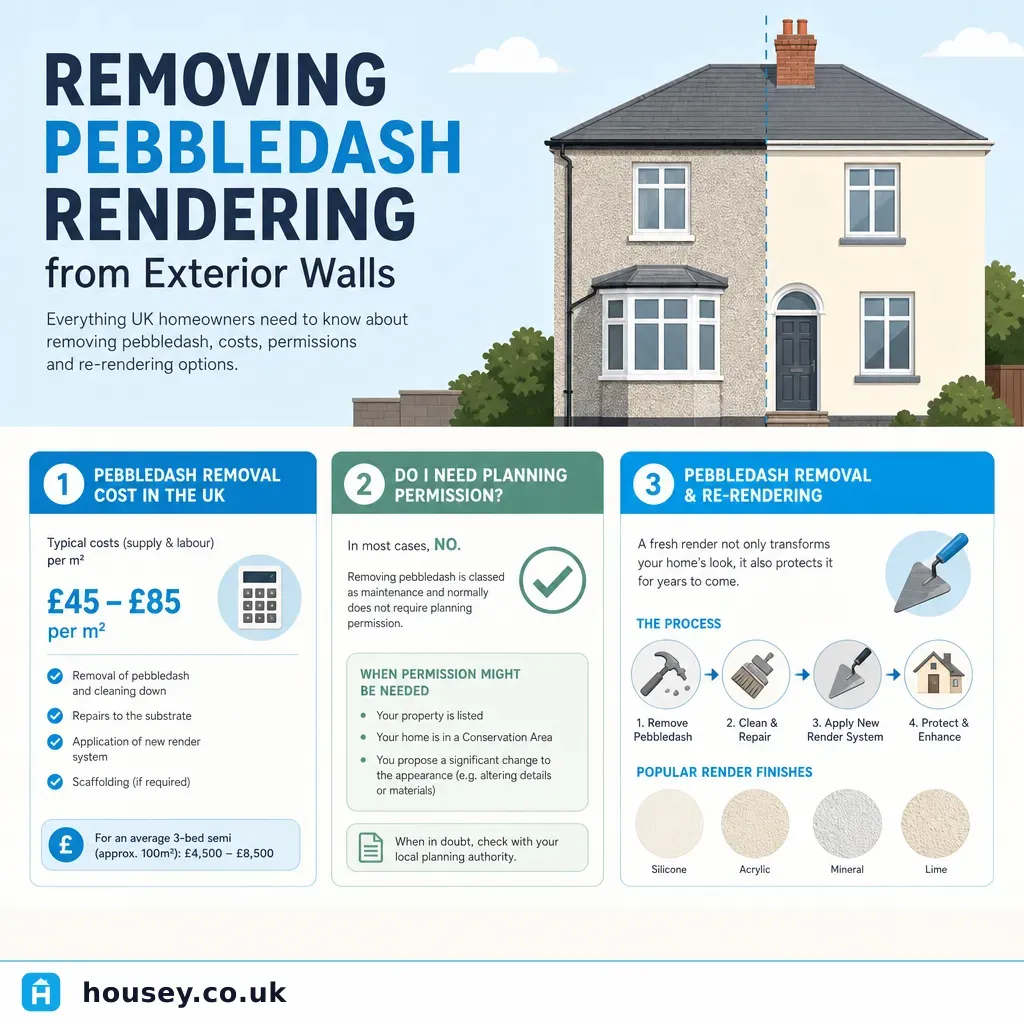
Pebbledash is one of the most divisive exterior finishes in UK residential property — applied widely to 1920s–1960s homes as a low-maintenance weatherproofing coat, and increasingly stripped by homeowners seeking a cleaner, more contemporary look. The decision typically arises during a wider exterior renovation, before a planned extension, or when cracking render starts admitting water. The scope of work, cost, and planning implications vary considerably depending on property type, location, and what lies beneath the render coat.
Key points
- Removing pebbledash in a conservation area or on a listed building may require planning permission or listed building consent under the Planning (Listed Buildings and Conservation Areas) Act 1990 — check with your local planning authority (LPA) before starting.
- Pebbledash consists of a sand-and-cement base coat with pebbles embedded in the surface; both layers typically need removing to expose the masonry, not just the surface aggregate.
- Scaffolding is required for two-storey work under the Work at Height Regulations 2005 and is usually the largest single cost driver in a quote — any quote omitting it should be queried.
- Indicative UK costs for removal and re-render range from approximately £4,000 to £12,000+ for a standard semi-detached, depending on size, condition, and finish (Indicative UK costs, last reviewed 2026-05-06; obtain quotes for your specific property).
- The exposed wall must be assessed for damp, eroded mortar joints, failed lintels, and damaged bricks before any new finish is applied — hidden repairs commonly add 15–25% to the removal quote.
What is pebbledash and why do homeowners remove it?
Pebbledash is an exterior render system in which a sand-and-cement base coat is applied to a wall and small pebbles or gravel are thrown onto the wet surface to embed in place. It was widely used on inter-war and post-war housing across England, Scotland, and Wales as a weatherproof, low-maintenance finish — particularly on cavity-wall terraces and semis built between roughly 1919 and 1970.
Homeowners typically decide to remove it for one of three reasons:
- Appearance: Pebbledash can look dated, particularly where it has weathered unevenly, stained, or cracked.
- Condition: Cracked or hollow render allows water to track behind the coat, potentially causing damp to the inner wall.
- Renovation upgrade: Removal creates the opportunity to switch to monocouche, silicone, or lime render — or to expose and repoint the original brickwork.
Do you need planning permission to remove pebbledash?
For most standard houses outside conservation areas, changing an external render finish is considered permitted development and does not require a planning application. However, exceptions apply:
- Conservation areas: LPAs in England can issue an Article 4 Direction withdrawing permitted development rights. If your property is in a conservation area, contact your LPA's planning team before removing or replacing any external finish.
- Listed buildings: Changing or removing the external fabric of a listed building requires listed building consent. Carrying out work without consent is a criminal offence under the Planning (Listed Buildings and Conservation Areas) Act 1990.
- Leasehold properties: Your lease may require landlord or freeholder consent for external alterations. Check your title documents before instructing a contractor.
- Flats: External alterations to flats generally fall outside residential permitted development rules; a planning application may be needed.
If you are unsure, most LPAs offer pre-application planning advice — often free or at low cost for minor residential queries. Get any confirmation in writing.
Methods for removing pebbledash
The appropriate removal technique depends on how firmly the render has bonded to the substrate and the nature of the masonry behind it:
Method | Best for | Not ideal for | Key consideration |
|---|---|---|---|
Hand chiselling | Small areas, test patches, listed buildings | Large elevations (slow and labour-intensive) | Lowest risk to masonry; preferred where substrate is soft or historic |
SDS drill or angle grinder | Large areas with dense adhesion on hard masonry | Older soft brickwork or handmade brick | Significant dust generation — PPE and neighbour notification required |
Scabbling (mechanical scarifier) | Thick cement renders on dense modern masonry | Lime render or soft substrate | Specialist tool; typically contractor-only |
Wet blasting | Loosely bonded or heavily weathered render | Poorly pointed or eroded brickwork | Water management needed; risk of driving damp into the wall |
No single method suits every property. A professional renderer will typically test a small patch to assess adhesion strength and masonry condition before committing to a full-elevation removal approach.
What happens after pebbledash is removed?
Stripping pebbledash rarely marks the end of the job. The sequence that typically follows includes:
- Wall inspection — check for efflorescence (white salt deposits), staining, spalled or hollow bricks, eroded mortar joints, or cracked lintels that may indicate water ingress or movement.
- Repointing — mortar joints protected under the old render are often eroded and need raking out and repointing with an appropriate mortar mix before any new finish is applied.
- Patching and repair — damaged or missing bricks, failed lintels, or cracked cills should be made good first.
- Surface preparation — cement residue, dust, and loose debris must be removed; a bonding coat or primer may be required depending on the new finish system specified.
- New finish application — options include monocouche (single-coat through-colour render), silicone thin-coat, traditional lime render (preferred for pre-1919 solid-wall properties), or exposed repointed brickwork.
Budget for this full sequence at the planning stage, and ask each contractor how hidden defects found during removal will be charged.
Red flags to watch for
These signs may indicate problems that go beyond a cosmetic re-render:
- Hollow or drumming sounds when tapping the existing render suggest the coat has detached from the base and may be holding water behind it.
- Active damp internally on the same wall points to a deeper moisture problem that a new render coat alone will not fix — have the wall assessed before committing to the work.
- Soft or crumbling brickwork when the render is stripped may mean the wall was pebbledashed to conceal long-standing erosion; a structural engineer or RICS surveyor should advise before any new finish is applied.
- Yellow-tinted, soft, gritty render beneath the pebbledash is likely historic lime mortar, which requires lime-compatible hand removal tools and a lime-based replacement finish — not cement.
- Cracks at lintel positions, window jambs, or corner junctions may indicate structural movement rather than cosmetic render failure; get this assessed before proceeding.
- No scaffolding line item in a quote for a two-storey elevation — the Work at Height Regulations 2005 require appropriate access equipment, and a contractor proposing ladders alone for a full elevation is not compliant.
Homeowner checklist before work begins
What to ask before accepting a quote
- What exactly is included — removal only, or removal plus preparation, new render, and making good?
- Is scaffolding included in the price, and who is responsible for erection, hire period, and dismantling?
- What is your plan if hidden defects — damaged bricks, failed lintels, active damp — are discovered during removal?
- What render system are you specifying, and what product warranty does the manufacturer provide?
- Will a primer or bonding coat be required on the exposed substrate, and is this included?
- Is VAT included in the quoted figure?
- What qualifications and accreditations do you hold, and can you provide references for similar projects nearby?
When to get professional help
Most pebbledash removal and re-render projects should be carried out by an experienced professional renderer or exterior wall contractor. Two-storey work on scaffolding is not suitable for inexperienced DIY. Seek professional advice before proceeding if:
- Removal exposes soft, crumbling, or hollow brickwork that may indicate structural erosion.
- You notice active internal damp on the same wall, or damp worsens after rain.
- The property is listed or in a conservation area, where restrictions on materials and methods may apply.
- Cracks at lintels, window openings, or quoins suggest movement rather than purely cosmetic render failure.
- The underlying render appears to be historic lime — soft, yellowish, and sand-gritty — which requires specialist handling and a compatible new finish.
How Housey can help
If your pebbledash removal forms part of a wider exterior renovation — such as a planned extension, full-house re-render, or structural repair — Housey can help you find and compare quotes from vetted extension builders who regularly manage exterior renovation packages alongside build projects. Request quotes to compare specifications, materials, and pricing side by side.
Frequently asked questions
Will removing pebbledash devalue my home?
Not necessarily. Replacing old or cracked pebbledash with a quality modern render or exposed brickwork often improves kerb appeal and can increase value. The outcome depends on the quality of the new finish, the local market, and the condition of the masonry beneath. A poorly executed replacement can look worse than well-maintained pebbledash, so specification and workmanship matter.
Can I paint over pebbledash instead of removing it?
Yes, masonry paint can be applied to sound pebbledash without removal. This is significantly cheaper but does not address hollow spots, cracked areas, or active damp. Penetrating paint also limits future removal options. If the render is structurally intact with no hollows or moisture problems, painting is a reasonable short-term measure to improve appearance and weatherproofing.
How long does pebbledash removal and re-render take?
For a standard three-bedroom semi-detached, allow four to eight working days for removal, preparation, and re-render, plus drying time for the new coat — typically 24 to 72 hours before painting, depending on the product. Weather significantly affects the programme: renders should not be applied in frost, heavy rain, or extreme heat, so contractors should plan around the forecast.
Do I need planning permission to remove pebbledash?
Usually not for a standard house outside a conservation area, where changing an exterior finish is generally permitted development. However, if your property is listed you need listed building consent; if it is in a conservation area, an Article 4 Direction may apply. Always check with your local planning authority before starting — pre-application advice is usually free or low cost.
What finish can I apply after pebbledash removal?
Common options include monocouche (single-coat through-colour render), silicone thin-coat render, traditional lime render (preferred for pre-1919 solid-wall properties and often required on listed buildings), or exposed repointed brickwork. The right choice depends on wall construction type, local climate, any planning or conservation restrictions, and budget. Your renderer should advise on a suitable system for your specific wall.
Sources and further reading
- Planning permission for houses: permitted development — GOV.UK
- Planning (Listed Buildings and Conservation Areas) Act 1990 — legislation.gov.uk
- Work at Height Regulations 2005 — Health and Safety Executive
- Conservation areas: guidance for homeowners — Historic England
- Solid wall insulation — Energy Saving Trust
Useful next reads
 Improvement & Build
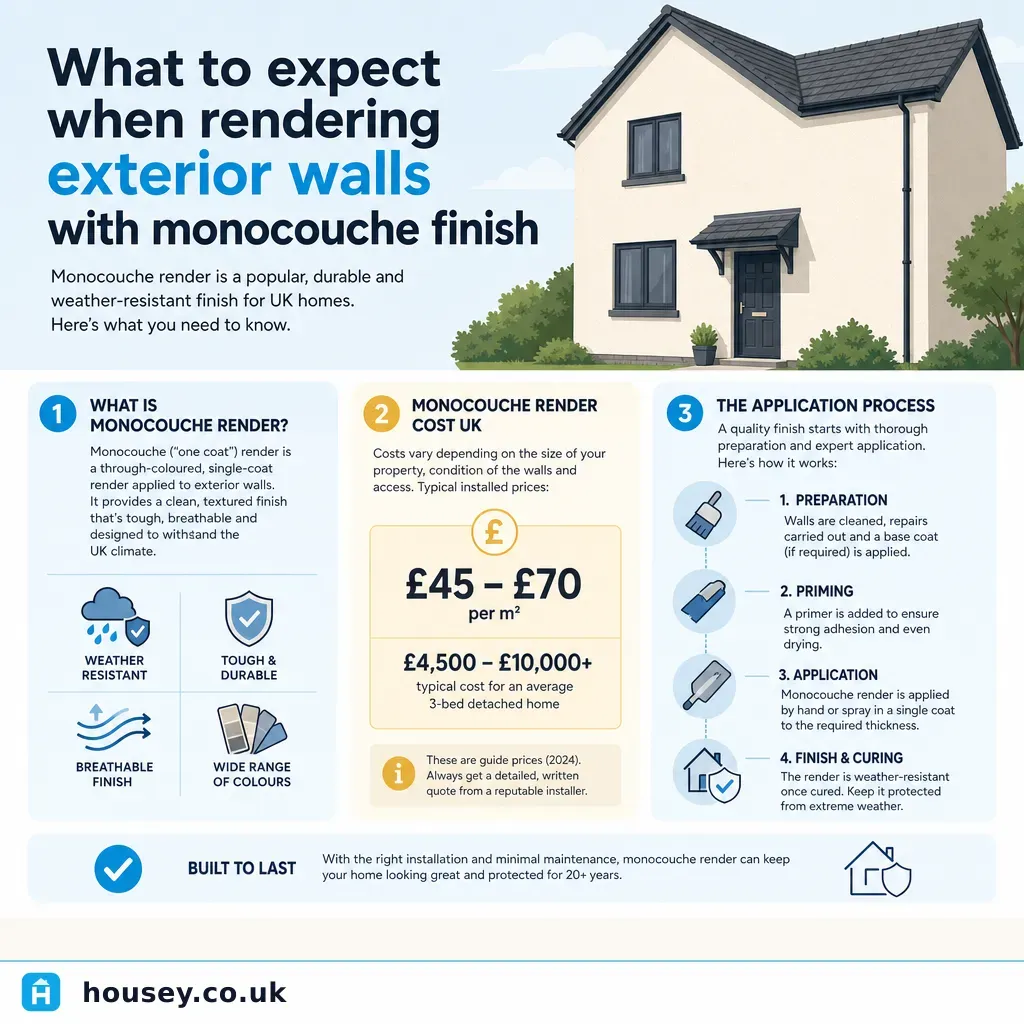
What to expect when rendering exterior walls with monocouche finish
Monocouche is a single-coat, through-coloured cement-based render applied at 15–20 mm onto brick or dense blockwork.
 Improvement & Build
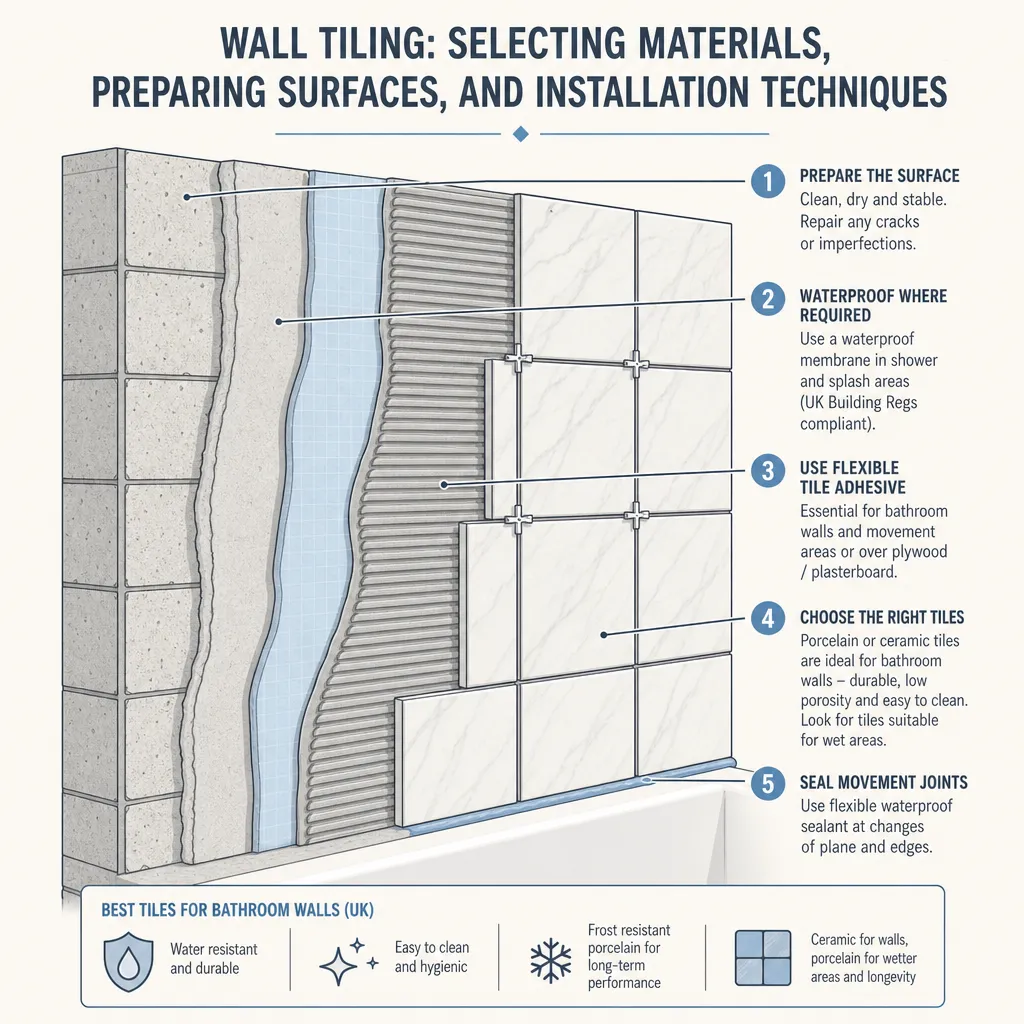
Wall Tiling: Selecting Materials, Preparing Surfaces, and Installation Techniques
Successful wall tiling depends on thorough surface preparation, the correct adhesive class for the tile size and location, and — in wet areas — a tanked substrate before any tile goes on.
 Improvement & Build
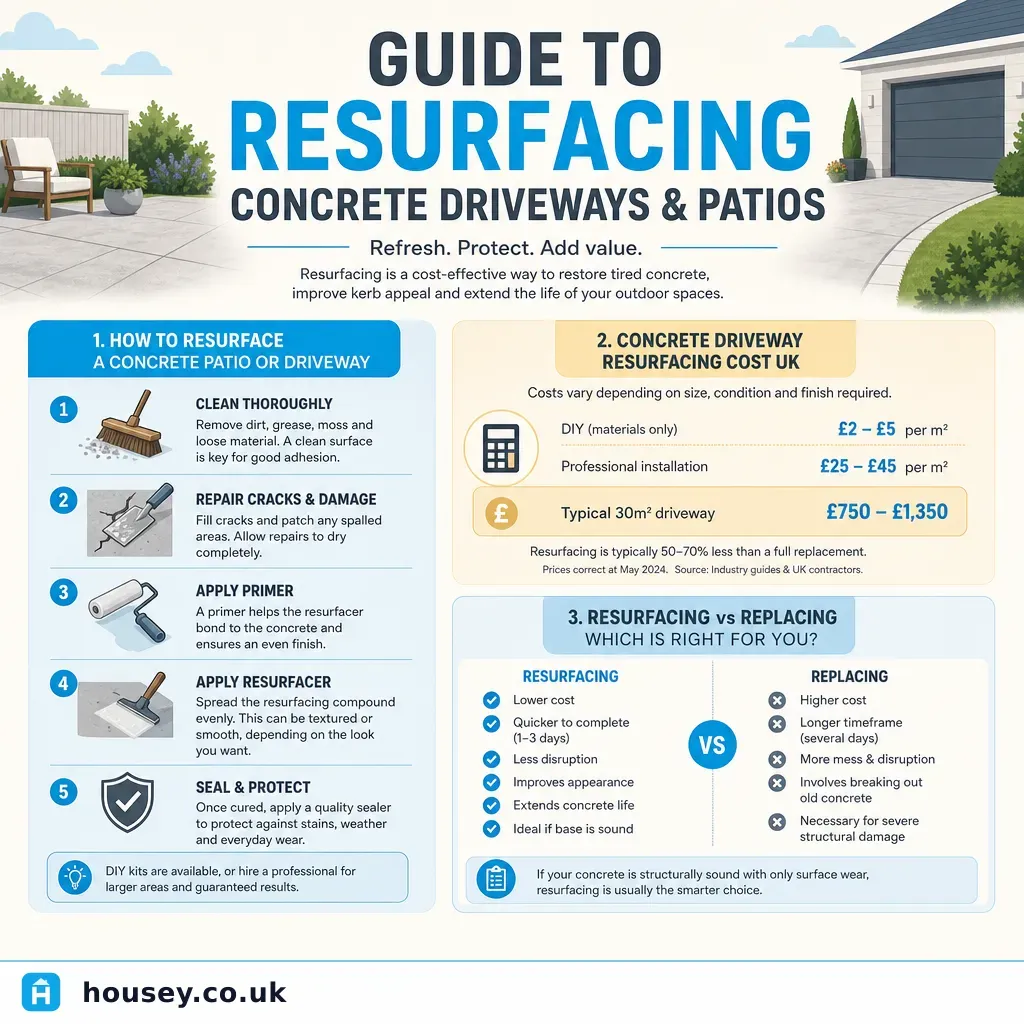
Guide to resurfacing concrete driveways and patios
Concrete driveways and patios can be resurfaced rather than replaced if the existing slab is structurally sound.
 Improvement & Build
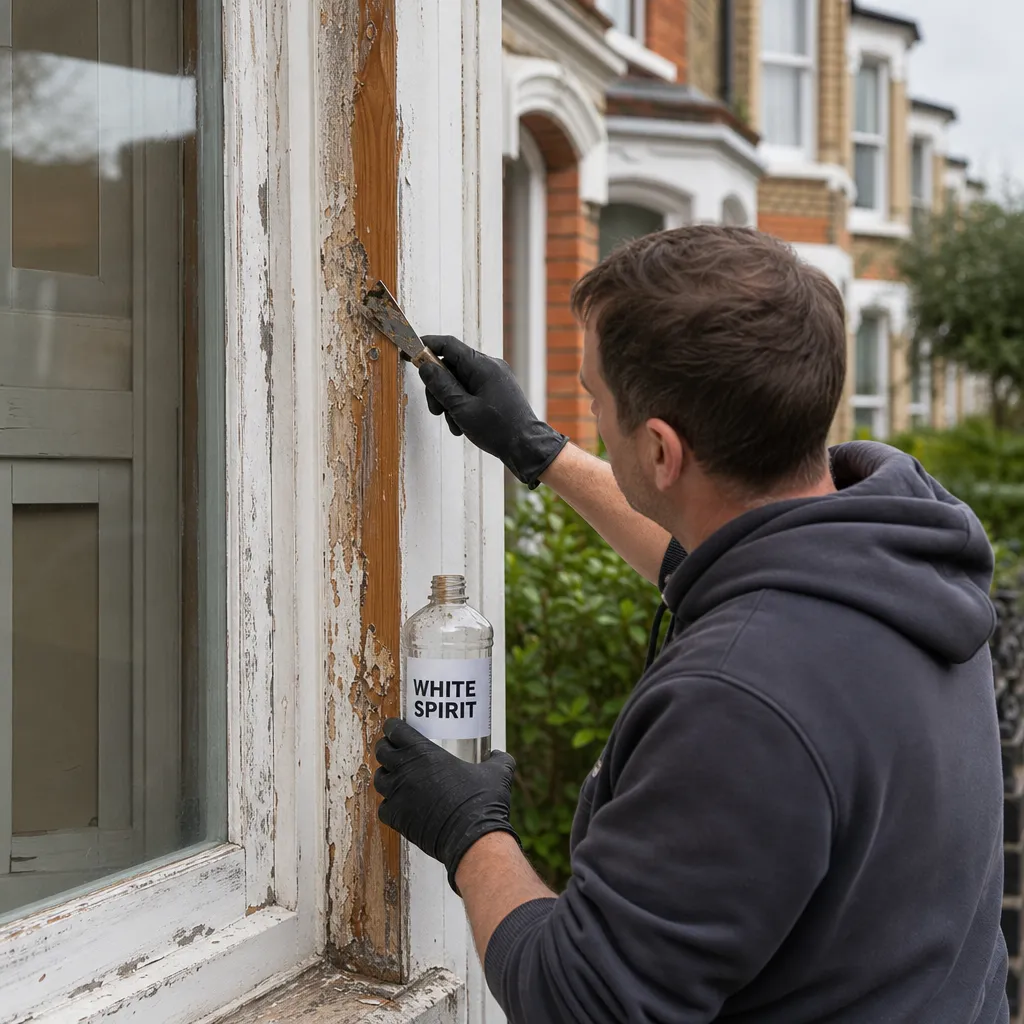
Paint Removal with White Spirit: Effectiveness and Application
White spirit dissolves uncured, freshly applied oil-based paints and is useful for cleaning brushes and removing fresh drips, but has very limited effect on fully dried or cured paint films.
 Improvement & Build
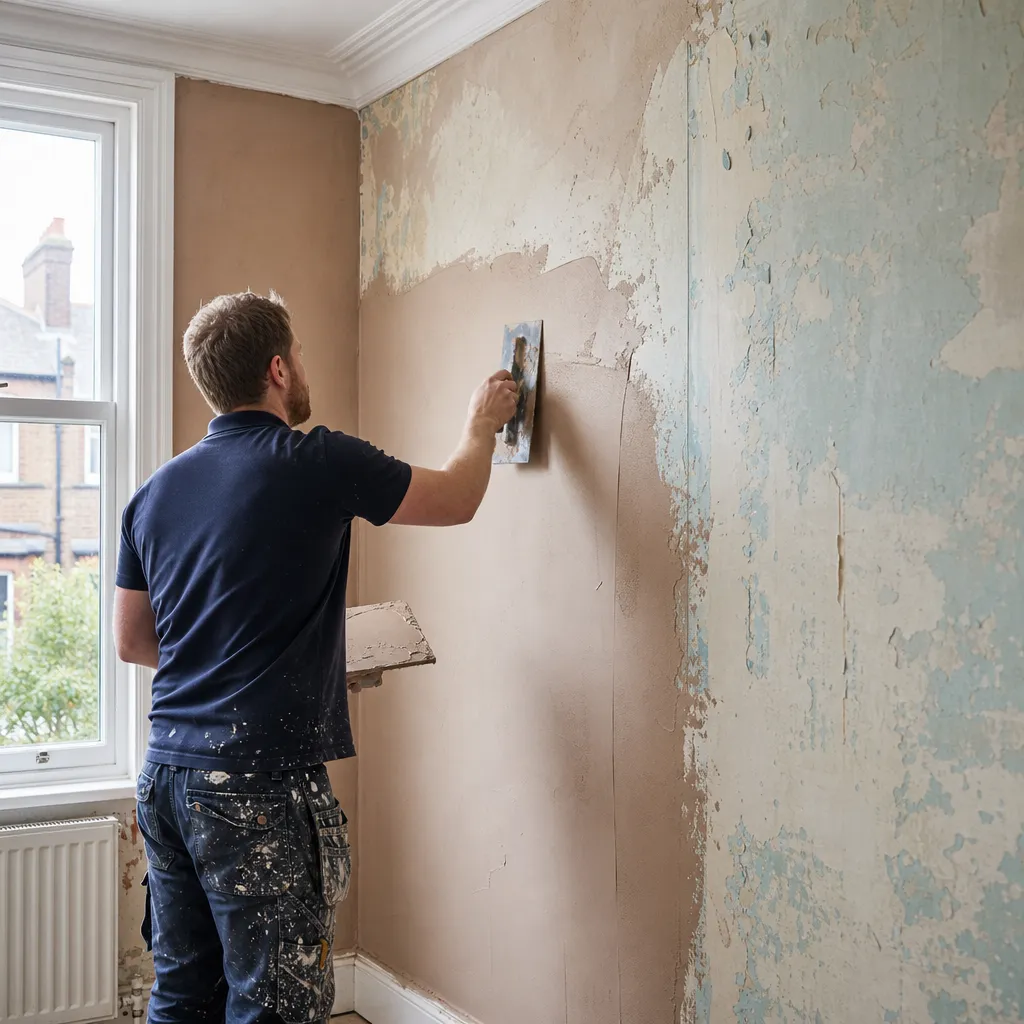
Plastering Over Existing Paint and Wallpaper: Surface Prep and Technique
Whether you can plaster over existing paint or wallpaper depends on surface condition and adhesion.