Wall Tiling: Selecting Materials, Preparing Surfaces, and Installation Techniques
By Housey · Last reviewed 18th of May 2026
Wall Tiling: Selecting Materials, Preparing Surfaces, and Installation Techniques
Wall tiling comes up at several points in a UK homeowner's journey — during a bathroom or kitchen renovation, after a house purchase reveals dated or damaged surfaces, or as part of a larger extension project. Getting tile selection and installation right matters beyond aesthetics: poorly prepared substrates or inadequate waterproofing in wet areas can lead to mould growth, water damage behind the tiles, and costly remedial work within only a few years of completion.
Key points
- BS 5385 Parts 1 and 2 are the British Standards covering ceramic and mosaic wall tiling — they define best practice for adhesive selection, joint widths, surface preparation, and movement accommodation.
- In wet areas (showers, around baths), tanking — applying a waterproof membrane or slurry to the substrate before tiling — is essential; tiles and grout alone are not waterproof barriers.
- Porcelain tiles have a water absorption rate below 0.5%, making them suitable for wet rooms and areas with thermal cycling; standard ceramic wall tiles typically absorb 10–20% and are less suited to high-moisture or frost-exposed applications.
- Flexible adhesive (C2 S1 class to BS EN 12004) is required for large-format tiles generally above 30×30cm, natural stone, tiles over underfloor heating, and any substrate with a differential movement risk.
- Expansion joints of at least 3mm filled with flexible sealant — not grout — are required at changes of plane, around sanitary fittings, and at intervals of 3–4.5m across large tiled areas.
Choosing the right tile for the location
Choosing the wrong tile material for the intended application is one of the most common causes of early failure. Different surfaces require different performance characteristics, particularly around moisture absorption and resistance to thermal change.
Tile type | Water absorption | Best for | Avoid using for |
|---|---|---|---|
Ceramic (standard wall tile) | 10–20% | Kitchen splashbacks, dry bathroom walls, hallway dados | Shower enclosures, areas prone to sustained condensation |
Porcelain | Below 0.5% | Wet rooms, shower enclosures, high-use surfaces | Heavily textured profiles where grout lines trap dirt |
Natural stone (marble, slate, travertine) | Varies by stone type | Feature walls, traditional interiors | Wet areas unless sealed and regularly maintained; near acidic cleaning products |
Glass mosaic | Non-porous | Feature panels, splashbacks, small accent areas | Long unbroken runs where thermal expansion is unmanaged |
Encaustic or cement tile | Porous unless sealed | Feature walls, lower-moisture decorative areas | Wet areas unless a compatible sealer is applied and maintained |
Always check the tile manufacturer's technical data sheet for the declared water absorption figure and the recommended adhesive class before purchasing. Tiles sold as suitable for wet areas should carry this confirmation explicitly.
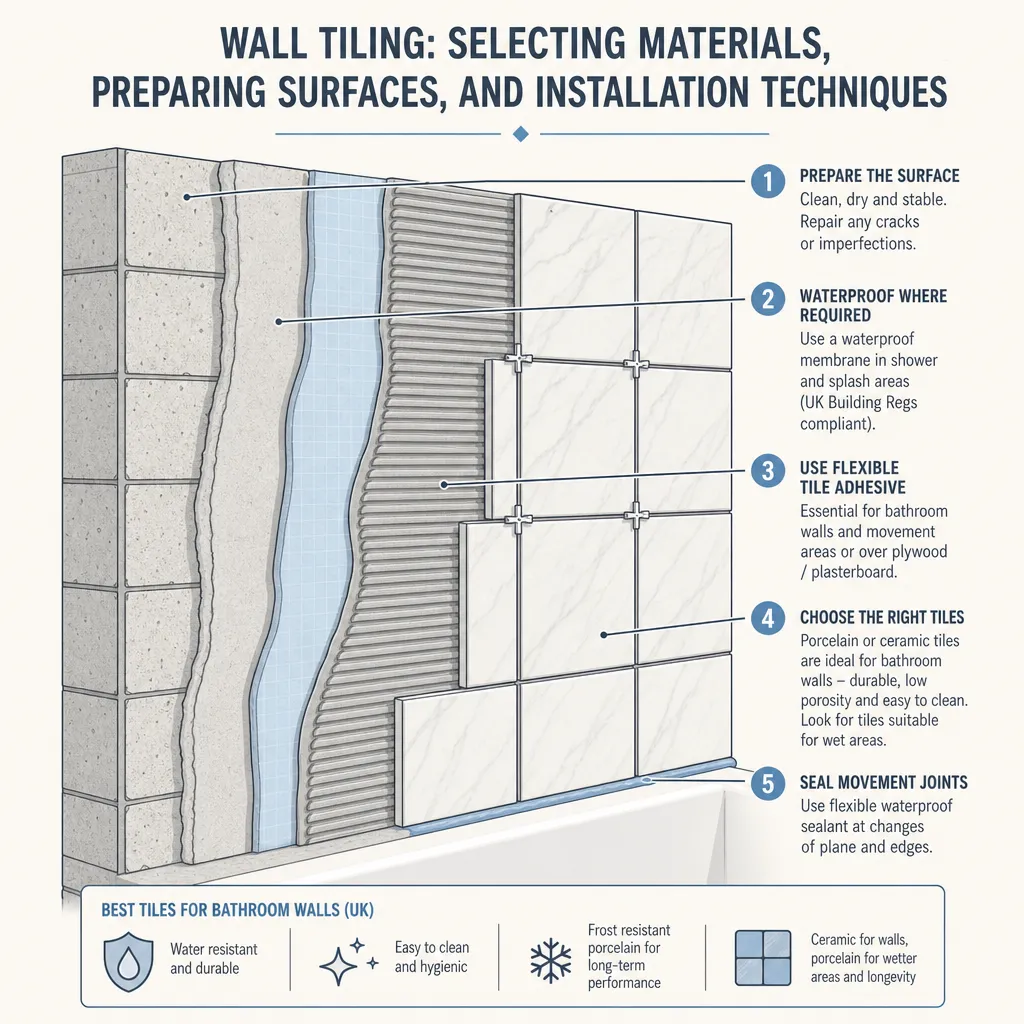
Surface preparation: the most critical step
Poor surface preparation accounts for a significant proportion of tiling failures in UK homes, particularly in bathroom and kitchen renovations. The substrate — the surface onto which tiles are fixed — must satisfy several conditions before any adhesive is applied.
Sound and stable: remove all loose plaster, flaking paint, or surface contamination. Painted walls should be lightly keyed by sanding and primed with an appropriate bonding agent compatible with the chosen adhesive.
Flat: BS 5385 recommends a maximum deviation of 3mm under a 2m straightedge for most wall tiling applications. Hollows larger than this create adhesive voids that reduce long-term bond strength.
Dry and cured: plaster must be fully cured before tiling — typically 4–8 weeks for a new backing coat on a solid wall. Tiling over damp or green plaster traps moisture and almost always leads to adhesive failure.
Waterproofed in wet zones: in shower enclosures and around baths, tanking the substrate before tiling is the required approach. Tanking systems include fibre-reinforced slurry coatings and sheet membranes; both must be applied to the manufacturer's instructions, with adequate overlaps at corners and carefully sealed penetrations around pipes.
Common UK substrates:
- Sand and cement render: stable and suitable once fully cured; may benefit from a diluted primer coat before tiling.
- Standard plasterboard: suitable for dry areas only. In wet areas, use moisture-resistant (MR) board or, better still, a dedicated tile-backer board.
- Tile-backer (cement) board: the preferred substrate for wet rooms and shower enclosures — dimensionally stable, unaffected by water, and compatible with all tanking systems.
- Existing tiles (bonded tile-on-tile): possible if existing tiles are sound and firmly bonded, but adds weight, reduces clearances around fittings, and is not suitable for large or heavy new tiles.
Adhesive and grout selection
Selecting the correct adhesive classification is not optional — the wrong product is a primary cause of tile delamination and is a common finding in post-failure investigations.
Adhesive classification under BS EN 12004:
- C1 (standard set): suitable for standard ceramic wall tiles in dry conditions on stable substrates.
- C2 (improved adhesive): better coverage, improved slip resistance, and extended open time; required for porcelain, large-format, and natural stone tiles.
- S1 (flexible): required over underfloor heating systems, substrates with a movement risk, and for wall tiles larger than 30×30cm.
- R (rapid-set): used where tiles must be grouted quickly, in colder conditions, or where the area needs to return to use promptly.
For wet areas, confirm that the chosen adhesive is rated for continuous water exposure (W classification, or the manufacturer's equivalent declaration).
Grout selection:
- Cement-based grout: the standard choice for most residential tiling; seal in wet areas to reduce water ingress and staining.
- Epoxy grout: highly durable and chemically resistant; used in food preparation areas and high-hygiene environments; more technically demanding to apply.
- Flexible grout (polymer-modified): suited to larger joints or where minor substrate movement is expected.
Avoid grout joints narrower than 2mm — they are difficult to fill completely and may not accommodate inherent variation in tile dimensions.
Key installation decisions
A comprehensive step-by-step installation guide is beyond the scope of this article, and wet room waterproofing in particular should be carried out by a qualified tiler to ensure any product warranty remains valid. The following covers the decisions that most often determine whether a tiling project succeeds or fails:
- Plan the set-out before cutting anything: work from the visual centre of the wall outward to avoid awkward small cuts at the corners. Use a spirit level and a temporary timber batten to establish a true horizontal datum line.
- Back-butter large-format tiles: for porcelain and tiles above 30×30cm, apply adhesive to both the tile back and the wall surface (double-buttering). BS 5385 recommends a minimum 80% adhesive contact in dry areas and 95–100% in wet areas.
- Use a consistent spacer system: tile spacers or a wedge-clip levelling system ensures even joint widths and helps prevent lippage (height differences between adjacent tile edges) on large-format work.
- Leave movement joints at every change of plane: at internal corners, junctions with sanitary ware, around pipe penetrations, and at regular intervals across large tiled runs, leave a minimum 3mm gap and fill with a flexible silicone sealant — never grout.
- Allow the adhesive to cure fully before grouting: most products require a minimum of 24 hours (longer in cold or humid conditions) before grouting begins. Premature grouting disturbs the adhesive bed.
- Seal natural stone and porous substrates before use: apply an appropriate impregnating sealer to stone tiles and to cement-based grout in wet areas; re-seal periodically as the manufacturer recommends.
Homeowner checklist: before tiling begins
When to get professional help
Wall tiling in a dry area — a kitchen splashback or a dado rail in a hallway — is within reach of a careful and patient DIYer with good surface preparation and the right tools. Wet rooms, shower enclosures, and the areas around baths involve waterproofing that, if done incorrectly, can cause serious structural water damage. These are generally best left to a qualified tiler, particularly when the tanking warranty is important to you.
Consider professional help if:
- The substrate is uneven, contains hairline cracks, or the cause of a previous tiling failure has not been established and resolved.
- You are tiling onto a newly built or plastered surface where cure time is uncertain.
- Large-format tiles (600×600mm or larger) are specified — back-buttering and precise levelling are technically demanding.
- The project is in a leasehold flat where building insurance, service charge obligations, or building regulations may apply to wet room alterations.
How Housey can help
For tiling that forms part of a larger renovation — a bathroom refit, a new extension, or a whole-room refurbishment — Housey can connect you with experienced extension builders who work alongside qualified tilers and can manage substrate preparation, waterproofing, and tile installation as part of an integrated, properly sequenced project.
Frequently asked questions
Do I need to seal tiles in a shower?
Glazed ceramic and porcelain tiles do not need sealing — the glaze is non-porous. However, grout joints in a shower do absorb water and staining agents; sealing grout is advisable and should be repeated every one to two years. Natural stone tiles (marble, travertine, slate) must be sealed before use and regularly re-sealed, as they are porous and will deteriorate or stain if left unprotected.
How long should new plaster dry before tiling?
As a general rule, allow a minimum of four weeks per millimetre of plaster thickness, or follow the plaster manufacturer's specific guidance. A standard backing coat (12–15mm) on a solid wall typically needs 4–8 weeks to fully cure before tiling. In cold or humid conditions, allow longer. Tiling over uncured plaster is one of the most common causes of adhesive failure and tile delamination.
Can I tile over existing tiles?
Yes, if the existing tiles are firmly bonded, flat, and not too thick. In practice, tile-on-tile work adds 10–15mm to the wall face, which can prevent doors closing and create visible steps around edges. It is not recommended where there are doubts about the waterproofing beneath existing tiles in wet areas. Always check the total combined weight of tiles and adhesive against the substrate's load capacity.
What is the difference between wall tiles and floor tiles?
Wall tiles are typically lighter and thinner, with glazes not designed for foot traffic. Most floor tiles can be used on walls, but wall tiles must not be used on floors — they can crack under load and may be dangerously slippery when wet. Always check the manufacturer's declared slip resistance rating and recommended application before purchasing tiles intended for a floor.
Sources and further reading
- BS 5385: Wall and floor tiling — Code of practice — BSI (British Standards Institution)
- Tiling guidance and best practice — The Tile Association
- BS EN 12004: Adhesives for tiles — BSI (British Standards Institution)
Useful next reads
 Improvement & Build
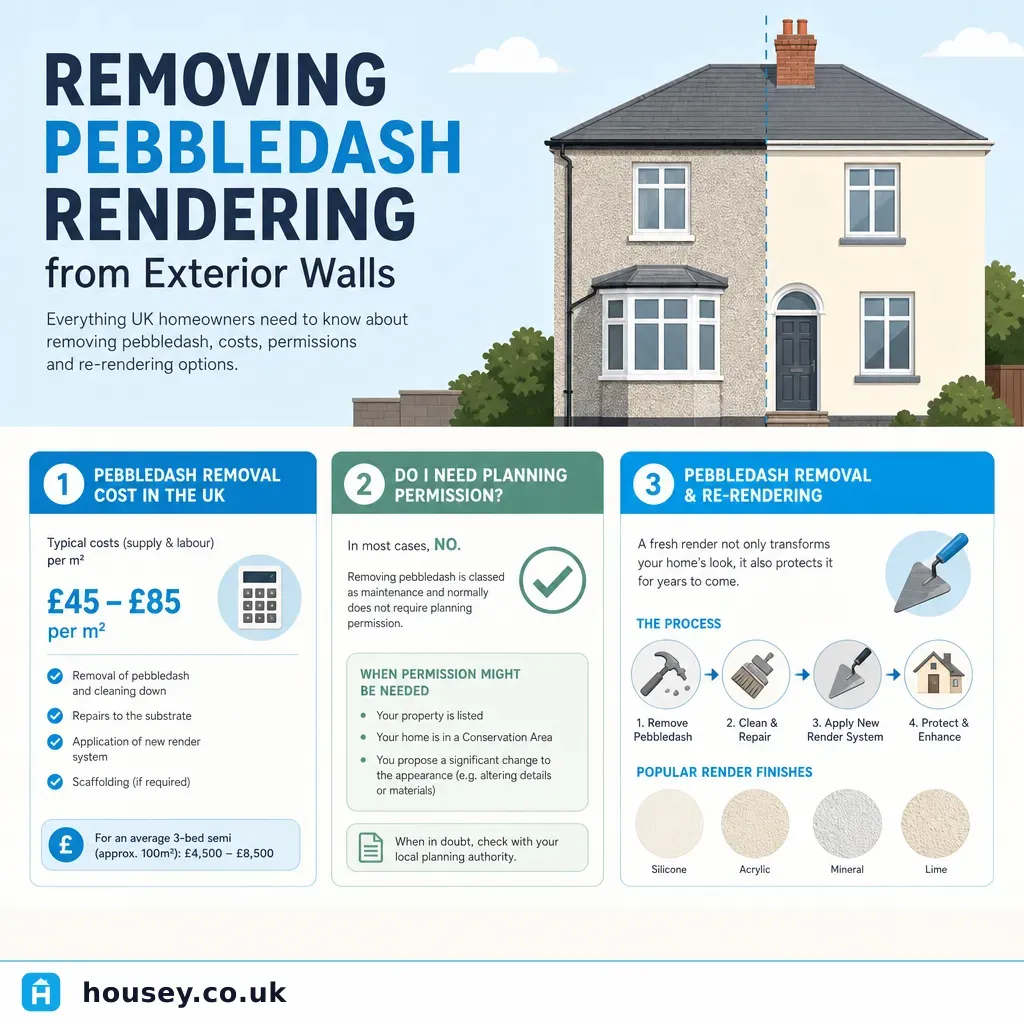
Removing Pebbledash Rendering from Exterior Walls
Removing pebbledash involves chiselling or grinding off the render and base coat, then inspecting and repairing the masonry before applying a new finish.
 Improvement & Build
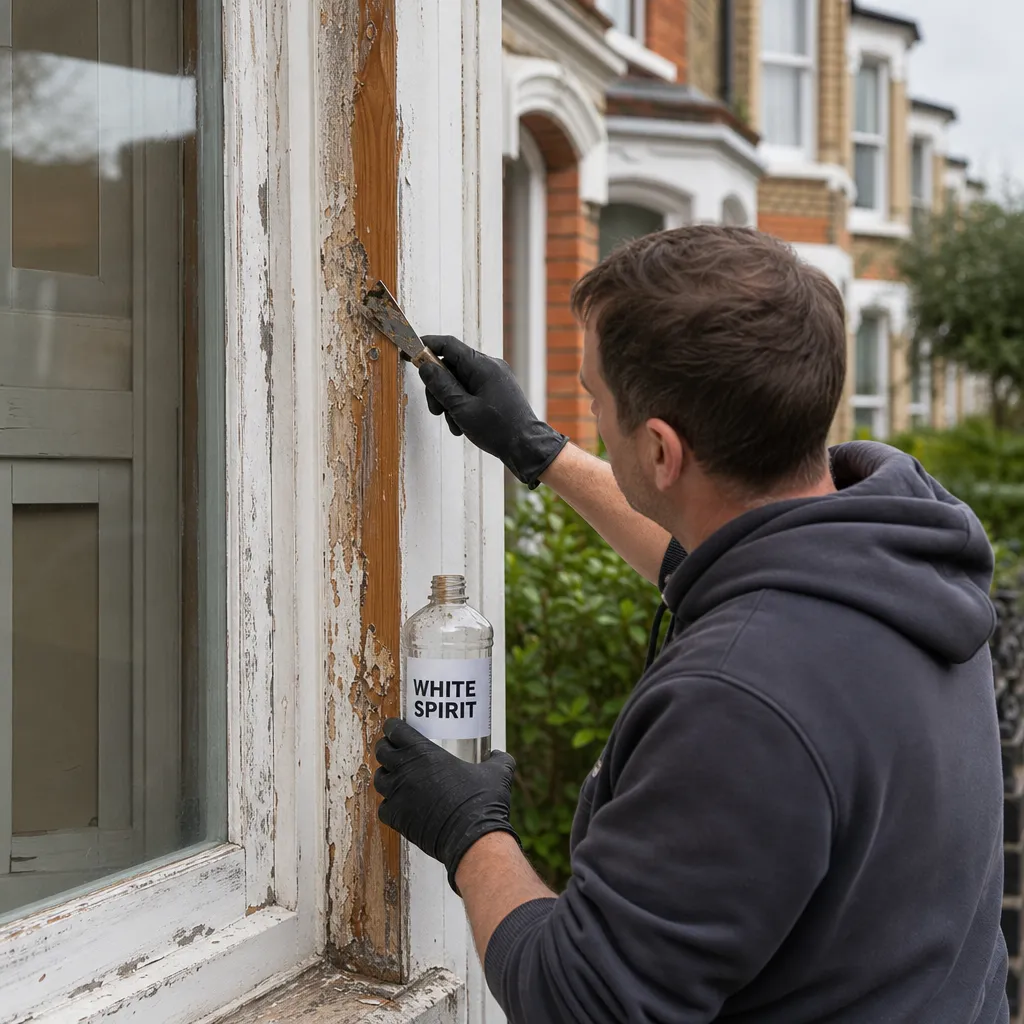
Paint Removal with White Spirit: Effectiveness and Application
White spirit dissolves uncured, freshly applied oil-based paints and is useful for cleaning brushes and removing fresh drips, but has very limited effect on fully dried or cured paint films.
 Improvement & Build
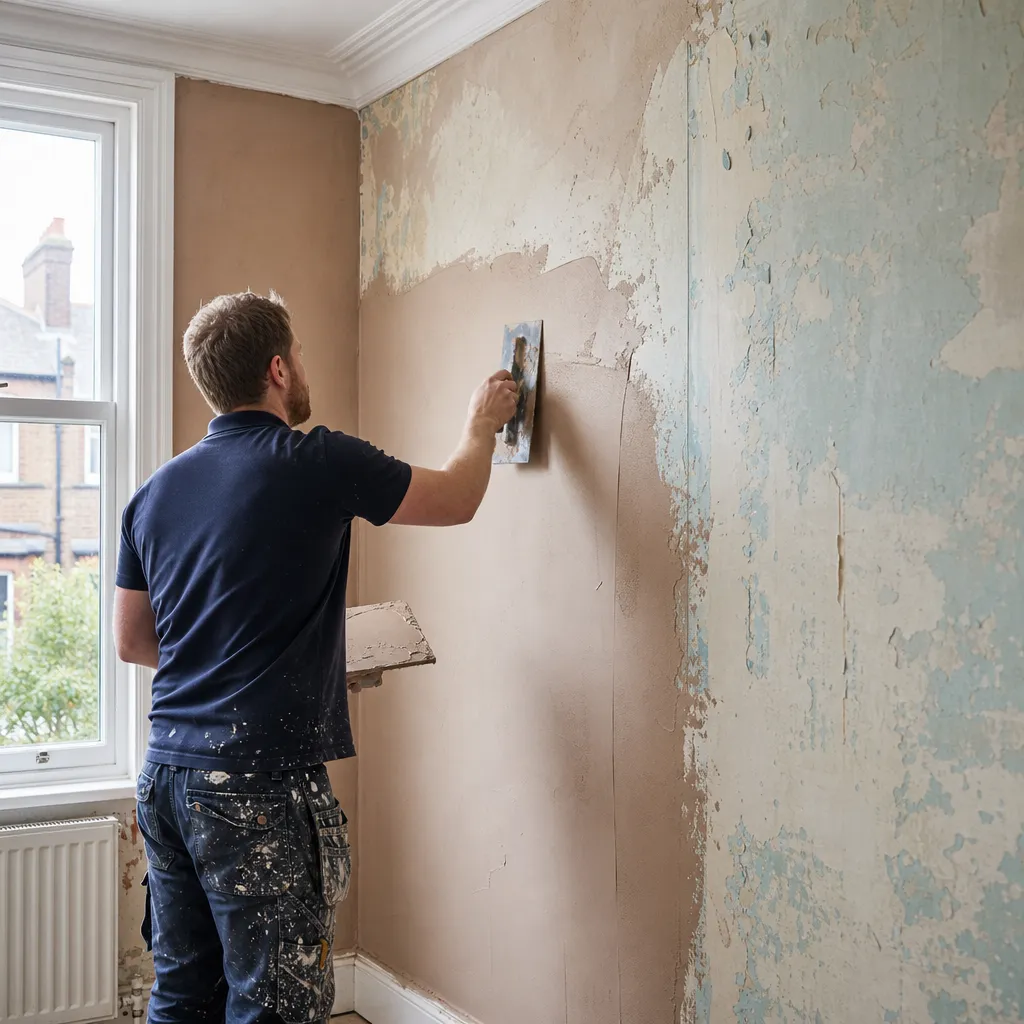
Plastering Over Existing Paint and Wallpaper: Surface Prep and Technique
Whether you can plaster over existing paint or wallpaper depends on surface condition and adhesion.
 Improvement & Build
Labour and material costs for floor tiling projects
Floor tiling in the UK typically costs £30–£60 per m² in labour, plus materials ranging from £10–£40/m² for ceramic to £50–£150+/m² for natural stone.
 Improvement & Build
Essential Steps for Driveway Installation
Installing a driveway in England requires planning permission only when using an impermeable surface (standard tarmac, concrete, or block paving) on a front garden area over 5 m².