Removing Skirting Boards: Methods and When to Call a Professional
By Housey · Last reviewed 18th of May 2026
Removing Skirting Boards: Methods and When to Call a Professional
Skirting boards are often the first elements to come out during a renovation — whether you are laying new flooring, replastering walls, or replacing tired MDF profiles with something more in keeping with a property's age. In a Victorian terrace or 1930s semi, original timber skirting can be surprisingly deep, robustly fixed, and painted over many times, making removal more involved than it first appears. Knowing which method to use and when to leave it to a professional saves both time and unnecessary damage.
Key points
- Most skirting boards in UK homes built after 1960 are fixed with a combination of cut nails into the wall and construction adhesive — often both — making clean removal harder than nails alone.
- In homes built or refurbished before 2000, textured coatings (including Artex) on walls behind skirting boards may contain chrysotile asbestos — do not sand or abrade these surfaces without professional testing first.
- Original timber skirting in Victorian and Edwardian properties is frequently worth preserving; careless removal techniques destroy reuse value that can be significant.
- Skirting boards in new-build or recently renovated homes are often glued directly to plasterboard, and removal almost always damages the board face.
- Remove skirting before laying wood or laminate flooring so perimeter expansion gaps can be concealed rather than cut around the existing boards.
Tools you will need
- Stanley knife — for scoring the paint and caulk seal along the top edge and at internal corners
- Wide bolster chisel — for levering the board away from the wall; a wider blade is gentler on plaster than a narrow one
- Wrecking bar or flat pry bar — for leverage once the board is partially freed
- Scrap timber offcuts — to protect the wall surface by distributing the load from the pry bar
- Oscillating multi-tool with scraper blade — useful where skirting is adhered with construction adhesive
- Claw hammer — for extracting residual cut nails from the wall or the board
Step-by-step removal methods
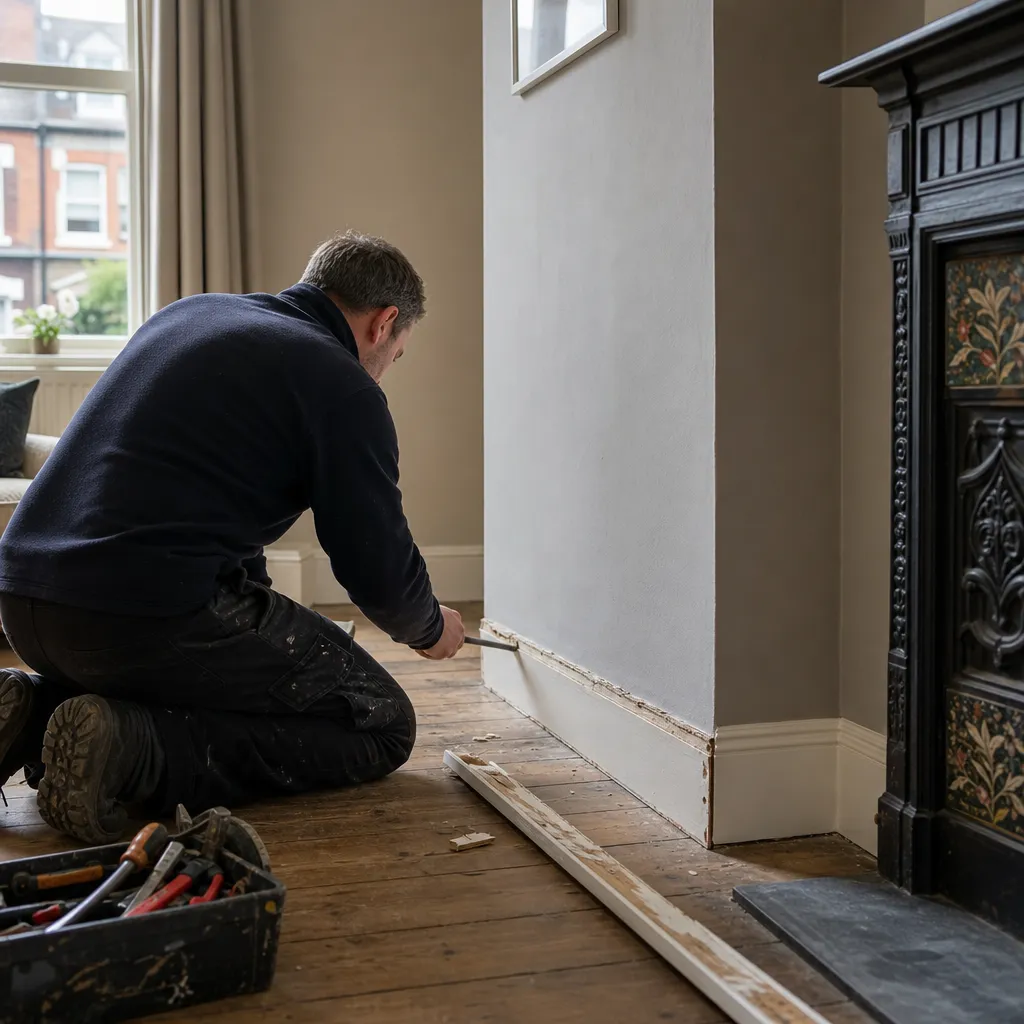
Method 1: Scored and levered (solid plaster walls)
- Score the top edge with a Stanley knife, cutting through any paint or caulk seal between the skirting and the plaster. This single step is the most important for preventing plaster spalling.
- Insert a wide bolster chisel behind the board near a fixing point — usually detectable as a slight raised bump in the painted surface. Lever gently outwards.
- Place a timber offcut between the chisel or bar and the wall surface to protect the plaster.
- Work along the board in 150–300 mm increments, gradually freeing the full length before attempting to pull the entire board away in one movement.
- Pull nails from the board face with a claw hammer once free — tapping them back through the face and then pulling from the back preserves the visible surface if you intend to reuse the board.
Method 2: Construction adhesive (newer builds and renovated homes)
Many post-1990 skirting boards are fixed with construction adhesive in addition to, or instead of, nails. The tell-tale signs are a complete absence of visible nail dimples and a board that flexes but will not lever free with normal chisel pressure.
- Score the top edge and any silicone or caulk bead as above.
- Run an oscillating multi-tool with a scraper blade horizontally behind the board to cut through the adhesive blobs.
- Accept some plasterboard face damage — this is almost unavoidable with boards glued directly to board. Factor in replastering or patching as part of the overall project cost.
Which method should you use?
- Choose Method 1 if the property is pre-1990 and skirting boards are fixed to a solid plaster wall with cut nails or masonry nails.
- Choose Method 2 if the skirting is glued to plasterboard, or if there are no visible nail marks along the face of the board.
- Proceed cautiously and test wall surfaces first if the property was built or decorated before 2000 — have any textured wall coating tested for asbestos-containing materials before disturbing surfaces behind the skirting line.
- Call a joiner if skirting is integrated with architraves, panelling, or dado rails you wish to preserve — missequenced removal can split joints and destroy profiles.
- Call a building contractor if you suspect services (pipes or cables) run at floor level behind the skirting — not uncommon in Victorian properties with retrofitted central heating or later electrical rewires.
Comparison of removal approaches
Approach | Best for | Main risk | Board likely reusable? |
|---|---|---|---|
Score and lever — solid plaster | Pre-1990 timber skirting on plaster walls | Plaster spalling at edges if not scored first | Usually yes |
Multi-tool — plasterboard | Post-1990 MDF on plasterboard | Surface damage to plasterboard face | Usually no |
Professional joiner | Listed buildings, ornate profiles, panelling | Cost | Yes |
Full-strip contractor | Whole-room strip-out as part of major renovation | Excess damage if care is not a priority | Usually not required |
Asbestos caution for pre-2000 properties
Textured wall and ceiling coatings applied before 2000, including Artex, may contain chrysotile (white) asbestos in low concentrations. The coating is most likely to be disturbed when skirting removal chips away at the plaster face behind the board. If you are uncertain about the date of construction or the composition of wall finishes, do not sand or abrade wall surfaces until a UKAS-accredited laboratory test has been carried out on a sample. The Health and Safety Executive (HSE) publishes guidance on identifying and managing asbestos in domestic properties.
Red flags: when to call a professional
- The wall behind the skirting shows signs of damp — salt crystallisation, staining, or soft plaster — that needs investigation before any re-boarding.
- Electrical cables or plumbing pipes are surface-fixed to the wall at skirting level and their routing is unclear.
- The skirting forms part of a listed building's historic interior fabric — consult Historic England's guidance and your local planning authority before removal.
- You are in rented accommodation and have not confirmed whether the work requires landlord consent.
- The boards are substantial original Victorian or Edwardian profiles with significant salvage or reuse value that a careful joiner could preserve undamaged.
When to get professional help
Skirting removal is a realistic DIY task in most post-1960 homes, but professional help makes sense when original fabric is at risk, structural services are nearby, asbestos is suspected, or large volumes of material need stripping quickly as part of a wider renovation programme.
How Housey can help
If skirting removal is part of a larger project — new flooring, replastering, a ground-floor extension, or a full property refurbishment — extension builders on Housey can advise on the correct sequence of works and quote for the broader project, including making good any plaster damage uncovered during strip-out.
Frequently asked questions
Will removing skirting boards damage the plaster?
It depends on the fixing method and the substrate. Boards fixed with nails to solid plaster usually come away cleanly if you score the top edge first and work gradually. Boards glued to plasterboard will almost always pull away some of the paper face, requiring patching. Scoring the paint seal before levering is the single most effective preventive step.
How do I remove skirting boards without damaging them for reuse?
Score all paint and caulk seals first. Use a wide bolster chisel rather than a narrow bar, working in small increments along the length. Avoid excessive twisting. Pull nails from the back of the board rather than punching them through the face. Store boards flat on a clean surface to prevent warping.
Do I need to remove skirting boards before laying laminate flooring?
It is strongly advisable. Laminate and engineered wood flooring require a perimeter expansion gap; installing with skirting boards in place means you either sacrifice the gap or leave a visible cut edge. Removing and refitting skirting after the floor is laid gives a clean finish and is the approach recommended by most flooring manufacturers.
Can I reuse old skirting boards?
Solid timber skirting, common in pre-1970 UK homes, is often reusable if removed carefully — the profiles are usually worth preserving. MDF skirting, which became standard post-1990, is less forgiving: it swells at cut edges, is damaged by nail extraction, and rarely survives removal in a condition suitable for neat reuse.
Sources and further reading
- Asbestos in the home — HSE
- Guidance on maintenance and repair of historic buildings — Historic England
- Renting and home improvements — Citizens Advice
Useful next reads
 Improvement & Build
Premium Kitchen Installation: Design, Specification and Costs
A premium kitchen in the UK typically costs £20,000–£80,000 or more installed, depending on cabinetry specification, worktop material, appliance brands, and whether structural changes are needed.
 Improvement & Build
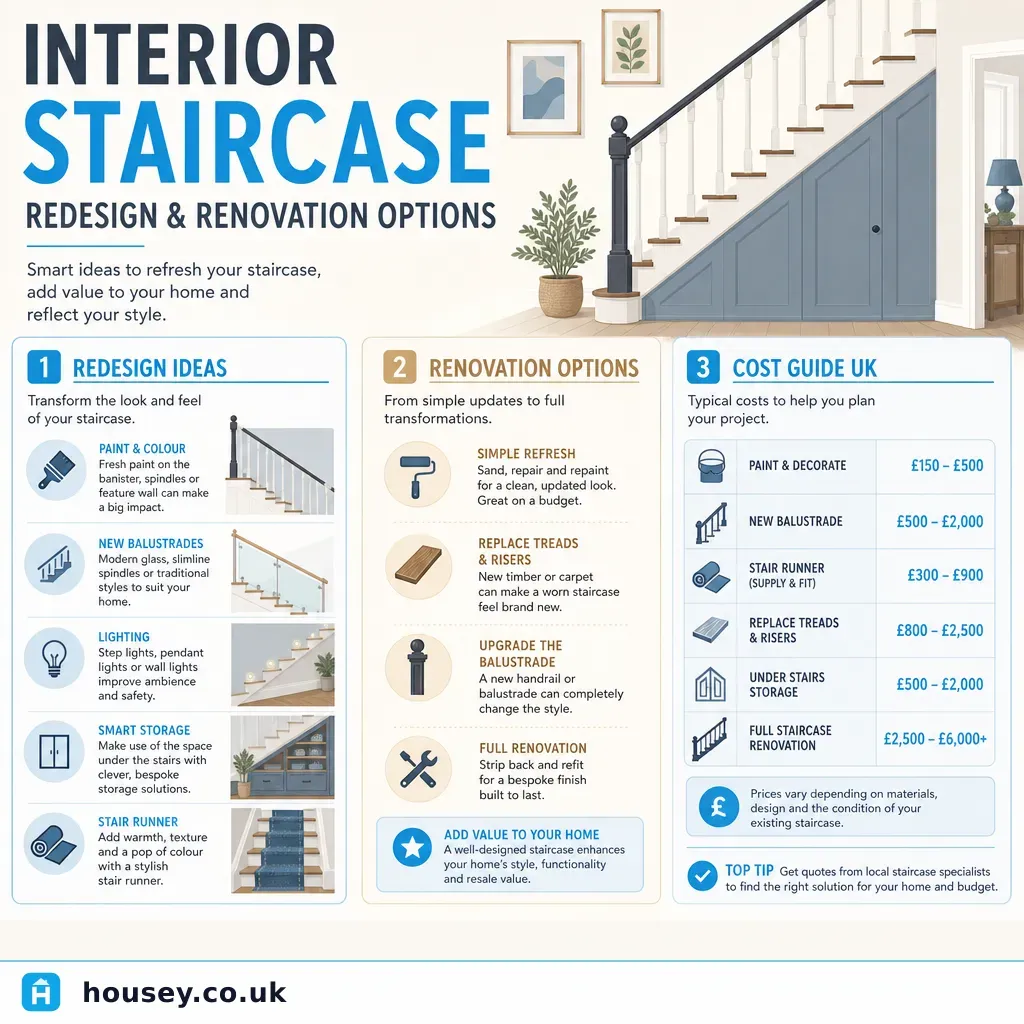
Interior staircase redesign and renovation options
Staircase renovation ranges from cosmetic updates — repainting treads, replacing balusters, or fitting a stair runner — to full structural redesigns with new flights and open-plan layouts.
 Improvement & Build
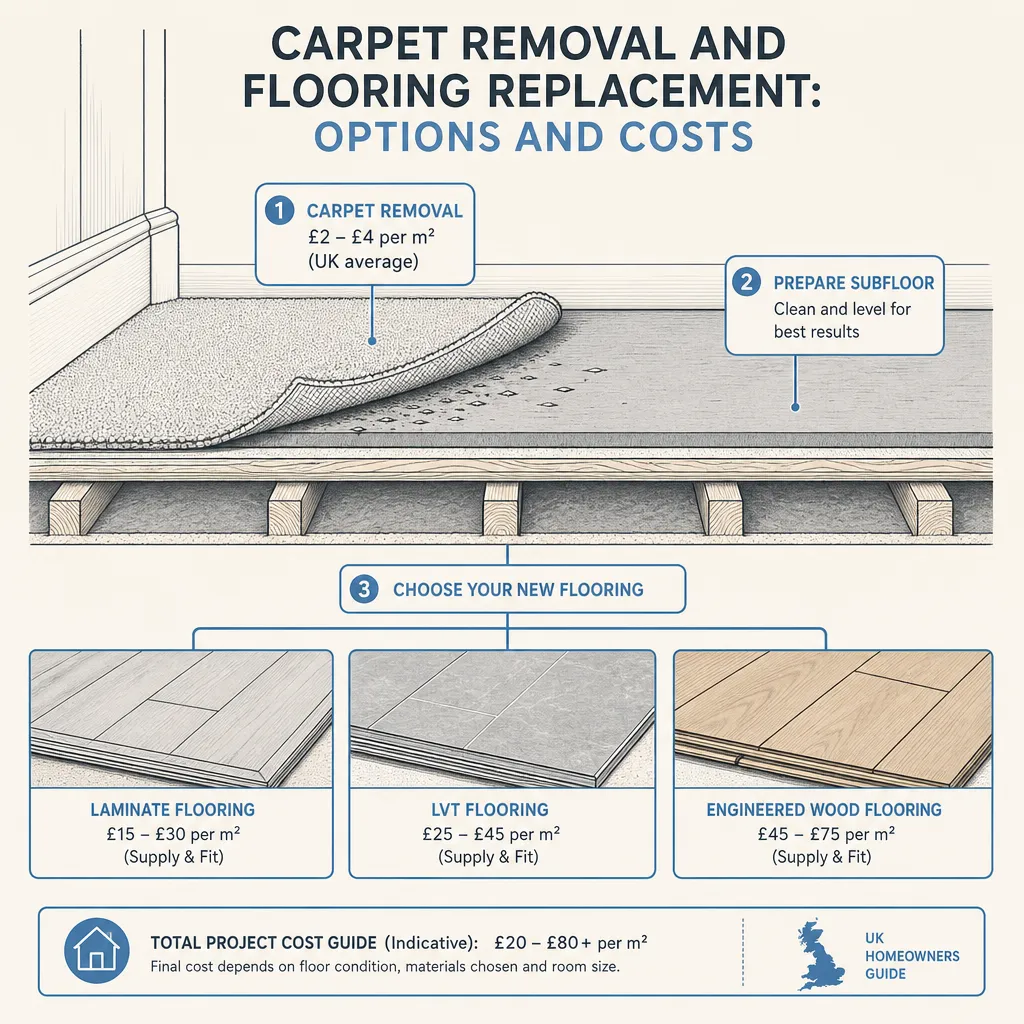
Carpet Removal and Flooring Replacement: Options and Costs
Removing old carpet and fitting replacement flooring typically costs £385–£935 for a 15 m² room in the UK, depending on flooring type and subfloor condition.
 Improvement & Build
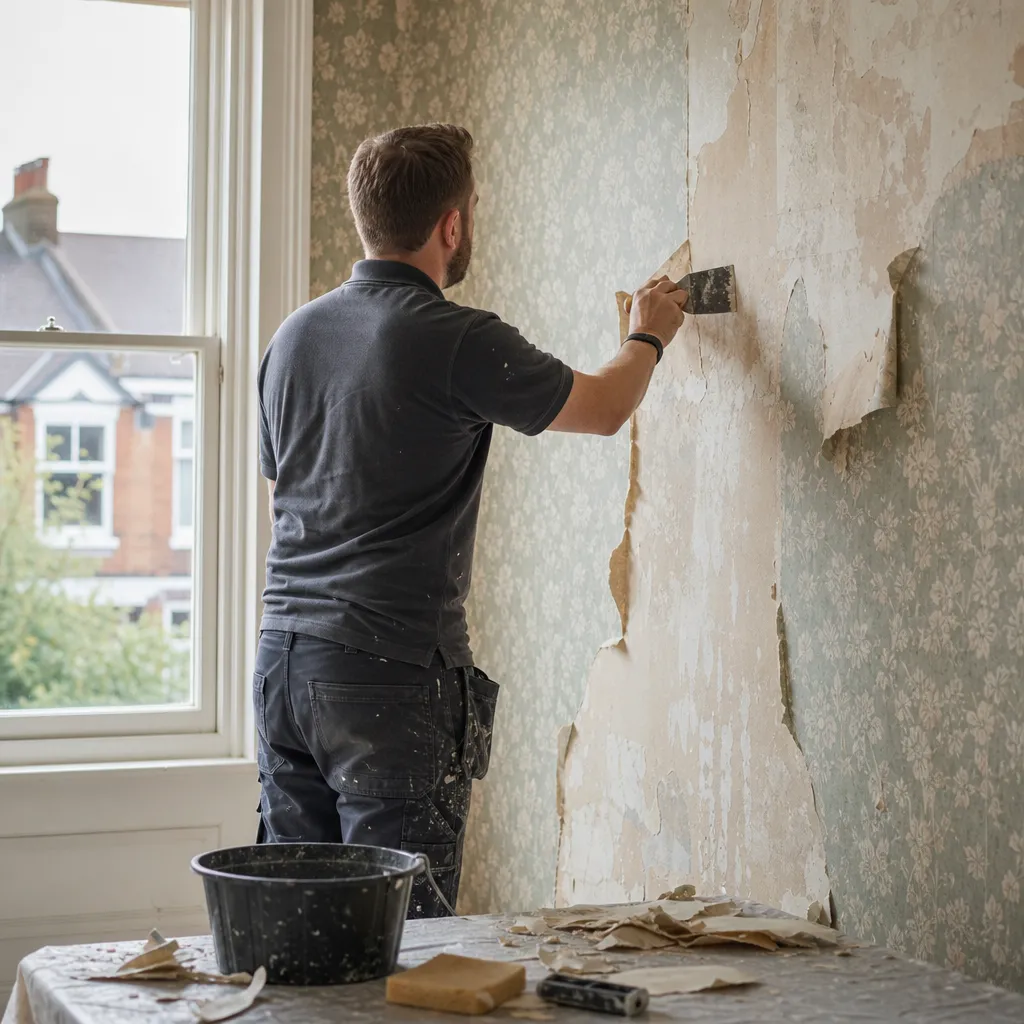
Stripping Wallpaper: Techniques for Interior Wall Preparation
Strip wallpaper by scoring the surface, soaking with warm water or a chemical stripper solution, then lifting with a broad scraper.
 Improvement & Build
Removing a Fireplace: Costs and Structural Considerations
Removing a fireplace surround and hearth is generally non-structural and does not require Building Regulations approval.