Replastering Interior Walls: Techniques for Smooth Finishes and Problem Solving
By Housey · Last reviewed 18th of May 2026
Replastering Interior Walls: Techniques for Smooth Finishes and Problem Solving
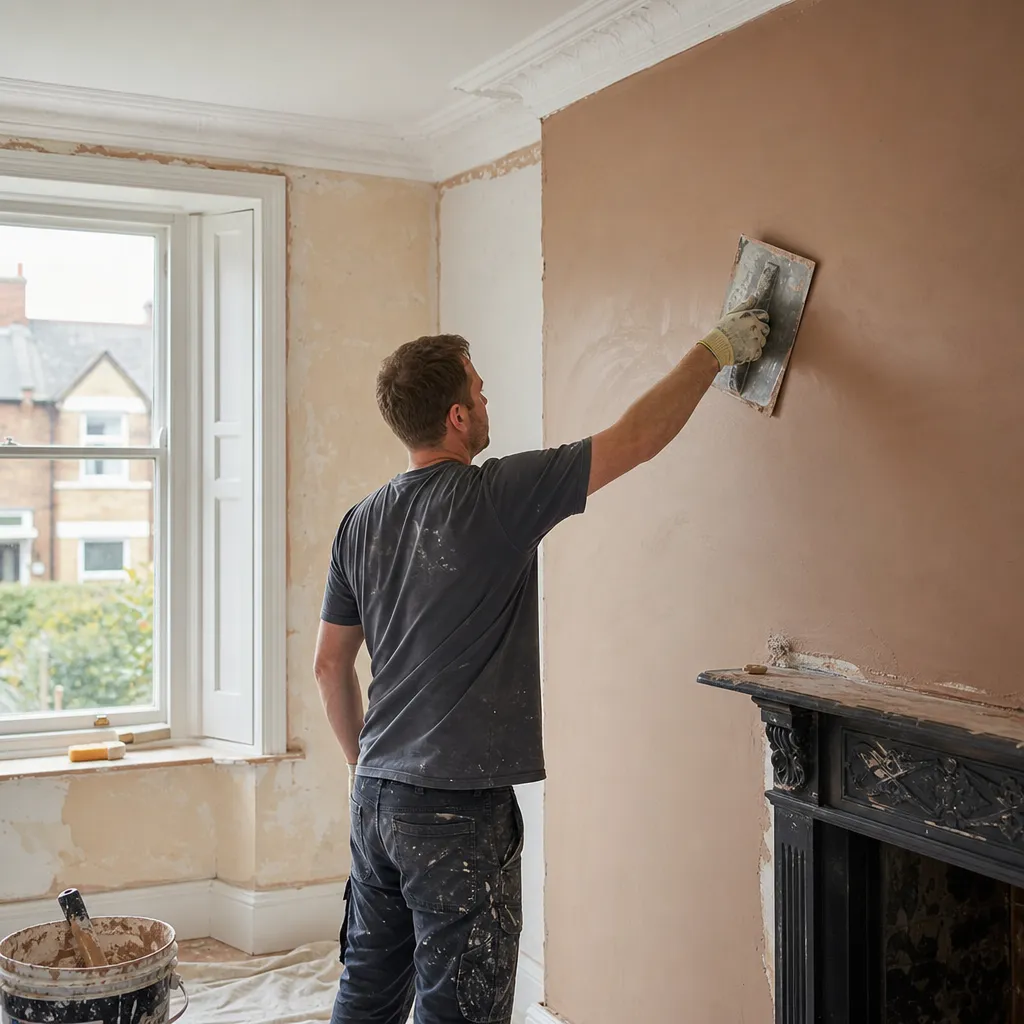
Replastering arises in almost every substantive renovation in the UK — from crumbling lime plaster in a Victorian terrace to water-damaged walls in a 1960s semi, or a new partition wall in a modern extension. The quality of the finished surface depends primarily on decisions made before the trowel comes out: identifying the correct plaster system for the substrate, thorough preparation, and resolving any moisture issues first.
Key points
- Gypsum plasters (bonding coat and multi-finish skim) must not be applied to permanently damp or salt-contaminated walls; Approved Document C to the Building Regulations covers moisture-resistance requirements for wall construction.
- Pre-1919 UK properties originally had lime-based plaster; Historic England advises that repairs and replacements should use hydraulic lime (NHL 3.5) or lime-putty systems to preserve breathability and avoid salt damp.
- Indicative UK costs, last reviewed 2026-05-18: a skim coat over a prepared wall typically costs £150–£300 per room; full hack-off and replaster of a standard bedroom broadly costs £400–£800+, varying by region, wall condition, and substrate type.
- New plaster must reach below 5% moisture content before applying emulsion paint; allow 3–5 days for a skim coat and 4–6 weeks for sand-and-cement render in well-ventilated conditions.
- Textured coatings and some composite boards in pre-2000 properties may contain asbestos — obtain a sample analysis from a UKAS-accredited laboratory before any hacking-off begins.
Which approach do you need?
The correct replastering method is determined by the existing wall construction, the extent of damage, and whether moisture is involved.
Decision guide: choosing your replastering approach
- Choose a skim coat only if the existing plaster is fully sound and firmly bonded — clean, apply diluted PVA (1:4 first coat, neat second coat) and allow to become tacky before applying 2–3mm multi-finish.
- Choose a bonding coat plus skim if the substrate is plasterboard, previously painted masonry, or uneven brickwork that needs building out before skimming.
- Choose a sand-and-cement render plus skim (or a specialist renovating plaster such as Thistle Renovation) if the existing plaster is extensively hollow, delaminated, cracked, or has salt contamination from past damp.
- Choose lime plaster (NHL 3.5 hydraulic lime or lime putty depending on exposure) if the wall is pre-1919 solid masonry, listed, or in a conservation area where breathable lime is a condition of works.
- Arrange a specialist damp survey before replastering if walls show tide marks, efflorescence (white crystalline salt deposits), or persistent moisture patches — replastering over an active moisture source is one of the most costly errors in UK home renovation.
Plaster types compared
Plaster type | Best for | Not suited for | Drying time before paint | Key notes |
|---|---|---|---|---|
Multi-finish skim (gypsum) | Top coat over bonding coat or PVA-primed surface | Damp or external-facing walls | 3–5 days | Applied at 2–3mm; most common UK interior finish coat |
Bonding coat (gypsum) | Plasterboard, painted, or low-suction masonry | Active-damp areas or salt-contaminated walls | N/A (base coat) | Cross-scratch before skim; also sold as Carlite Bonding |
Sand-and-cement render | Damp-affected areas post-DPC, solid external-facing walls | Soft lime-based structures (cracking risk) | 4–6 weeks | Typically 1:3–1:4 cement:sharp sand; normally topped with a skim |
Hydraulic lime plaster | Pre-1919 solid masonry, listed buildings | Modern lightweight steel-frame construction | Weeks to months | Breathable; prevents trapped moisture and salt damp |
Renovating plaster | Salt-contaminated walls after damp treatment | Ongoing active damp | 24–48 hrs before skim | Perlite-based; more tolerant than gypsum on residual salts |
Surface preparation: the step that determines success
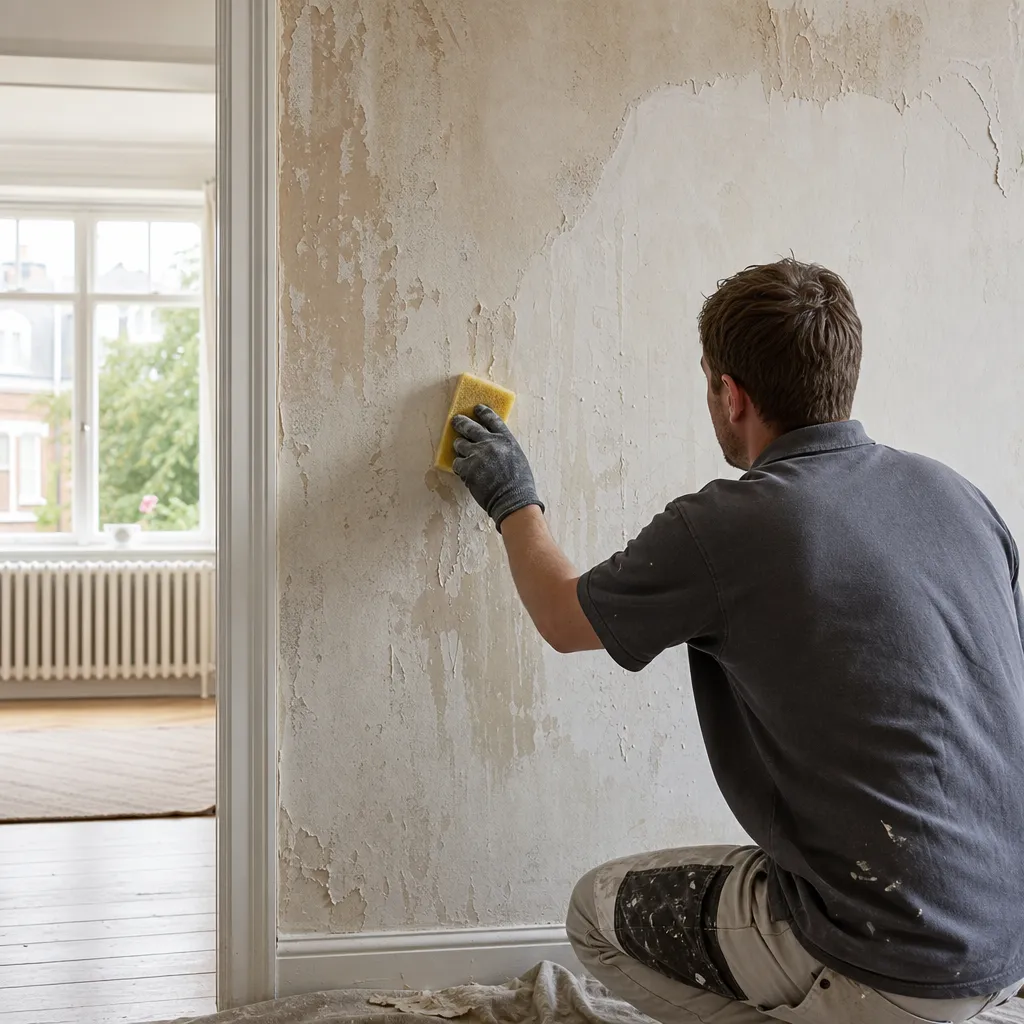
Experienced plasterers consistently trace failed plaster jobs to inadequate preparation rather than poor application technique. Key steps:
- Remove all loose, hollow, or contaminated plaster. Tap the wall with a key or screwdriver handle — a dull resonance indicates delamination. Hack off everything that moves, cutting back cleanly to sound edges rather than feathering into old plaster.
- Cut cleanly to reveals and junctions. Form a clean straight edge at windows, door frames, and ceiling junctions using a bolster chisel rather than tapering new plaster into old.
- Address any moisture source first. Damp-proof course injection, tanking, or improved drainage must precede plastering — replastering over active damp will fail within months.
- Remove all salt contamination. Brush off efflorescence with a stiff brush, vacuum thoroughly, and treat persistent deposits with a salt-neutralising solution before allowing to dry fully.
- Apply the correct primer. Diluted PVA (1:4 first coat, neat second) on high-suction brick; bonding adhesive on low-suction or painted substrates; no PVA where sand-and-cement render forms the base coat.
- Repair damaged lath on older properties. Replace missing or broken laths on lath-and-plaster ceilings and walls — cracks at lath joints will telegraph through any new plaster coat.
Homeowner preparation checklist
Before plastering work begins:
Common problems and how to identify them
Hollow or drumming plaster: systematic tapping reveals a dull resonance where the plaster coat has separated from the masonry. Small isolated areas may be re-bonded with specialist injection adhesive systems; large sections should be hacked off.
Hairline shrinkage cracks: fine crazing caused by plaster drying too fast (from draughts or over-heating) or insufficient scratch key. Fill with flexible decorator's filler before painting; where crazing is extensive, skim the whole surface.
Map cracking (alligatoring): a network of larger cracks indicating significant shrinkage or substrate movement. In sand-and-cement render, this pattern can indicate sulphate attack from underlying black-ash mortar — seek specialist advice before replastering.
Rust-coloured staining through new plaster: embedded metal tie wires or reinforcement oxidising behind the surface. Apply a stain-blocking primer (such as Zinsser BIN) before painting.
White crystalline deposits (efflorescence): salt contamination from past damp cycles. Apply a salt-neutraliser, allow to dry fully, and use a stain-blocking primer before decoration.
When to get professional help
Small patch repairs are within reach of a careful DIYer. Seek professional advice or engage a qualified plasterer when:
- Active rising or penetrating damp is present — a plasterer cannot diagnose or remedy the moisture source
- The building is listed or subject to conservation area restrictions on materials
- Structural cracks are present in the masonry itself, not just the plaster layer — commission a RICS survey before replastering
- Lath-and-plaster ceilings are failing over large areas — falling ceiling sections are a serious safety hazard
- A pre-2000 textured finish may contain asbestos — never hack off before obtaining an accredited survey result
How Housey can help
Replastering often forms part of a wider renovation — an extension, loft conversion, or full house refurbishment. Housey connects homeowners with vetted extension builders who can manage plastering, surface preparation, and finishing as part of a complete build package. Use Housey to compare specifications and quotes before committing to works.
Frequently asked questions
How long does new plaster need to dry before painting?
Gypsum skim coats need at least 3–5 days in a well-ventilated room before applying a mist coat of diluted emulsion. Sand-and-cement render requires 4–6 weeks. Fresh plaster is dark and patchy; it turns a consistent pale buff colour when fully dry. Rushing this stage is the leading cause of paint peeling in newly plastered rooms.
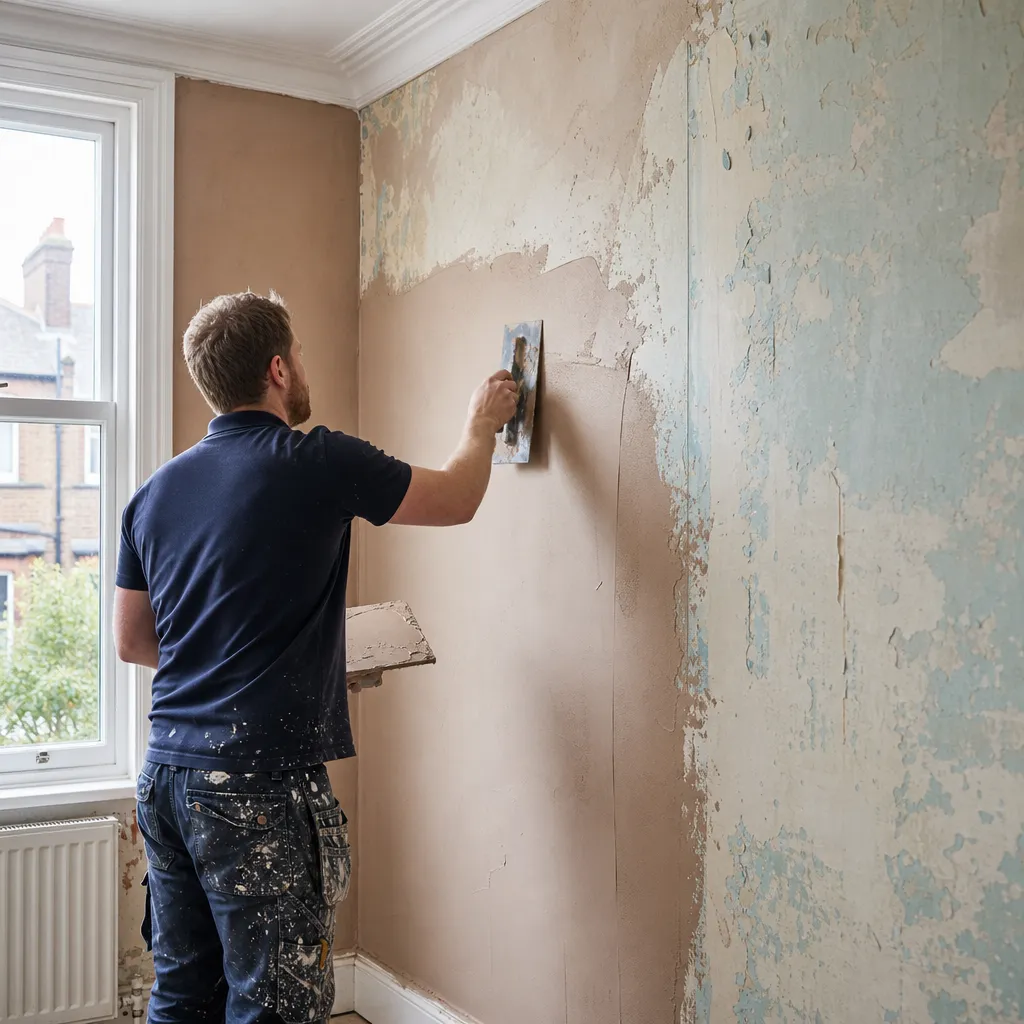
Can I plaster over existing plaster without hacking it off?
Only if the existing plaster is fully sound and firmly bonded. Tap the surface systematically — a hollow resonance means delamination. Small sound areas can be cleaned, PVA-primed, and skimmed. Large hollow areas, salt-contaminated surfaces, or plaster damaged by damp should be hacked off entirely before replastering for a durable result.
What causes new plaster to crack?
Most post-plaster cracking comes from plaster drying too quickly in draughts or excessive heat, insufficient surface preparation, applying coats too thick, or using incompatible materials such as gypsum directly over sand-and-cement without adequate keying. Fine shrinkage cracks are usually cosmetic; diagonal cracks running through masonry should be assessed by a chartered surveyor.
Does replastering require building regulations approval?
Like-for-like replastering does not normally require building regulations approval. However, if the work involves upgrading insulation behind walls, installing new electrical circuits, or addresses moisture issues as part of a material change of use, some building regulations requirements may apply. Listed buildings may require consent from the local planning authority.
What is the difference between a bonding coat and a finish coat?
A bonding coat (such as Thistle Bonding Coat) is a thick base layer, typically 8–11mm, applied to plasterboard, painted masonry, or uneven substrates to provide adhesion and thickness. A finish coat (such as multi-finish) is a thin 2–3mm top coat applied over the bonding coat or cross-scratched render to produce the smooth decorative surface.
Sources and further reading
Useful next reads
 Improvement & Build
Removing Wallpaper Adhesive Residue Before Redecorating
After stripping wallpaper, a thin layer of dried paste or adhesive often remains on the wall surface.
 Improvement & Build
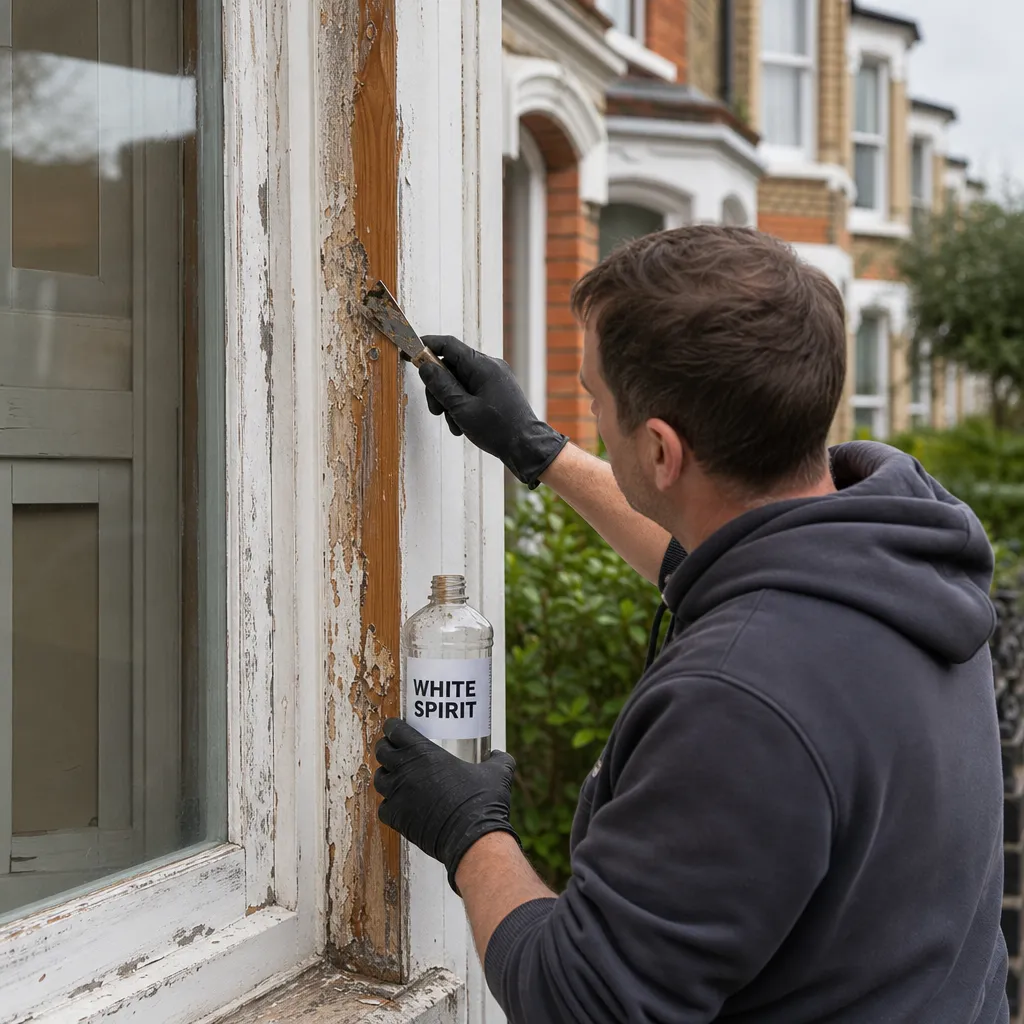
Paint Removal with White Spirit: Effectiveness and Application
White spirit dissolves uncured, freshly applied oil-based paints and is useful for cleaning brushes and removing fresh drips, but has very limited effect on fully dried or cured paint films.
 Improvement & Build
Plastering Over Existing Paint and Wallpaper: Surface Prep and Technique
Whether you can plaster over existing paint or wallpaper depends on surface condition and adhesion.
 Improvement & Build
Labour and material costs for floor tiling projects
Floor tiling in the UK typically costs £30–£60 per m² in labour, plus materials ranging from £10–£40/m² for ceramic to £50–£150+/m² for natural stone.
 Improvement & Build
Essential Steps for Driveway Installation
Installing a driveway in England requires planning permission only when using an impermeable surface (standard tarmac, concrete, or block paving) on a front garden area over 5 m².