Replacing Through-Wall Flashing: Weatherproofing and Repair
By Housey · Last reviewed 11th of May 2026
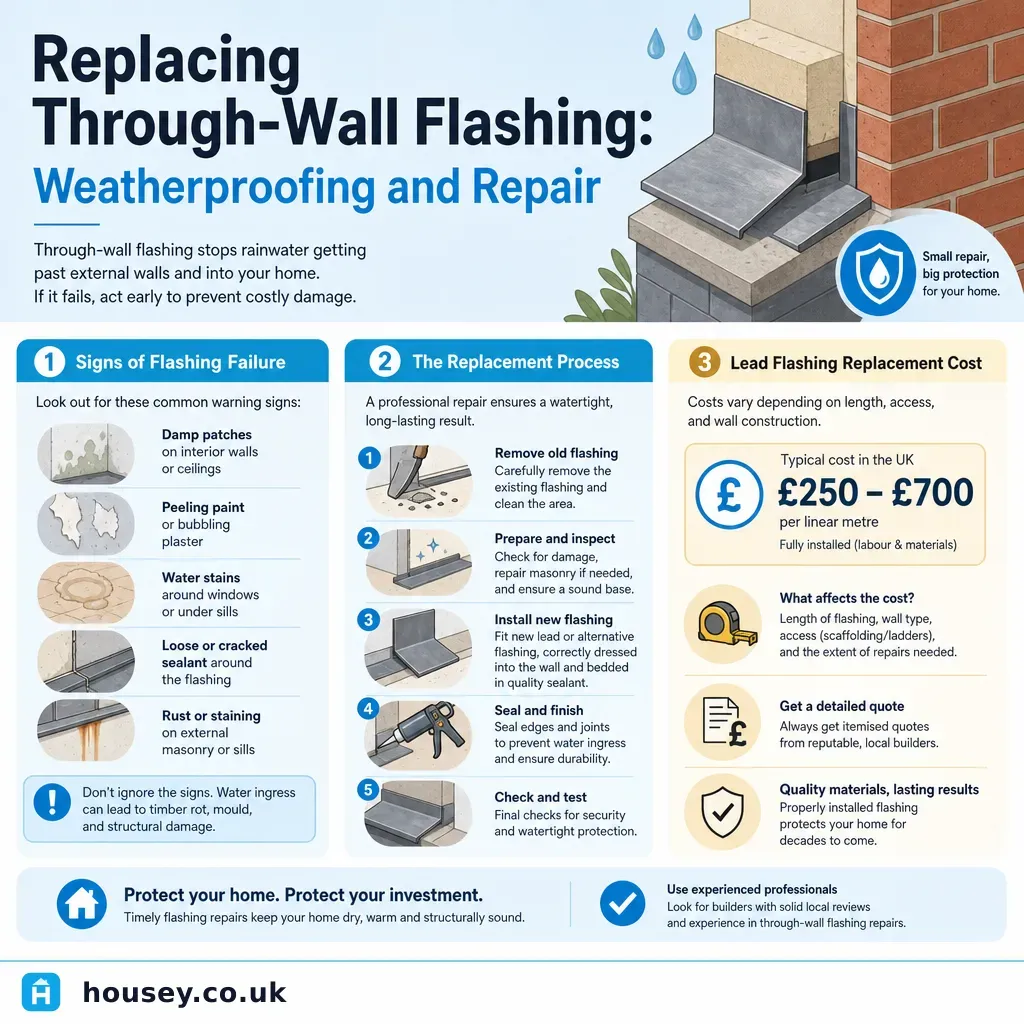
Replacing Through-Wall Flashing: Weatherproofing and Repair
Through-wall flashing is one of the most critical but least visible elements in a building's weatherproofing system. When it fails, the result is often a persistent damp patch on an internal wall that is easily misdiagnosed — attributed to condensation or rising damp when the real cause is water tracking through a cracked or displaced mortar joint at a roof-to-wall junction. For UK homeowners noticing localised damp on gable walls, chimney breasts, or internal faces of parapets, failed flashing is frequently the culprit.
Key points
- Through-wall flashing is a continuous sheet of impermeable material embedded into a horizontal mortar joint in masonry, designed to intercept and shed water at roof abutments, chimney bases, parapet walls, and above window and door heads.
- Lead flashing to Code 4 or Code 5 (per BS EN 12588) is the most commonly specified material for UK residential flashings; typical service life is 60–100 years when correctly installed and maintained.
- BS 6915:2016 (Design and construction of fully supported lead sheet roof coverings) governs leadwork specification and installation in the UK; the Lead Sheet Association publishes detailed installation guides derived from this standard.
- Pointing mortar used to seal the top edge of stepped and cover flashings must be a flexible sealant or an appropriate mortar mix — rigid cement-only pointing cracks as the lead expands and contracts with temperature changes.
- Like-for-like flashing replacement on a non-listed property does not usually require planning permission, but chimney and parapet works on listed buildings may require listed building consent.
What through-wall flashing protects
Through-wall flashing appears at several key locations on a UK home:
- Chimney flashings: a stepped flashing rises with the brick course alongside the chimney slope; soakers sit beneath the roof tiles; a cover flashing overlaps the soakers and is tucked into the mortar joint. The back gutter flashing behind the chimney is particularly vulnerable to debris accumulation and blockage.
- Parapet wall flashings: a coping flashing and through-wall tray prevent water penetrating behind the parapet and into the wall below.
- Roof-to-wall abutments (gable walls): stepped flashing seals the junction where a lean-to or flat roof meets a masonry wall.
- Above windows and doors: a horizontal flashing above a lintel directs water to the face of the wall or into weep holes — sometimes called a lintel tray.
The common principle in each case: the flashing must lap over whatever is below it and be embedded firmly into the mortar joint above to prevent water tracking behind it.
Comparison: flashing materials for through-wall applications
Material | Typical service life | Best suited to | Main limitation |
|---|---|---|---|
Code 4 lead sheet (1.8 mm) | 60–80 years | Soakers, small flashings, lintel trays | Requires skilled forming; occasional theft risk |
Code 5 lead sheet (2.24 mm) | 80–100 years | Back gutters, parapet trays, chimney flashing | Higher material cost |
Zinc sheet | 40–60 years | Modern buildings, contemporary design | Less malleable than lead; expansion issues in long runs |
Aluminium flashing | 20–40 years | Budget repairs, temporary works | Electrolytic risk with some masonry types |
GRP / fibreglass | 20–40 years | Flat roof edges and abutments | Not suitable for intricate formed work |
Self-adhesive bitumen membrane | 10–25 years | Intermediate or emergency repairs | UV degradation; not a permanent lead substitute |
Indicative service lives; actual lifespan depends on installation quality, exposure, and maintenance. Source: Lead Sheet Association guidance and NFRC.
Signs that through-wall flashing has failed
Early identification avoids significant internal damage:
- Damp patches on the internal face of a gable wall, chimney breast, or wall directly below a parapet — particularly if damp worsens after heavy rainfall.
- Rust staining or lime streaking on the external face of brickwork at roof-to-wall junctions.
- Visible cracking, lifting, or displacement of the mortar pointing above a visible lead flashing.
- Lead flashing that has pulled out of the mortar joint, common where pointing has cracked due to thermal movement.
- Lead that has been patched with bitumen or mastic in the past — indicating repeated failure rather than proper repair.
- Water ingress inside a chimney breast that does not correlate with rainfall coming down the flue.
Homeowner checklist: before and during flashing replacement
Before instructing a contractor:
During works:
What to ask before accepting a quote
- What grade (Code) of lead are you specifying, and does it match the Lead Sheet Association recommendation for this application?
- Will you use a flexible sealant or mortar for the chase pointing — and why?
- Is scaffolding included in the quote, and who holds the scaffold hire contract?
- Will the quote cover any related repairs such as displaced roof tiles or chimney stack pointing?
- What warranty do you offer on the leadwork and the pointing?
- Is your business NFRC or Lead Contractors Association registered?
When to get professional help
Flashing replacement at chimney, parapet, or gable height almost always requires working at height. Do not attempt to inspect or repair flashings above single-storey level without appropriate fall-arrest equipment; the Work at Height Regulations 2005 require that such work is properly planned and carried out by competent persons.
If you notice signs of flashing failure, contact a qualified roofer to inspect the roof-to-wall junction and specify the correct replacement material and method. For above-door or above-window lintel flashings where water ingress may be affecting the window or door frame, a window and door installer may also be needed to assess the surrounding frames and seals.
How Housey can help
Housey can connect you with NFRC-registered and Lead Sheet Association-accredited qualified roofers in your area who specialise in leadwork and through-wall flashing replacement. For properties where window or door surrounds are affected by water ingress related to failed lintel flashings, Housey also lists experienced window and door installers who can assess and repair the affected frames and surrounds.
Frequently asked questions
How long does lead flashing last?
Code 4 lead sheet (1.8 mm) typically lasts 60–80 years in a residential application; Code 5 (2.24 mm), recommended for back gutters and parapets, can last 80–100 years. The most common cause of premature failure is incorrect installation — particularly rigid cement-only pointing that cracks as the lead expands and contracts — rather than material deterioration. Properly installed and maintained lead flashings may outlast the building fabric around them.
Do I need planning permission to replace flashing?
For like-for-like replacement on a non-listed property, planning permission is not usually required under permitted development rights. However, chimney alteration works on a listed building or in a conservation area may require listed building consent or planning permission. Always check with your local planning authority if there is any doubt before instructing works.
How much does it cost to replace through-wall flashing?
Costs vary considerably depending on scope, access, and whether scaffolding is needed. As an indication, minor repairs at a single junction may cost £300–£800 including scaffolding; a full chimney flashing replacement may range from £800 to £2,000 or more depending on chimney height, stack size, and complexity. Always obtain at least three itemised quotes. Indicative UK costs, last reviewed 2026-05-11.
What are the signs that flashing has failed?
The most reliable indicator is a damp patch on an internal wall at or below a roof-to-wall junction, particularly one that worsens after heavy rainfall. Externally, look for lead that has pulled away from the mortar joint, cracks in the pointing above the flashing, or bitumen patches indicating previous temporary repairs. A roofer with leadwork experience can inspect and confirm the failure point before recommending treatment.
Sources and further reading
- BS EN 12588: Rolled lead sheet for building purposes — BSI
- Lead Sheet Association: technical guidance on leadwork — Lead Sheet Association
- National Federation of Roofing Contractors: finding an approved contractor — NFRC
- Work at Height Regulations 2005 — legislation.gov.uk
- Approved Document C: Site preparation and resistance to contaminants and moisture — GOV.UK
Useful next reads
 Improvement & Build
How much does window sill replacement cost
Window sill replacement in the UK typically costs £100–£400 per sill for a standard installation, depending on the material — uPVC, timber, stone, or composite — and whether the sill is internal or external.
 Improvement & Build
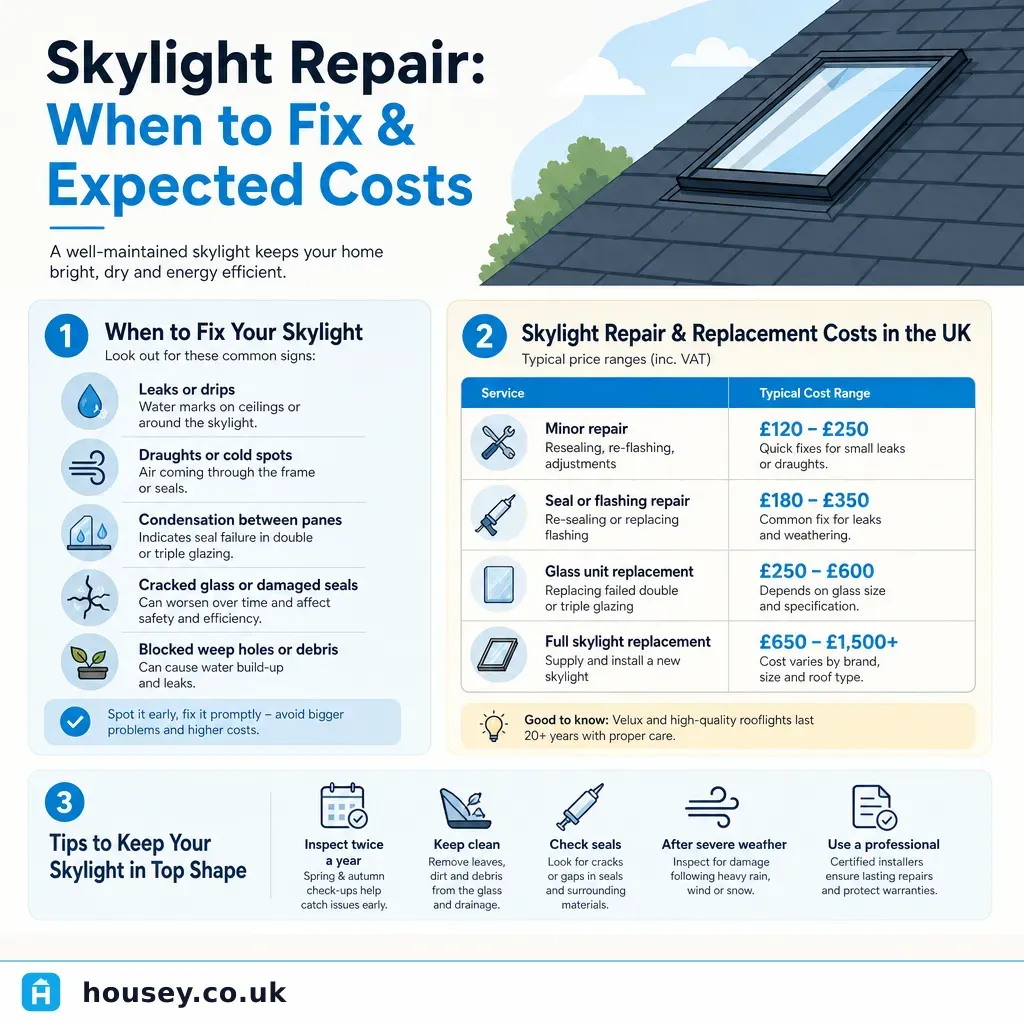
Skylight repair: when to fix and expected costs
Skylight repairs in the UK typically cost £150–£800 depending on the fault, while full replacement usually runs £500–£2,500.
 Improvement & Build
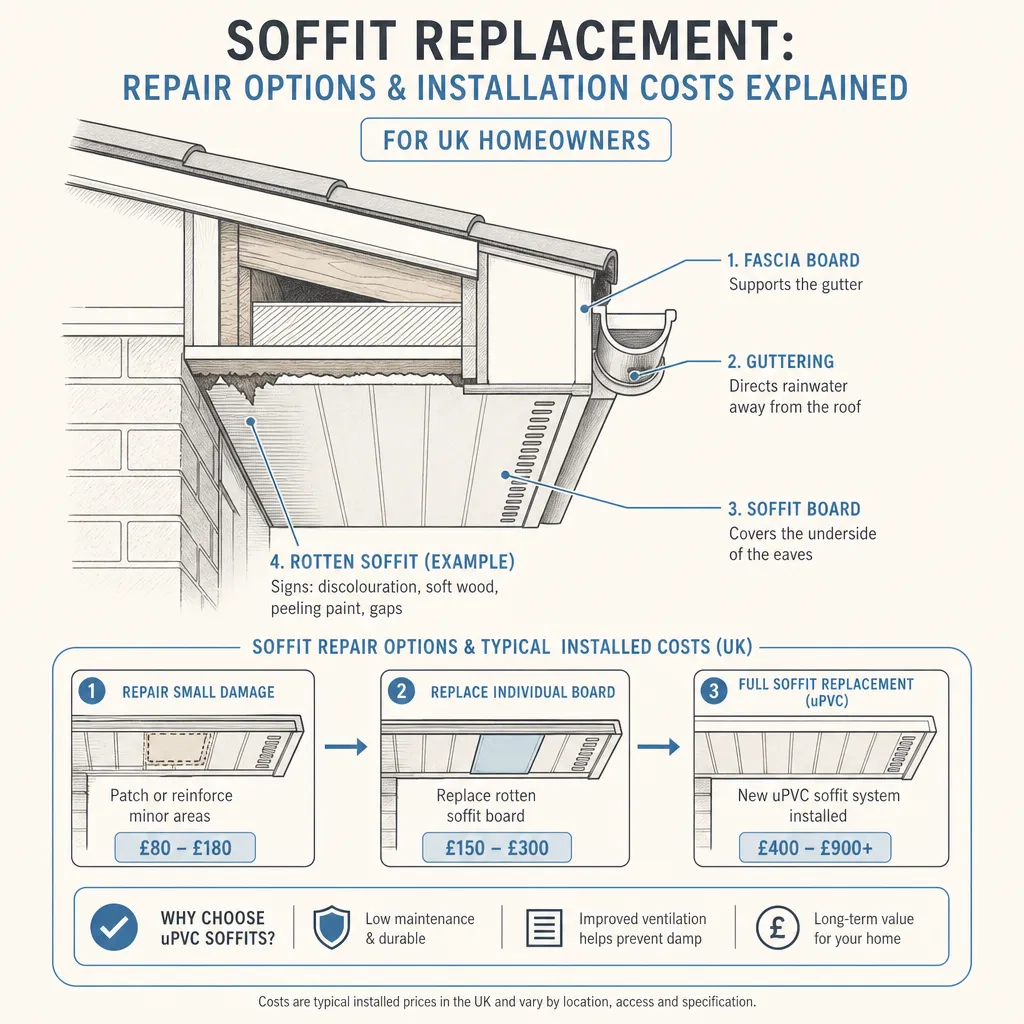
Soffit replacement: repair options and installation costs explained
Soffit replacement typically costs £500–£1,200 for a semi-detached home in the UK, depending on material choice and the extent of work.
 Improvement & Build
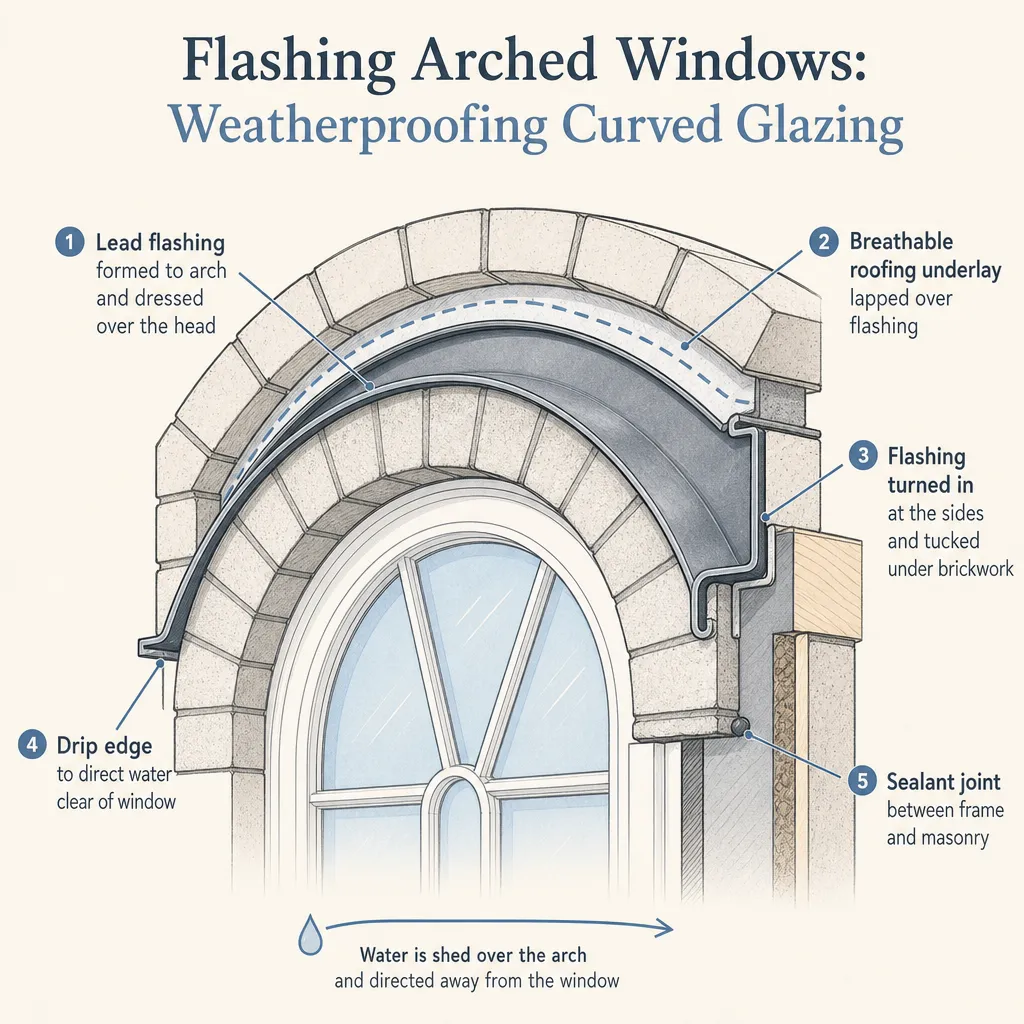
Flashing Arched Windows: Weatherproofing Curved Glazing
Flashing an arched window requires flexible or purpose-formed lead, GRP, or aluminium shaped to follow the curved head, with stepped soakers at the sides and a correctly dressed sill.
 Improvement & Build
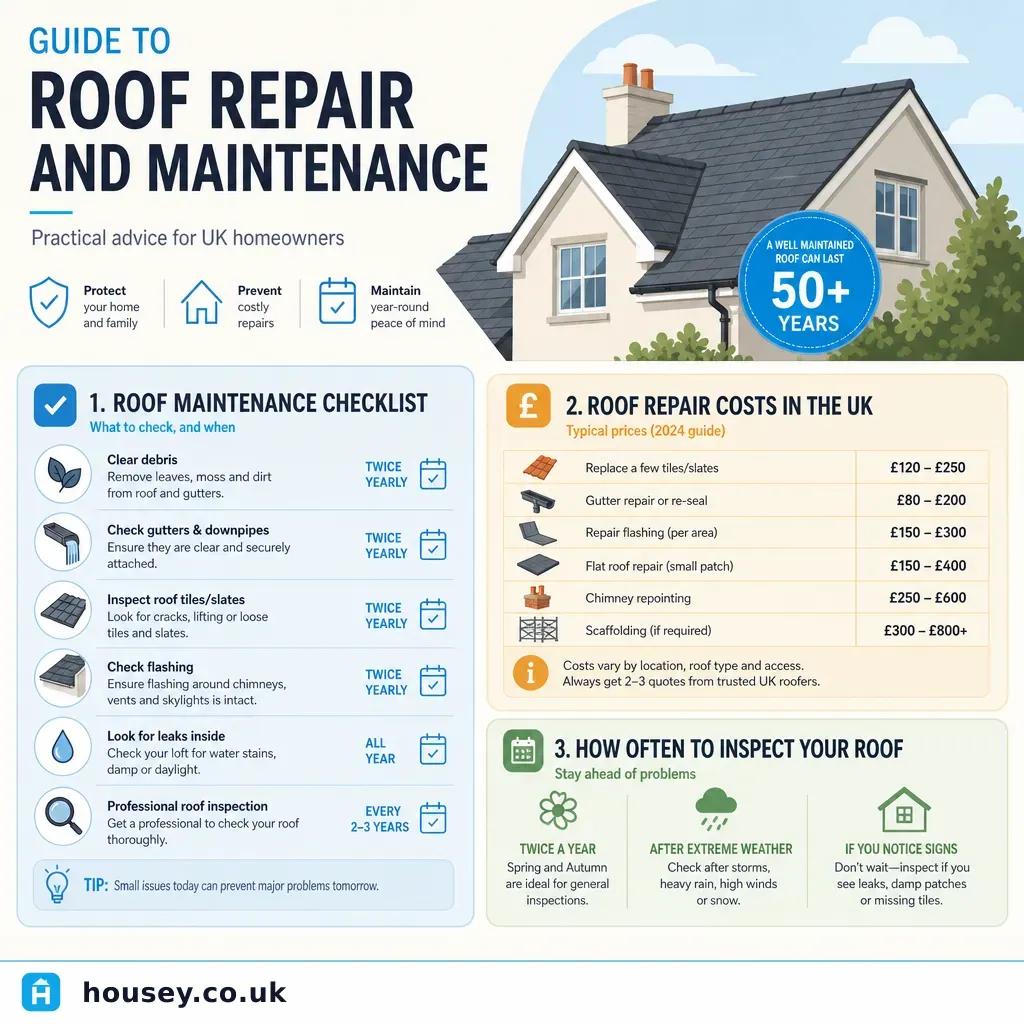
Guide to Roof Repair and Maintenance
Regular roof inspections every 3–5 years, prompt repair of damaged tiles and failed flashings, and annual gutter clearance are the core of effective UK roof maintenance.