Skimming Over Wallpaper Lining: Surface Preparation and Results
By Housey · Last reviewed 3rd of May 2026
Skimming Over Wallpaper Lining: Surface Preparation and Results
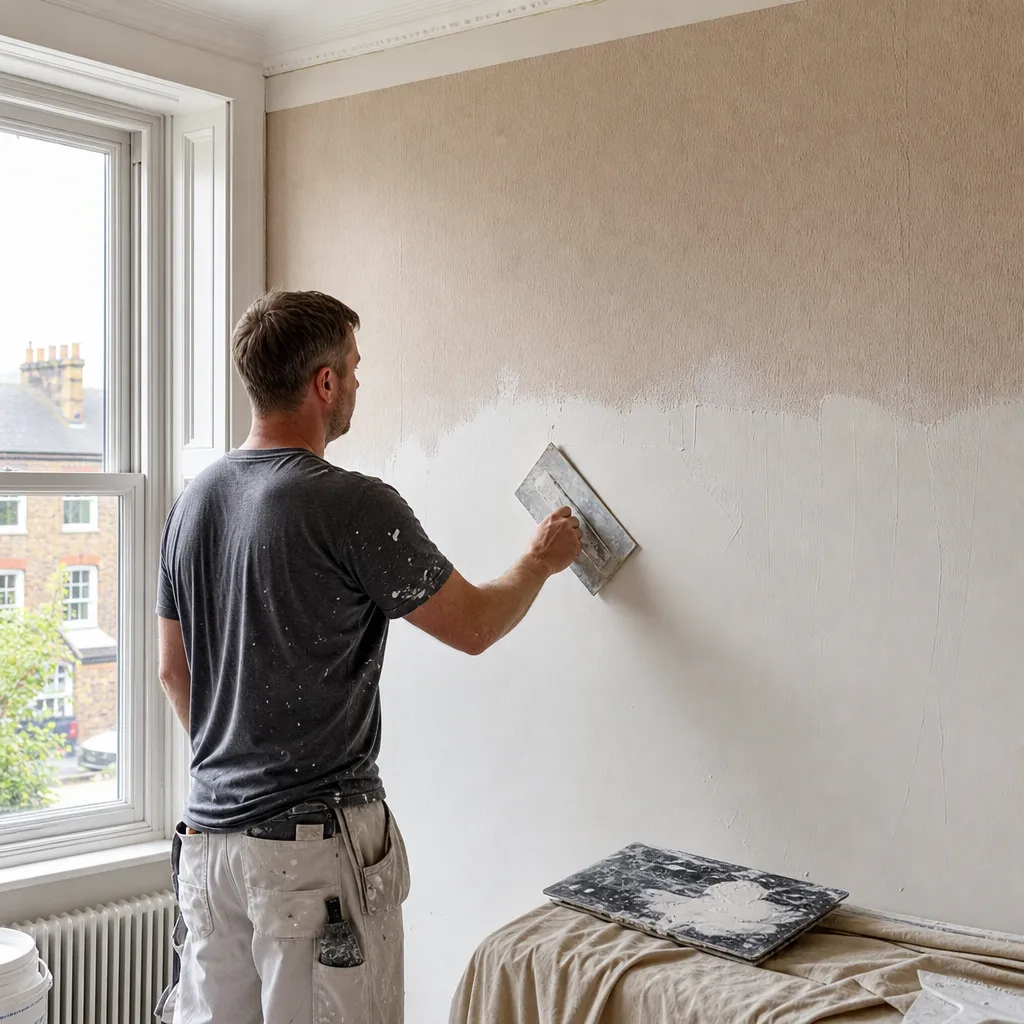
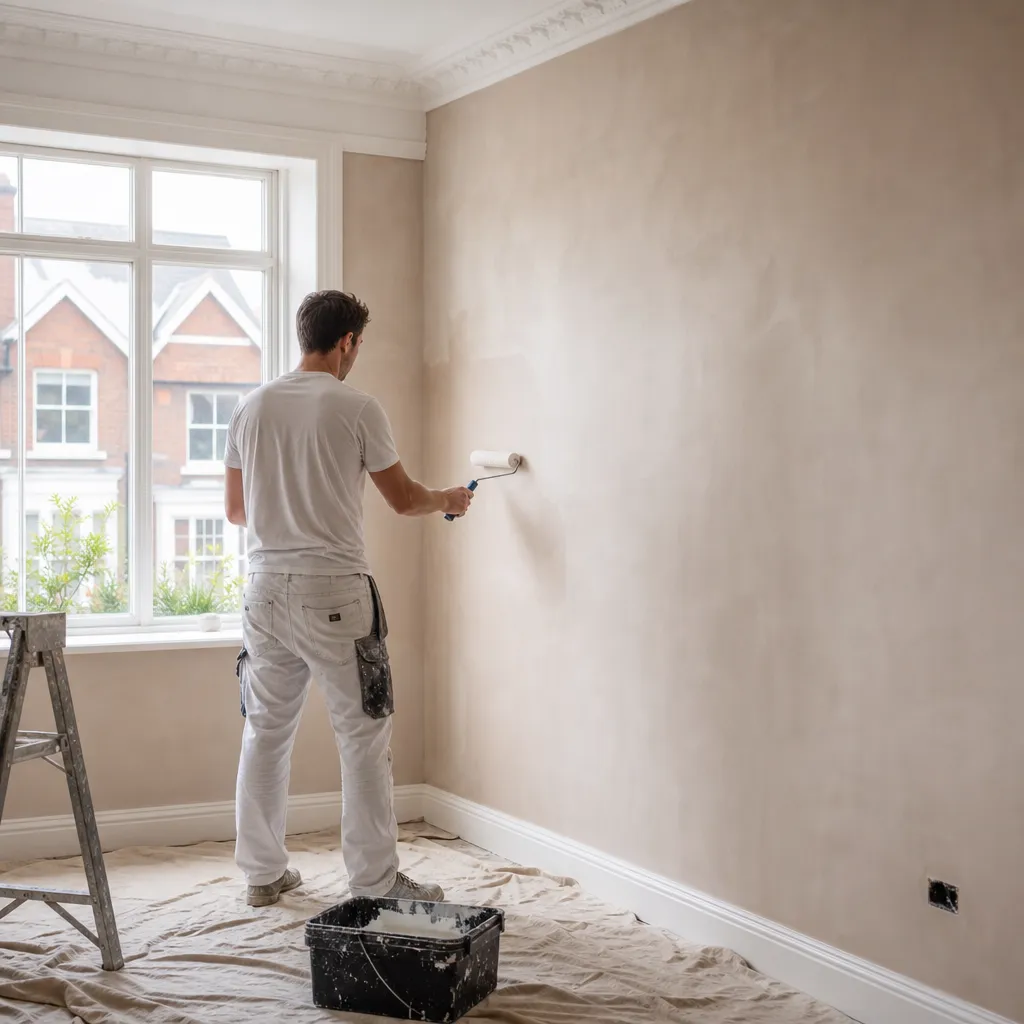
Skimming over lining paper is a practical choice when existing plaster is structurally sound but too rough, pitted, or uneven for a quality painted finish. The approach comes up most often during renovations of Victorian terraces, 1930s semis, and post-war homes where walls have been papered several times or the original plaster is stable but coarse. The quality of the result depends almost entirely on preparation — the paper grade, adhesion, and priming all need to be right before a plasterer picks up their hawk.
Key points
- Wallpaper lining paper weighing 1,200g/m² is the standard recommendation for skimming; heavier grades (1,400g or 1,700g) suit badly cracked or uneven surfaces.
- Diluted PVA sealer (typically 1 part PVA to 4–5 parts water) must be applied to the lining paper and allowed to become tacky — usually 20–40 minutes — before the skim coat is applied.
- A plaster skim coat is typically 2–3mm thick, applied in two thin passes, with the second cross-hatched before the first fully sets.
- All lining paper must be fully adhered with no bubbles, lifted edges, or open seams — any flaw in the paper will telegraph through the finished plaster surface.
- Joints between sheets should be butted, not overlapped, to prevent ridges showing through the skim.
Is it worth skimming over lining paper?
For most homeowners, skimming over lining paper is a practical middle ground between painting directly onto rough walls and committing to full replastering. It works well when existing plaster is structurally sound — no hollow spots, no active damp — but too rough or pitted for a quality finish.
Approach | Best for | Not ideal for | Indicative cost (per average room) | Main risk |
|---|---|---|---|---|
Skim over lining paper | Sound but uneven plaster; avoiding replastering costs | Walls with active damp, structural cracks, or hollow plaster | £150–£350 | Paper lifts mid-skim if poorly hung or primed |
Full replaster (wet plaster) | Very damaged walls; damp-affected substrate | Budget-conscious small jobs | £400–£900 | Higher cost; longer drying time (4+ weeks) |
Dry-lining (plasterboard on battens) | Severe damp or thermal insulation needed | Period properties where depth loss matters | £300–£700 | Reduces room width; conceals wall behind |
Painting directly onto smooth walls | New-build plaster already smooth | Rough, pitted, or papered walls | Low | Highlights imperfections under raking light |
Indicative UK costs, last reviewed 2026-05-03. Quotes vary significantly by region, room size, and condition.
Choosing the right lining paper grade for skimming
Lining paper is graded by weight in grams per square metre (g/m²). Heavier paper is thicker and better at bridging surface imperfections:
- 800g–1,000g: Suitable for painting only; too lightweight for skimming — likely to tear under wet plaster.
- 1,200g: Standard grade for skimming. Suitable for walls in reasonable condition.
- 1,400g: Better for walls with fine cracks or moderate texture.
- 1,700g: Used on heavily cracked or uneven surfaces; sometimes applied in two layers (cross-lined) on very poor substrates.
Hang the paper horizontally (cross-lining) for the best skimming result. Horizontal hanging means seams do not align with any joints in the plasterboard or existing plaster beneath, which reduces the risk of cracking through the finished skim.
Surface preparation before skimming
Homeowner preparation checklist
Before a plasterer arrives — or before you begin:
Common problems and how to avoid them
Red flags that preparation has gone wrong
- Bubbling under the skim coat — usually caused by lining paper that was not fully dry before plastering began, or PVA applied too thickly and still wet.
- Ridges visible through the plaster — overlapped joints or heavy-gauge seams telegraph through even a well-applied skim coat.
- Cracking along horizontal lines — often caused by paper seams that were not properly butted, or by applying skim too soon after hanging.
- Plaster lifting in sheets — PVA was not applied, or was applied when the surface was wet, preventing the skim coat from bonding to the paper.
- Uneven finish around edges and reveals — lining paper not trimmed cleanly at corners allows the skim coat to pull away as it dries.
- Damp patches reappearing within weeks — a sign that a moisture problem was not resolved before skimming; the plaster and paper will need to be stripped and the damp source addressed.
When to get professional help
Skimming is a skilled trade. A careful DIY decorator can hang lining paper, but achieving a flat, smooth skim coat on a full room requires genuine practice. Consider engaging a professional plasterer if:
- The room has high ceilings, alcoves, or complex angles that make even papering difficult.
- Existing plaster has hollow areas that need cutting back and patching before lining can begin.
- You suspect any damp — a damp specialist should identify the source before you invest in a skim finish.
- Walls have had multiple layers of paper stripped and the substrate is powdery or uneven.
- Previous skimming or plastering has failed in the same room, suggesting an underlying substrate problem.
How Housey can help
Housey connects UK homeowners with vetted local tradespeople for plastering, damp investigation, and general home improvement work. Whether you need a plasterer to quote for a single room skim or a specialist to assess a wall before you begin, you can describe your project and receive quotes from local providers through Housey at housey.co.uk.
Frequently asked questions
How long should lining paper dry before skimming?
Allow at least 24 hours for lining paper to dry fully after hanging — longer in cold or poorly ventilated rooms. Skimming over paper that is still damp is the most common cause of bubbling and lifting. Once dry, apply diluted PVA and wait until it becomes tacky (usually 20–40 minutes) before plastering begins.
Can you skim over old patterned wallpaper instead of lining paper?
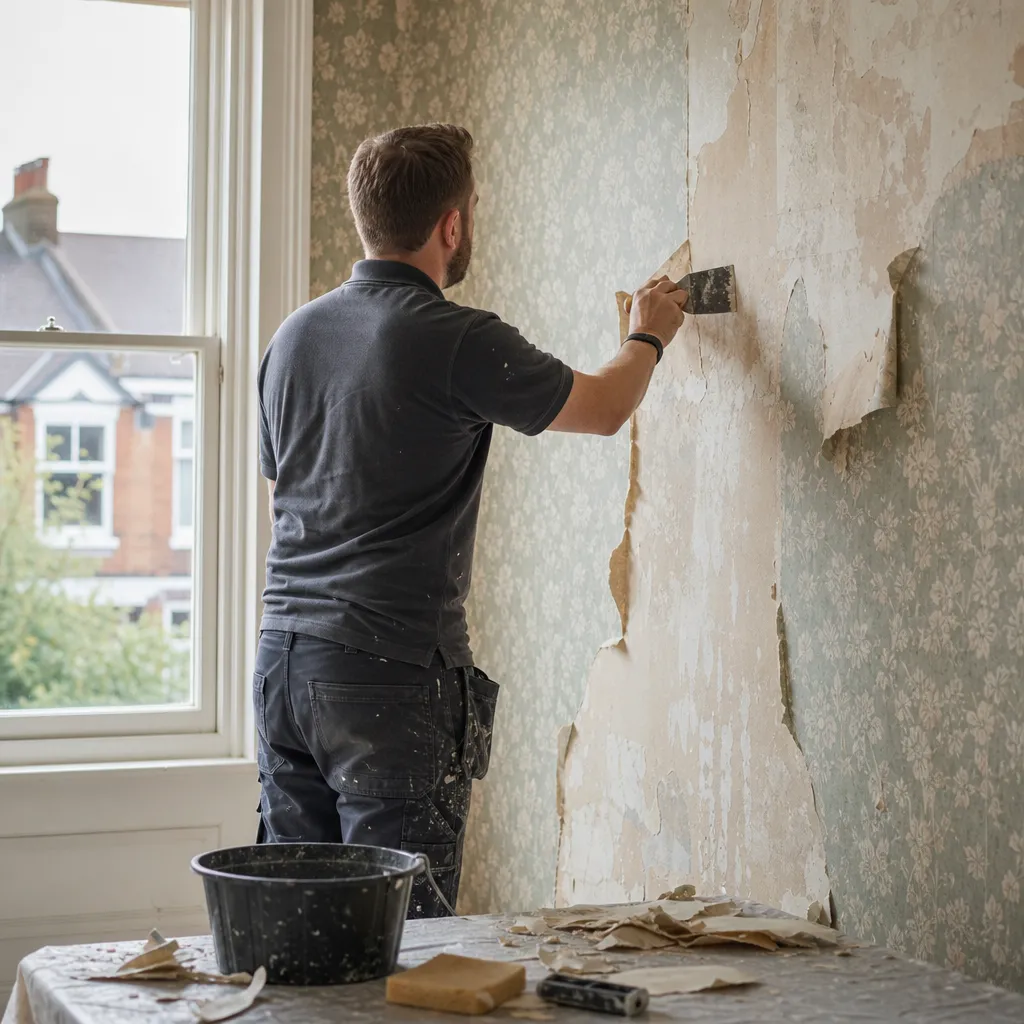
Skimming directly over patterned wallpaper is not recommended. Textured or embossed surfaces create an uneven base, and wet plaster can cause old paper to lift or bubble. The correct approach is to strip all old wallpaper, prepare the substrate thoroughly, then hang an appropriate grade of lining paper before skimming.
What PVA ratio should you use before skimming lining paper?
A common dilution is 1 part PVA adhesive to 4–5 parts water. Apply one even coat across the lining paper and allow it to become tacky before the skim coat goes on. The PVA controls suction, preventing dry paper from drawing moisture out of the plaster too quickly, which causes premature setting and a poor finish.
Is 1,200g lining paper enough for skimming?
For most walls in reasonable condition, 1,200g (grade 1200) is sufficient. If the wall has fine cracks, significant texture, or you are cross-lining over damaged plaster, step up to 1,400g or 1,700g. Using a lighter paper (800g or below) for skimming risks tearing under the wet plaster or producing an uneven surface.
How thick is a skim coat applied over lining paper?
A finishing plaster skim coat is typically 2–3mm thick and applied in two passes: a first thin coat worked into the surface, then a second coat applied cross-hatched before the first fully sets. The plasterer then polishes the surface with a damp trowel as it firms up, producing the smooth finish.
Sources and further reading
- Thistle plaster application guidance — British Gypsum (Saint-Gobain)
- Knauf UK plastering and skimming technical guidance — Knauf UK
- BRE Good Repair Guide: plastering and renders — Building Research Establishment
Useful next reads
 Improvement & Build
Stripping Wallpaper: Techniques for Interior Wall Preparation
Strip wallpaper by scoring the surface, soaking with warm water or a chemical stripper solution, then lifting with a broad scraper.
 Improvement & Build
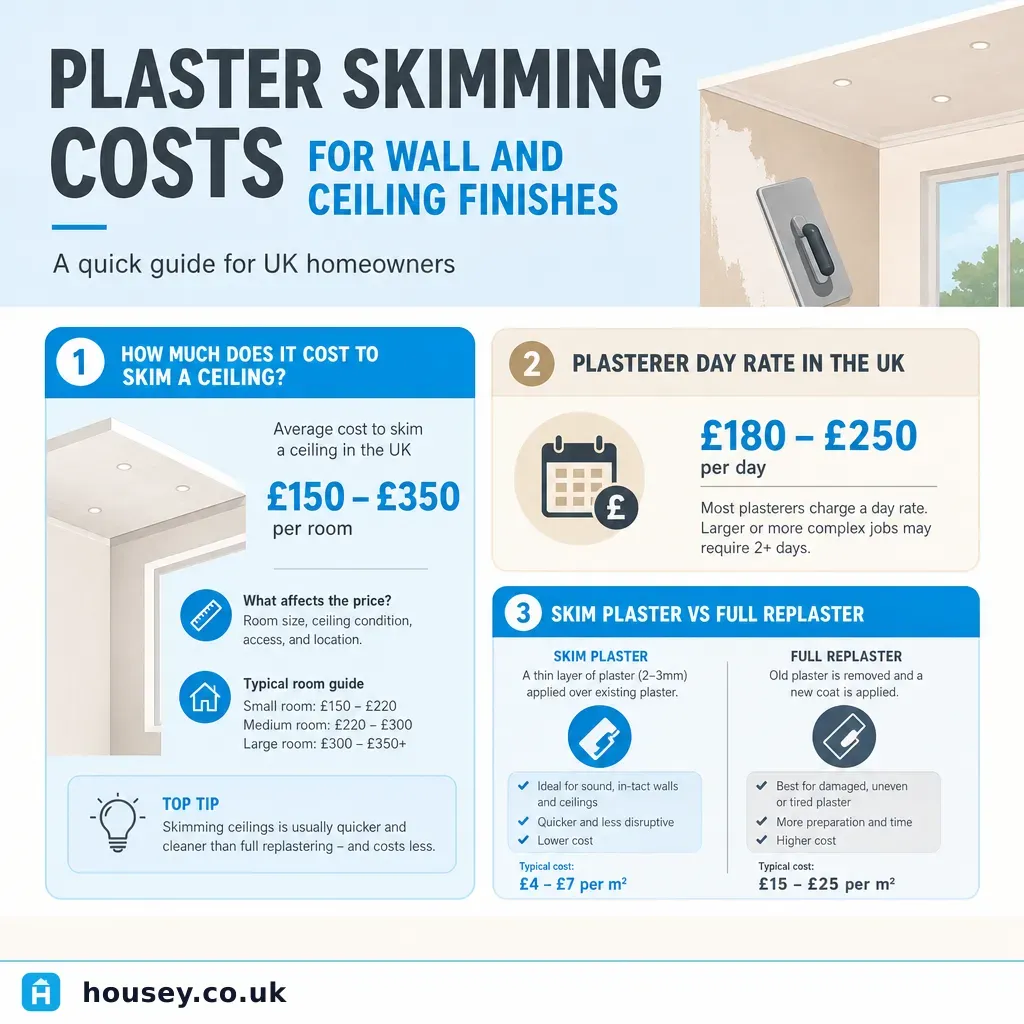
Plaster Skimming Costs for Wall and Ceiling Finishes
Skim plastering a typical bedroom costs £400–£750 for walls and ceiling combined; a single ceiling runs £150–£350 and a single wall £80–£180.
 Improvement & Build
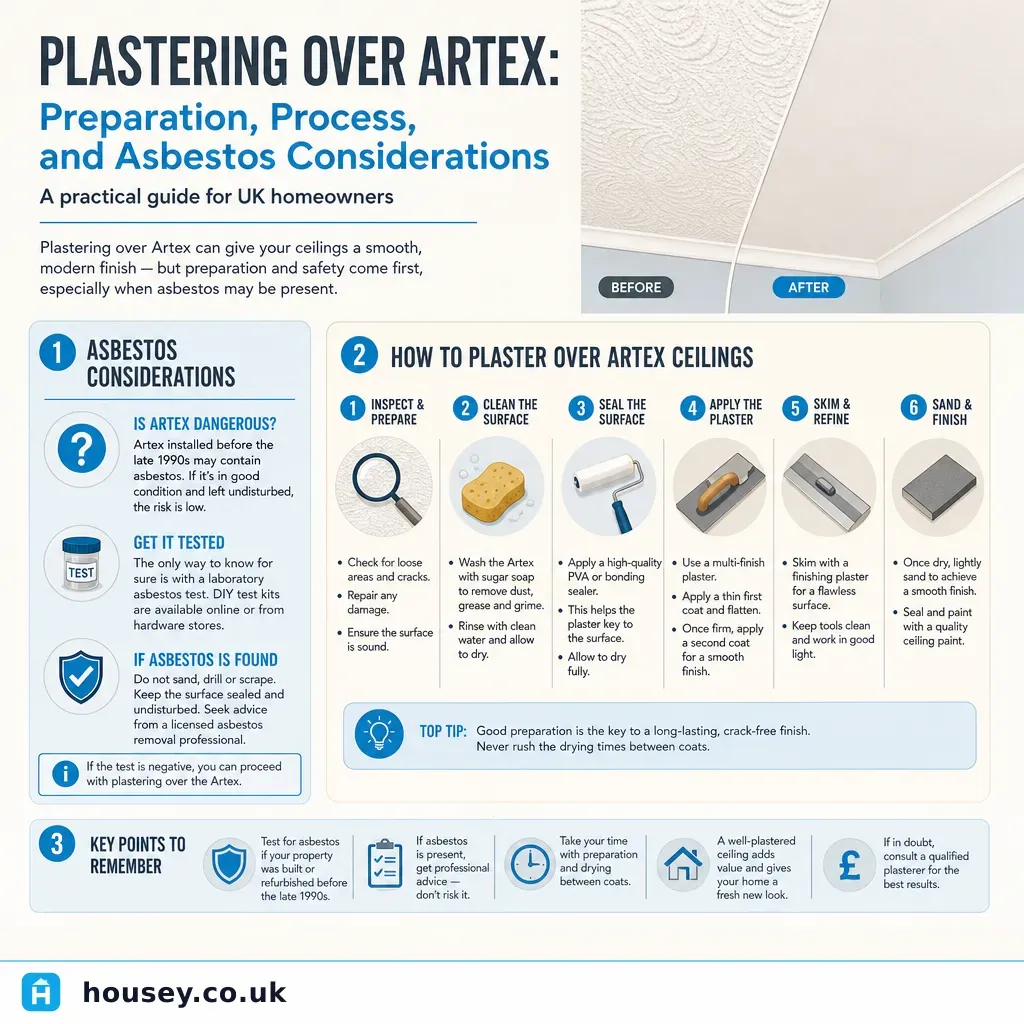
Plastering Over Artex: Preparation, Process, and Asbestos Considerations
Artex textured coatings in homes built before 2000 may contain chrysotile asbestos.
 Improvement & Build
Painting Freshly Skimmed Walls: Drying Time and Preparation
New plaster should dry for at least 3–4 weeks before you paint, and the first coat must always be a mist coat — standard emulsion diluted with around 30% water.
 Improvement & Build
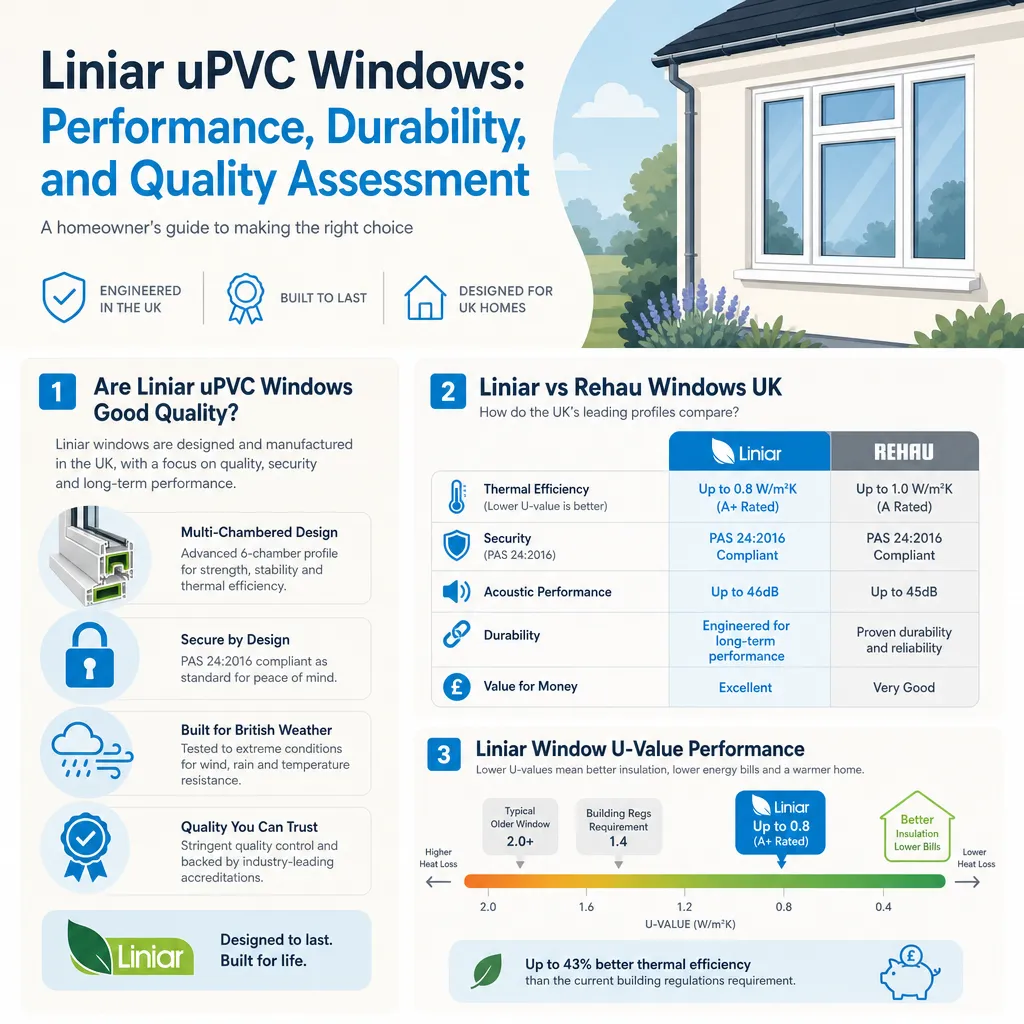
Liniar uPVC Windows: Performance, Durability, and Quality Assessment
Liniar uPVC window profiles are manufactured in the UK using multi-chambered, foamed frames.