Solar Panel Installation Process for UK Homes: Step-by-Step Guide
By Housey · Last reviewed 30th of May 2026
Solar Panel Installation Process for UK Homes: Step-by-Step Guide
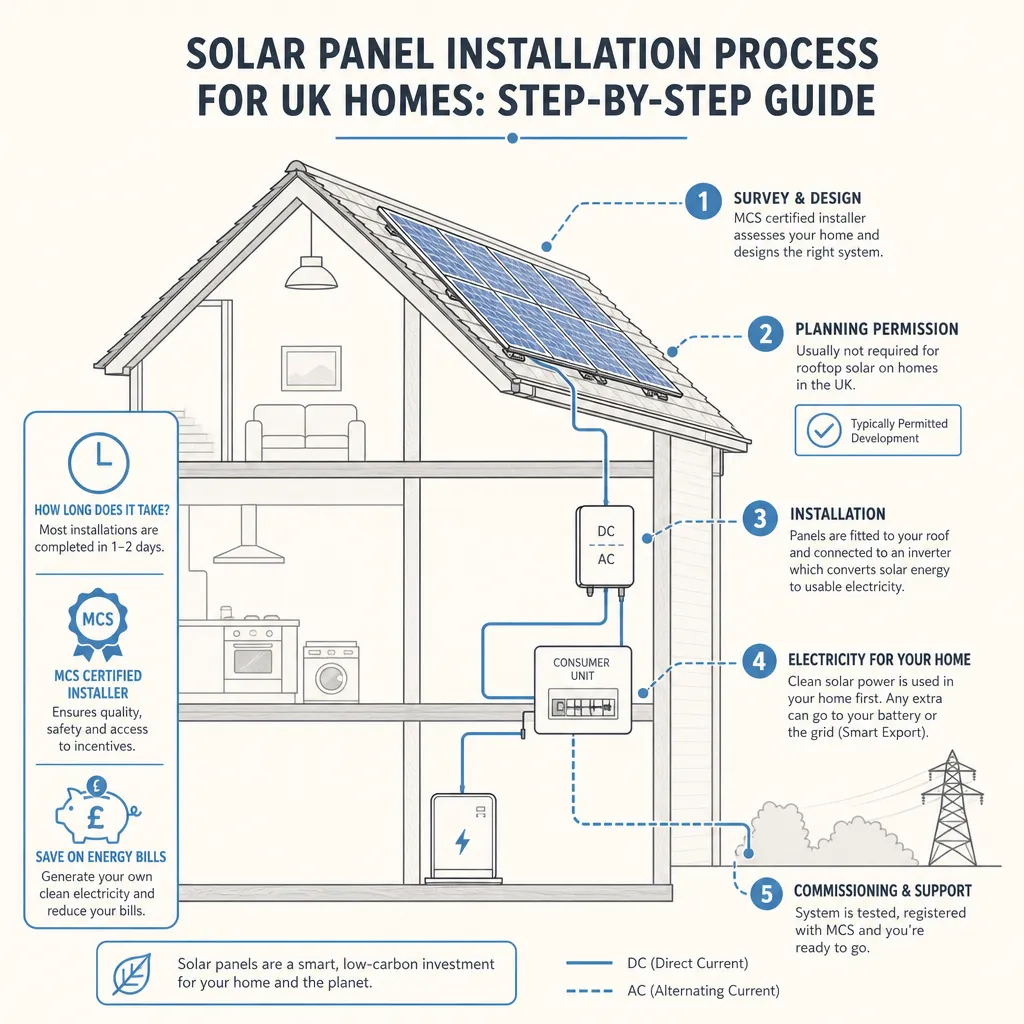
Solar panel installation involves several distinct stages — from initial survey through to grid connection and MCS certification — and understanding each step helps homeowners prepare effectively, avoid delays, and know what to ask their installer. Getting this process right matters because installation quality directly affects long-term system performance, roof integrity, and eligibility for export payments under the Smart Export Guarantee.
Key points
- MCS (Microgeneration Certification Scheme) accreditation is required for both the installer and the products for a system to qualify for the Smart Export Guarantee (SEG); check the MCS installer database before signing a contract.
- Most domestic solar installations in England, Scotland, and Wales qualify as permitted development and do not require a full planning application — but listed buildings, conservation areas, and certain flat-roof situations are exceptions.
- Building control notification is required under Part P of the Building Regulations for the electrical installation element; an MCS-certified installer registered with a Competent Person Scheme handles this as part of standard commissioning.
- A typical 4 kWp domestic installation takes 1–2 working days on-site; the full process from first survey to MCS certificate usually takes 2–6 weeks.
- The Distribution Network Operator (DNO) must be notified under G98 for systems up to 3.68 kW single-phase; larger systems require a G99 application involving engineering assessment, which can extend the timeline by several weeks.
Step 1: Initial survey and system design
Before any installation begins, a competent installer should carry out a site survey. This typically covers:
- Assessment of roof orientation, pitch, and available area
- Shading analysis for obstructions such as chimneys, dormers, and neighbouring trees — ideally using industry-standard software such as PVGIS or horizon shading tools
- Structural assessment of the roof's ability to carry additional panel weight
- Review of the existing electrical installation, including consumer unit capacity, meter type, and cable routes
- Review of any planning constraints such as listed building status, conservation area designations, or Article 4 directions
The survey output should be a system design document showing the proposed panel layout, estimated annual generation in kWh, shading losses, and inverter specification. Ask for generation estimates to be produced using PVGIS or an equivalent industry-standard tool rather than informal rule-of-thumb figures.
Step 2: Planning and permitted development
In England, most domestic solar installations on pitched roofs qualify as permitted development under Schedule 2, Part 14 of the Town and Country Planning (General Permitted Development) (England) Order 2015. No planning application is required provided:
- Panels do not protrude more than 200 mm from the roof surface
- The installation is not on a listed building or within a World Heritage Site
- Panels on a wall or roof slope facing a highway are avoided in conservation areas
Scotland and Wales have comparable permitted development provisions with minor differences. Your installer should confirm permitted development applicability in writing. Always check with your local planning authority if your property carries any heritage or area designation.
Step 3: DNO notification and grid connection
For systems up to 3.68 kW single-phase, G98 notification to the Distribution Network Operator is required before commissioning. This is a notification rather than an approval process — the DNO is informed and may proceed unless it objects within 28 days, which is uncommon for standard domestic systems.
For larger systems — typically above 3.68 kW single-phase or above 11.04 kW three-phase — a G99 application is required. G99 involves a formal engineering assessment by the DNO and can take several weeks. Confirm with your installer which process applies to your proposed system size, and whether G99 costs are included in the quote.
Step 4: Physical installation
On installation day or days, work typically follows this sequence:
- Scaffold erection — usually erected 1–2 days before panel installation; confirm whether this is included in the quote or invoiced separately.
- Mounting system installation — roof hooks, rails, or flat-roof frames fixed in place, with appropriate flashings and weatherproofing to maintain roof integrity.
- Panel installation — panels clipped to mounting rails and DC connectors (MC4) made up.
- DC cabling — panels wired in strings and cabled down to the inverter location, typically in the loft or utility room.
- Inverter installation — string inverter or microinverters fitted and connected to the consumer unit.
- AC connection — inverter connected to the consumer unit via a dedicated circuit breaker, in compliance with BS 7671 (18th Edition Wiring Regulations).
- Earthing and bonding — completed to current wiring regulations.
- Generation meter installation — records total generation output in kWh, required for SEG registration.
The AC connection at the consumer unit must be carried out by a Part P-competent electrician. MCS-certified installers are typically registered with a Competent Person Scheme such as NAPIT, enabling them to self-certify the electrical installation.
Step 5: Commissioning and MCS certification
After physical installation, the system is commissioned:
- Inverter powered up and configured
- Generation output and monitoring system checked
- Isolation and protection testing completed to BS 7671
- Building control notification submitted via the installer's Competent Person Scheme registration
The installer then issues an MCS Installation Certificate. This is the document you need to register for the Smart Export Guarantee with your energy supplier. Store it alongside your other installation documents and keep a copy in a safe place.
Document preparation list
Gather or obtain the following before and during the installation process:
- Before installation: Proof of property ownership, or written landlord or freeholder consent if leasehold; details of any existing roofing works or guarantees; current consumer unit age and specification if known.
- At point of survey: Local authority planning portal check for listed building status, conservation area, Article 4 directions, or existing planning conditions.
- Post-installation: MCS Installation Certificate; inverter user manual and serial numbers; panel product datasheets and serial numbers; DNO notification reference number; any structural or roofing assessment letter from the installer.
Pre-installation checklist for homeowners
Important limitations
This guide provides general information about the solar panel installation process in the UK. Requirements vary depending on property type, location, planning history, existing electrical installation, and DNO area. Nothing in this article constitutes electrical, structural, or planning advice. A qualified, MCS-certified installer should assess your specific property before any system design or installation work is finalised.
When this becomes urgent
Seek qualified professional assessment before proceeding if:
- Your property is listed or in a conservation area
- Your roof is more than 20 years old or shows signs of deterioration such as cracked or slipped tiles
- Your consumer unit is older than 25 years or lacks a residual current device (RCD)
- A previous installer has carried out work without providing an MCS Installation Certificate
- Your DNO has raised queries or objections to your G98 or G99 notification
What to ask a qualified professional
Before instructing an MCS-certified installer, ask:
- Are you registered on the MCS installer database, and which accreditation bodies cover your installation work?
- Which products are you proposing, and are both the panels and the inverter listed on the MCS Product Directory?
- What shading analysis methodology will you use, and will you provide a site-specific generation estimate using PVGIS or equivalent?
- Will you carry out a structural assessment of the roof before specifying the mounting system?
- Who is responsible for DNO notification, and is there an additional charge if a G99 application is required?
- Which Competent Person Scheme covers the electrical installation, and will Part P building control notification be handled by your team?
- What are the warranty terms for panels, inverter, and workmanship, and who do I contact if there is a problem after installation?
- What is your process if the roof develops a leak in the years following installation?
- When will the MCS Installation Certificate be issued, and in what form will it be provided?
How Housey can help
Before committing to an installer, an independent solar survey can validate your roof's suitability, flag shading or structural issues, and give you a credible benchmark for comparing the generation estimates and system designs in the quotes you receive.
Frequently asked questions
Do I need planning permission for solar panels in the UK?
Most domestic solar installations are permitted development in England, Scotland, and Wales and do not require a planning application. However, listed buildings require listed building consent, and properties in conservation areas or World Heritage Sites face restrictions on panels visible from a highway. Always confirm with your local planning authority if your property has any heritage or area designation.
How long does solar panel installation take?
Physical installation of a standard domestic system usually takes 1–2 working days on-site. The full process from initial survey and system design through to receiving your MCS Installation Certificate typically takes 2–6 weeks, depending on installer availability, DNO notification timelines, and whether a G99 application is required.
Can I install solar panels myself?
The AC electrical connection to the consumer unit must be carried out by a Part P-competent electrician. DIY installation will not result in an MCS Installation Certificate, meaning you cannot access the Smart Export Guarantee. Using an MCS-certified installer is strongly recommended for both safety compliance and financial eligibility reasons.
What is the Smart Export Guarantee?
The Smart Export Guarantee (SEG) requires licensed electricity suppliers with more than 150,000 customers to offer a tariff paying homeowners for surplus solar electricity exported to the grid. To qualify, your installation must hold a current MCS Installation Certificate. Export rates are set by individual suppliers and are not fixed by government at a minimum level.
Sources and further reading
- MCS installer database — Microgeneration Certification Scheme
- Smart Export Guarantee — Ofgem
- When is planning permission required? — GOV.UK
- NAPIT: Part P Competent Person Scheme — NAPIT
- PVGIS solar irradiance tool — European Commission Joint Research Centre
Useful next reads
 Energy & Retrofit
Solar Panel Installation: Home Energy Solutions and Considerations
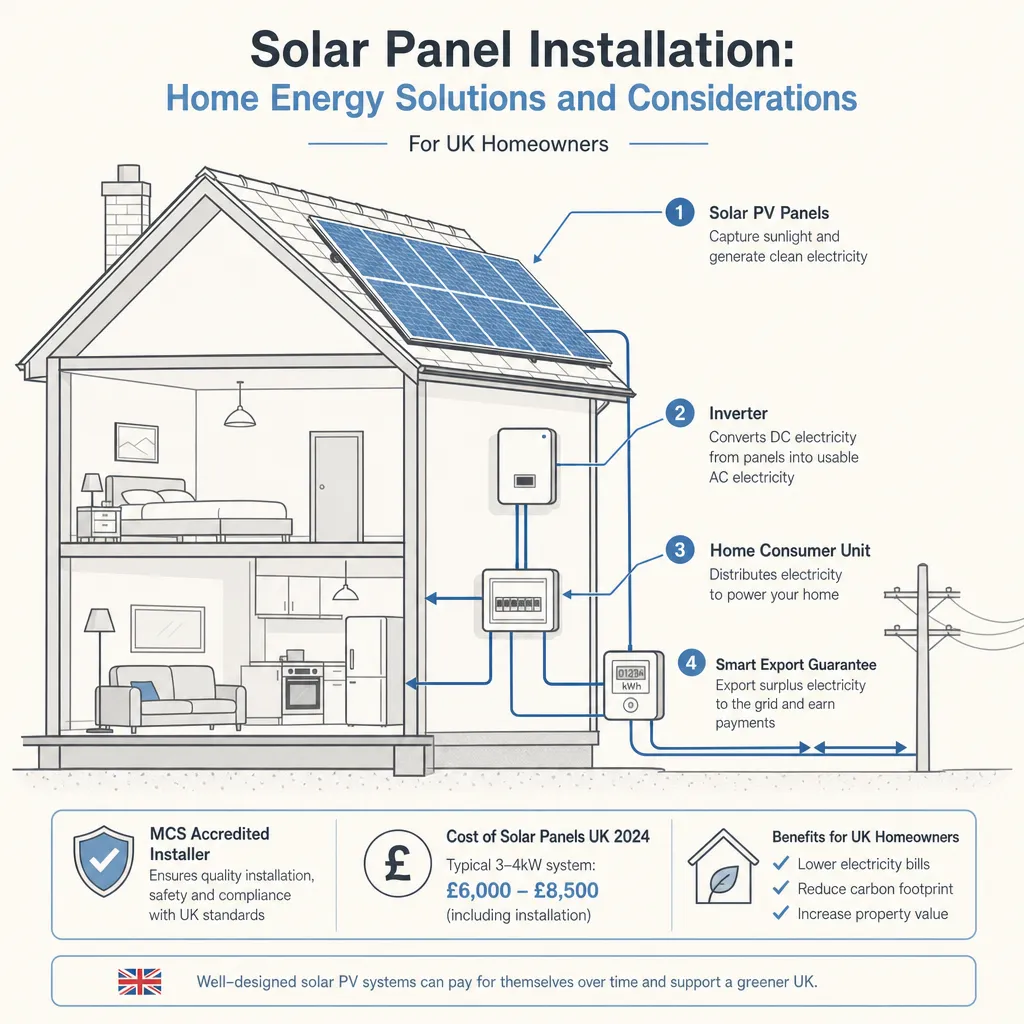
A typical 4 kWp solar PV system costs £6,000–£9,000 installed and generates around 3,400–3,800 kWh per year on a south-facing roof in southern England.
 Energy & Retrofit
Solar Panel Dimensions and Specification Guide for Residential Installation
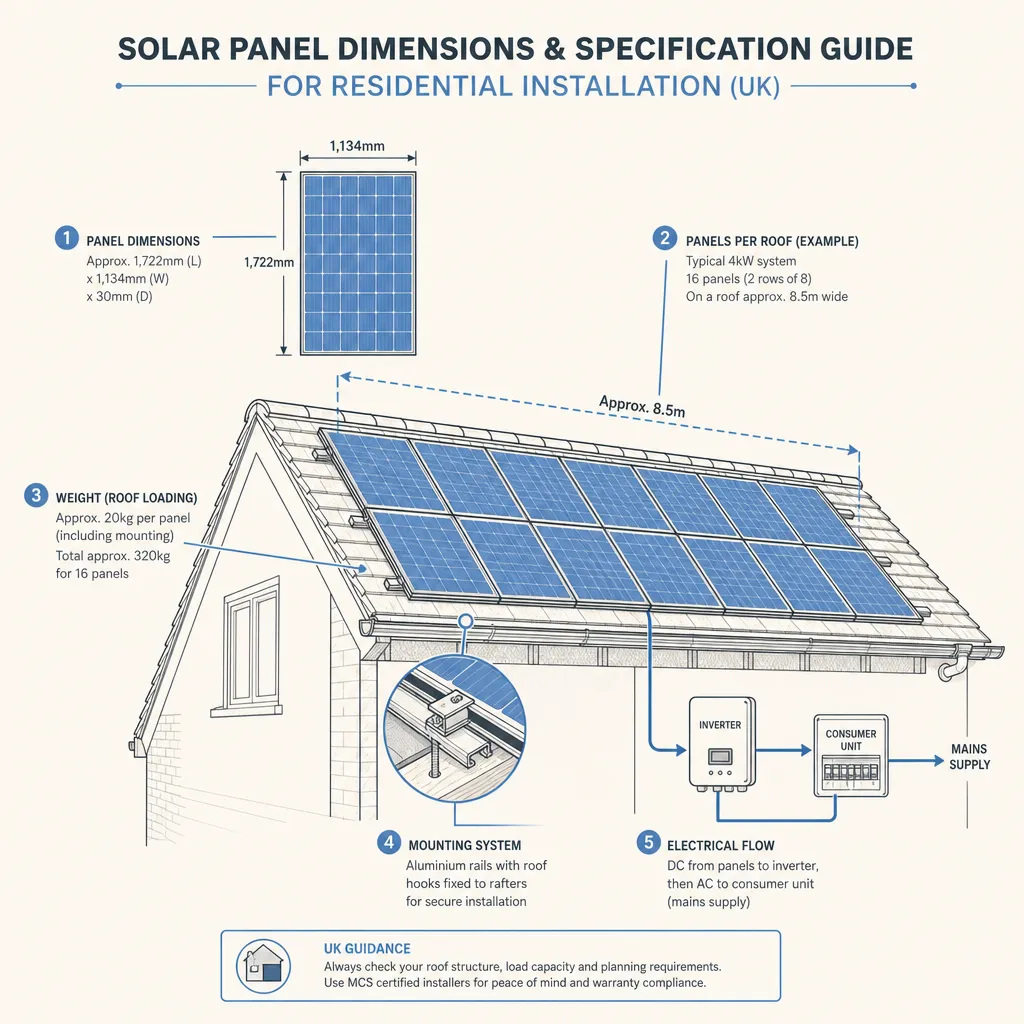
A standard residential solar panel measures approximately 1700–1800mm × 1000–1050mm, weighs 18–22 kg, and produces 380–450 W.
 Energy & Retrofit
Guide to Solar Power Generation for Homes
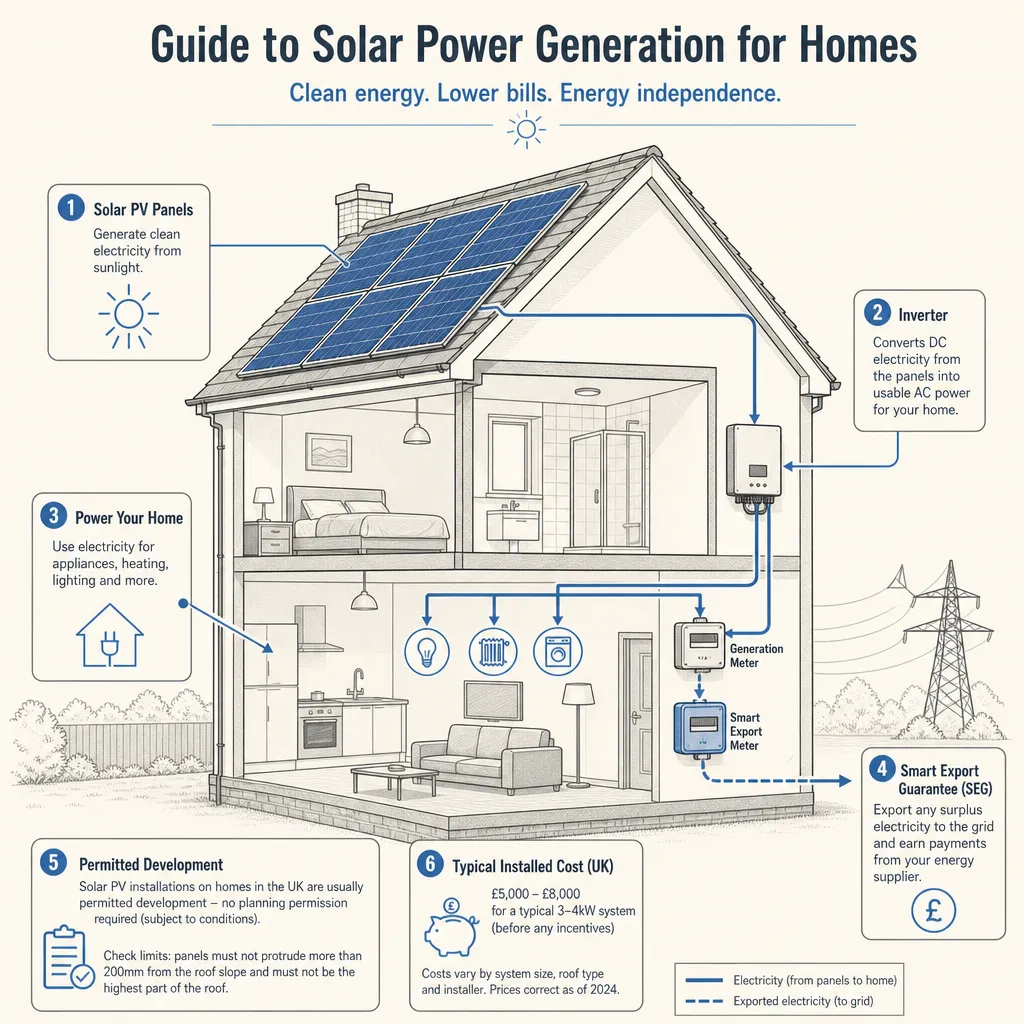
Solar photovoltaic (PV) panels convert daylight into electricity and export surplus to the grid via the Smart Export Guarantee (SEG).
 Energy & Retrofit
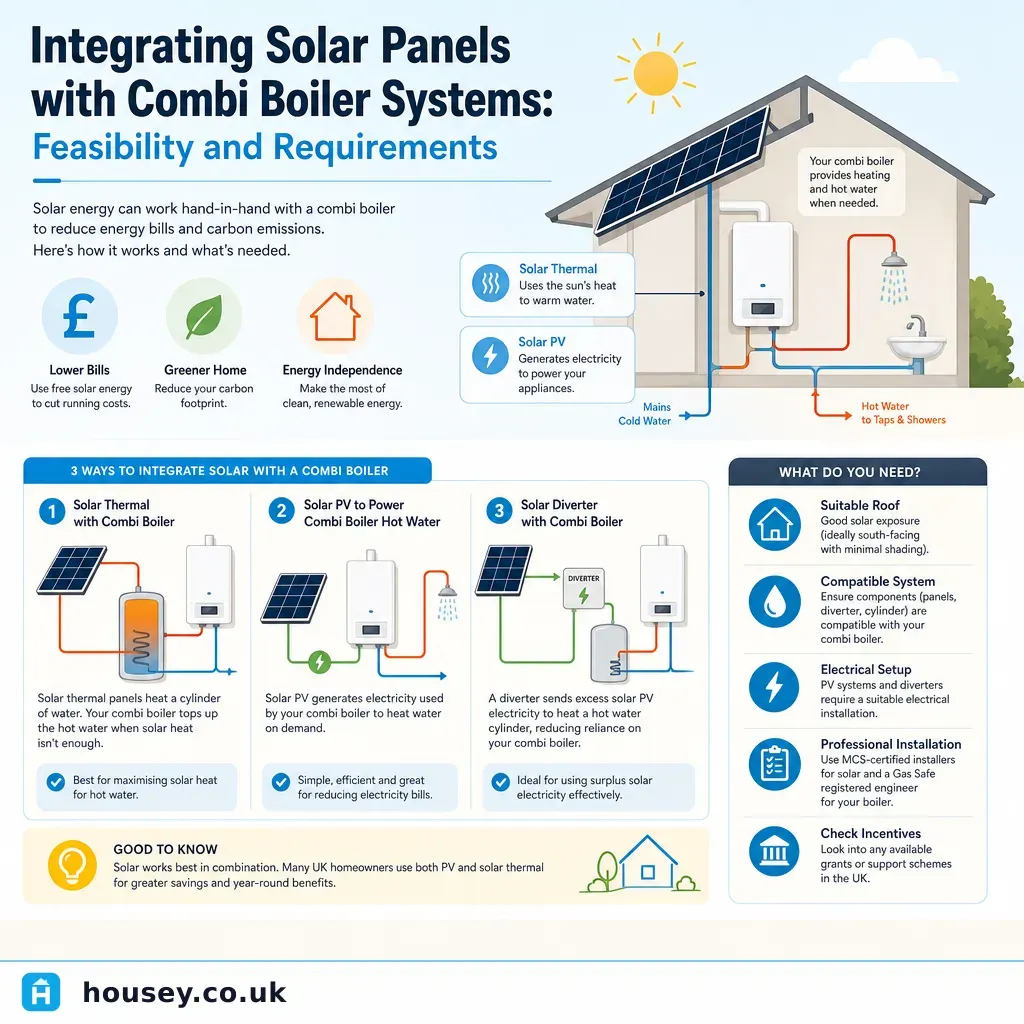
Integrating Solar Panels with Combi Boiler Systems: Feasibility and Requirements
Combi boilers heat water on demand without a hot water storage cylinder, making direct solar thermal integration impractical.
 Energy & Retrofit
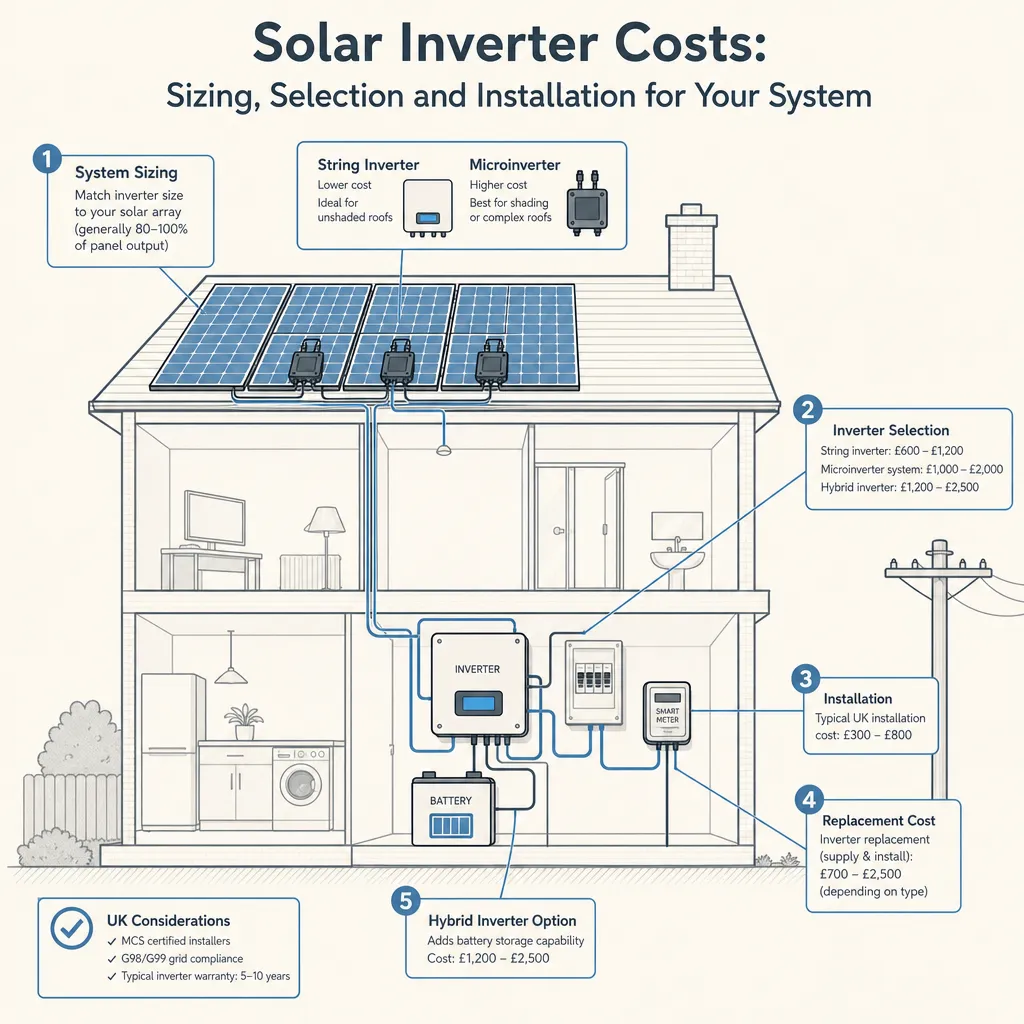
Solar Inverter Costs: Sizing, Selection and Installation for Your System
A solar inverter converts DC electricity from panels into AC power for home use.