Water Ingress at Patio Doors: Identifying Cause and Prevention
By Housey · Last reviewed 11th of May 2026
Water Ingress at Patio Doors: Identifying Cause and Prevention
Water finding its way past a patio door is one of the more common defect complaints in UK homes, particularly in properties where sliding or bi-fold doors were fitted more than ten years ago or were installed by a general builder rather than a specialist. Whether you have noticed a damp patch on the floor after heavy rain, timber discolouration around the frame, or a puddle forming along the threshold, the source matters as much as the symptom — misdiagnosing it leads to the wrong repair.
Key points
- Threshold drainage channels in sliding patio doors must be kept clear; a blocked channel is one of the most common causes of water pooling inside the frame.
- Failed brush seals or compression gaskets along the door edge account for a significant proportion of leaks and can usually be replaced without full door removal.
- FENSA-registered installers are required to provide a building regulations certificate on completion; if yours is missing, the installation may not have met the required performance standard.
- Prolonged water ingress at a timber door frame can cause wet rot within 12–18 months if the moisture content of the timber consistently exceeds approximately 20%.
- Water appearing at the base of the frame may originate higher up — from the head seal, glazing bead, or cavity flashing — and run down internally before exiting at the threshold.
Common causes of water ingress at patio doors
Water ingress at a patio door typically has one of five origins. Understanding them helps you narrow down the source before calling a professional.
Cause | Where to look | Typical indicator |
|---|---|---|
Blocked threshold drainage channel | Bottom of sliding door track | Pooling water inside track during rain |
Failed compression gasket or brush seal | Around the opening leaf perimeter | Water line on floor close to door edge |
Degraded external frame sealant | Between frame and masonry | Damp on wall plaster beside or below frame |
Missing or damaged cavity tray flashing | Above the door head in cavity wall construction | Damp patch appearing above frame, often delayed |
Cracked or displaced glazing bead seal | Around the glass unit within the frame | Condensation or water tracking from glazing edge |
Blocked threshold drainage
Sliding patio doors — and many bi-fold systems — incorporate a drainage channel at the threshold. This channel collects any water that breaches the external weather bar and directs it out through small drainage ports (also called weep holes) in the outer track. When these ports are blocked by dirt, leaves, or sealant applied during decorating, water has nowhere to go and backs up into the property. Clearing the track with a stiff brush and ensuring the weep holes are clear is the first check to carry out.
Seal and gasket failure
The compression gasket that runs around the perimeter of the opening leaf creates a weathertight contact when the door is closed. Over time — typically 10 to 15 years for a standard EPDM rubber gasket — this material hardens, compresses, or pulls away from its channel. A visual inspection usually reveals cracking, flattening, or gaps. Replacement gaskets are available for most major door systems and can often be fitted without removing the door.
Frame-to-masonry sealant failure
A bead of silicone or mastic between the outer frame and the surrounding brickwork or render is what prevents driving rain from tracking behind the frame and into the wall cavity. This sealant typically has a service life of 10 to 20 years before it shrinks, cracks, or loses adhesion. A close external inspection after rainfall — ideally with a torch — will often reveal where the sealant has separated.
Cavity tray and flashing issues
In cavity wall construction, a cavity tray (sometimes called a lead flashing or DPC tray) is required above the door opening to intercept water running down the inner face of the outer leaf. If this was omitted during installation — a not uncommon oversight in extensions built before 2000 — or if it has since cracked, water can track into the wall and emerge well below the tray, making the source harder to identify without investigation.
How to locate the source of a patio door leak
A systematic approach avoids unnecessary remediation. Follow these steps:
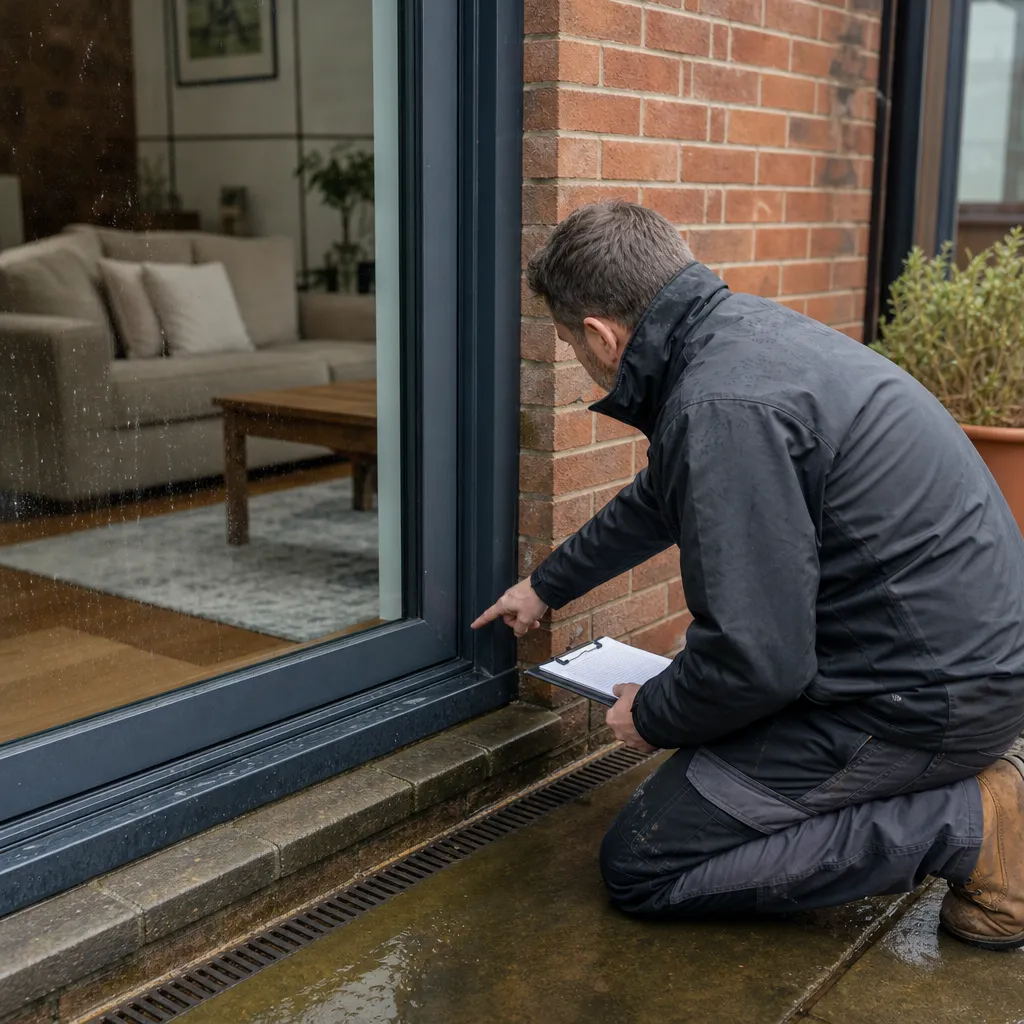
- Inspect during or immediately after heavy rain. The exact point of entry is often visible at this stage — a torch directed at the threshold, frame, and surrounding plaster reveals active damp lines.
- Check the drainage channel and weep holes. Clear them if blocked and test again.
- Examine external sealant joints. Run a gloved finger along the full frame perimeter. Any softness, gap, or discolouration indicates a compromised joint.
- Test the gasket compression. Close the door on a thin piece of paper at various points around the opening leaf. If the paper pulls out with no resistance, the gasket is no longer seating correctly.
- Check for water tracks higher up. Look at the head of the frame, the glazing bead, and any brick course above the door for staining or efflorescence (white salt deposits), which indicate water has been passing through.
If these checks do not reveal a clear source, or if damp is appearing in the floor screed, wall plaster, or subfloor, a professional damp and timber survey is advisable before proceeding with repairs.
What happens if patio door water ingress is left untreated
Ignoring a leaking patio door carries increasing costs over time:
- Timber rot: Softwood subframes and timber door frames become vulnerable to wet rot when moisture content remains elevated. Once rot is established, sections of frame typically need cutting out and splicing or replacing in full.
- Floor screed and subfloor damage: Water pooling at the threshold can penetrate a concrete screed or a suspended timber floor, leading to lifting of floor finishes, weakening of joists, or mould growth beneath flooring.
- Wall plaster and insulation: Water tracking into the cavity or behind the frame saturates wall insulation and causes plaster to blow (delaminate), requiring hacking off and replastering after drying.
- Mould and indoor air quality: Persistent damp creates conditions for mould growth, which has health implications recognised by the NHS, particularly for occupants with respiratory conditions.
Preventive maintenance checklist
Keep patio doors watertight with annual checks:
When to get professional help
Some water ingress at patio doors is straightforward to address; other cases warrant professional investigation before any repair work begins.
Seek expert advice if you notice:
- Damp patches appearing on the ceiling directly above the door or on the wall beside the frame, suggesting cavity or structural involvement.
- Visible soft spots, discolouration, or paint bubbling on a timber frame — signs of active rot.
- Water appearing after you have already replaced the sealant, as this suggests the source is elsewhere.
- Gaps or cracking in the masonry around the door frame, which may indicate structural movement rather than a sealing issue. In these cases, a structural survey provides a detailed assessment before any repair is attempted.
- Any sign of a damp issue extending beyond the door zone into adjacent floors or walls.
A RICS-qualified surveyor or a specialist damp and timber surveyor can identify the source accurately and advise on the scope of remediation required.
How Housey can help
If you are unsure of the cause or the repair is beyond straightforward maintenance, Housey can connect you with qualified local professionals. A damp and timber survey will diagnose the extent of any moisture ingress and identify rot risk, while window and door installers can assess whether seals, gaskets, or the door system itself needs attention.
Frequently asked questions
How do I tell whether the water is coming through the door itself or through the surrounding wall?
Water appearing directly at the threshold or following the door seal line usually points to the door system. Water appearing on the wall plaster beside or above the frame, or emerging below the frame on the floor screed, often suggests the frame-to-masonry joint or the cavity above the door. A torch inspection during active rainfall, or a professional damp survey using a moisture meter, will give a more reliable answer than visual inspection alone.
Can I repair a leaking patio door threshold myself?
Clearing blocked drainage channels and replacing perimeter sealant are tasks most competent homeowners can carry out. Gasket replacement is also manageable with the correct replacement part for your door system. However, if the source is a missing or failed cavity tray, or if timber rot is present, professional repair is necessary — both to ensure the work is done correctly and because cavity work in a masonry wall requires opening up the construction.
Does water ingress at a patio door affect a buildings insurance claim?
Most buildings insurance policies cover sudden and accidental water ingress but exclude gradual ingress, poor maintenance, or wear and tear. A blocked drainage channel or perished sealant deteriorating over years is unlikely to be covered. Sudden failure following storm damage may be. Check your policy wording and ask your insurer before carrying out remediation, as disturbing evidence before a claim is assessed can complicate matters.
How much does it cost to repair a leaking patio door in the UK?
Costs vary considerably by cause. Clearing drainage channels and resealing perimeter joints: £100–£400 (tradesperson call-out plus materials). Gasket replacement: £150–£500 depending on door size and system. Timber frame repair or splice: £300–£800+. Full door replacement where the frame or structure is beyond repair: £1,500–£5,000+, depending on door size, material, and specification. Indicative UK costs, last reviewed 2026-05-11. Obtain at least two quotes before proceeding.
Sources and further reading
Useful next reads
 Surveys & Inspections
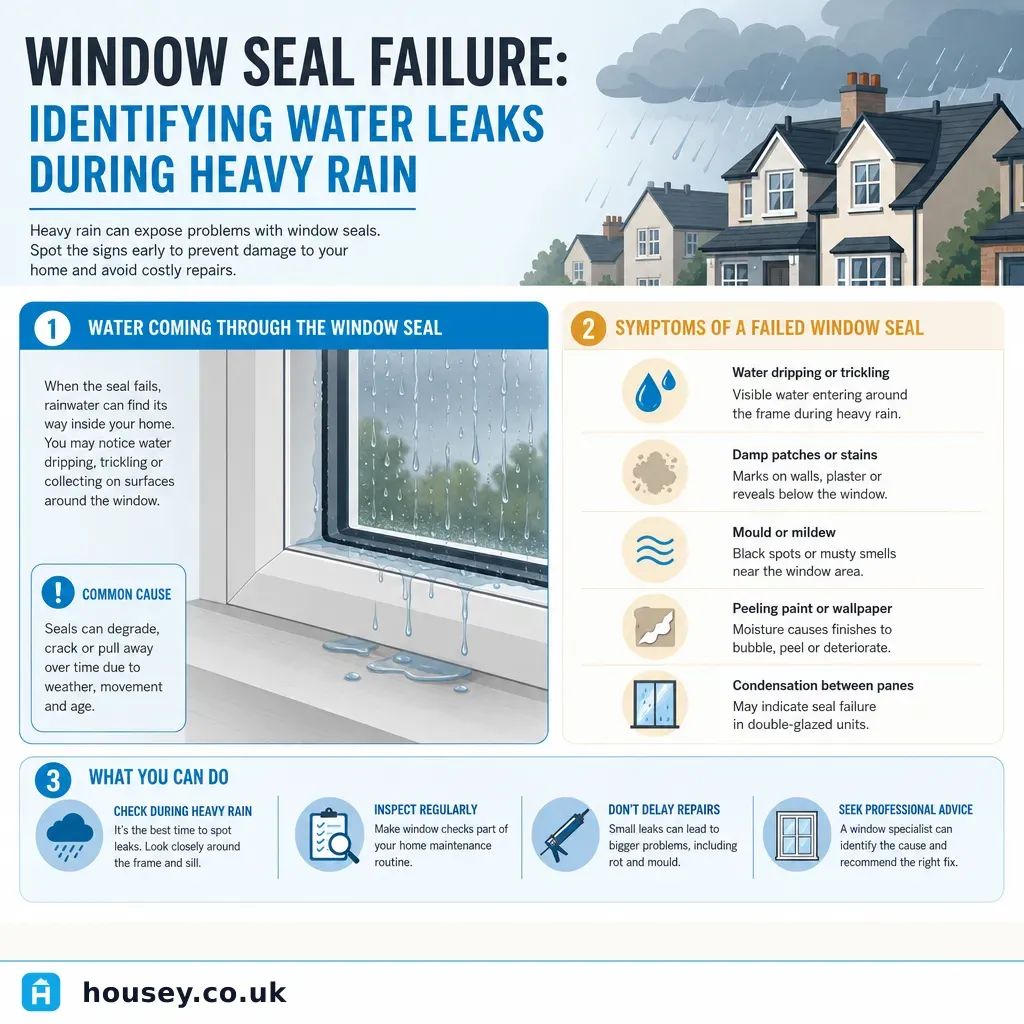
Window Seal Failure: Identifying Water Leaks During Heavy Rain
Water entering through a window during heavy rain usually points to a failed mastic seal, a damaged glazing unit seal, or a poorly fitted frame.
 Surveys & Inspections
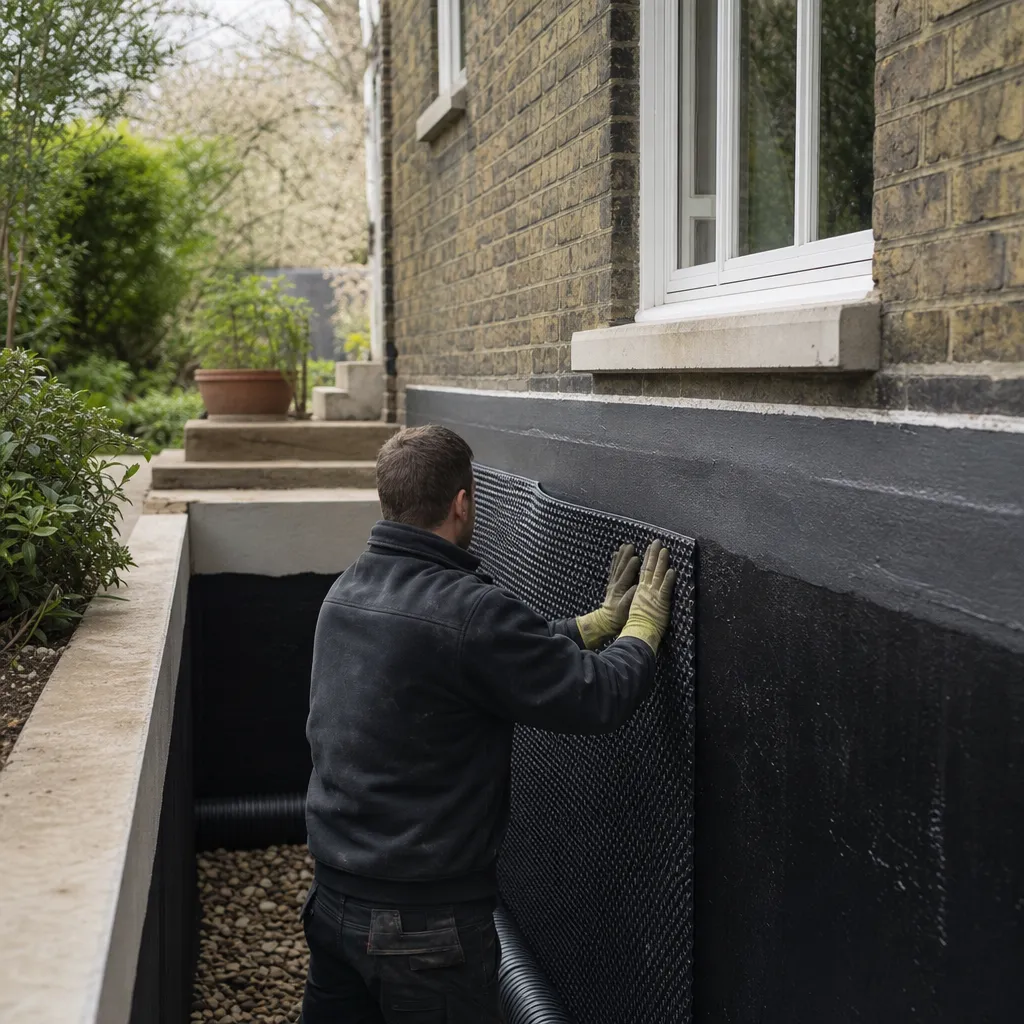
Basement Waterproofing Solutions for Damp Prevention
Basement waterproofing in the UK is governed by BS 8102:2022, which defines three system types: Type A (barrier coatings), Type B (structurally integral concrete), and Type C (cavity drain membrane with sump pump).
 Surveys & Inspections
Sagging Lintel Repair Costs and Structural Solutions
A sagging lintel is a structural defect requiring prompt professional assessment.
 Surveys & Inspections
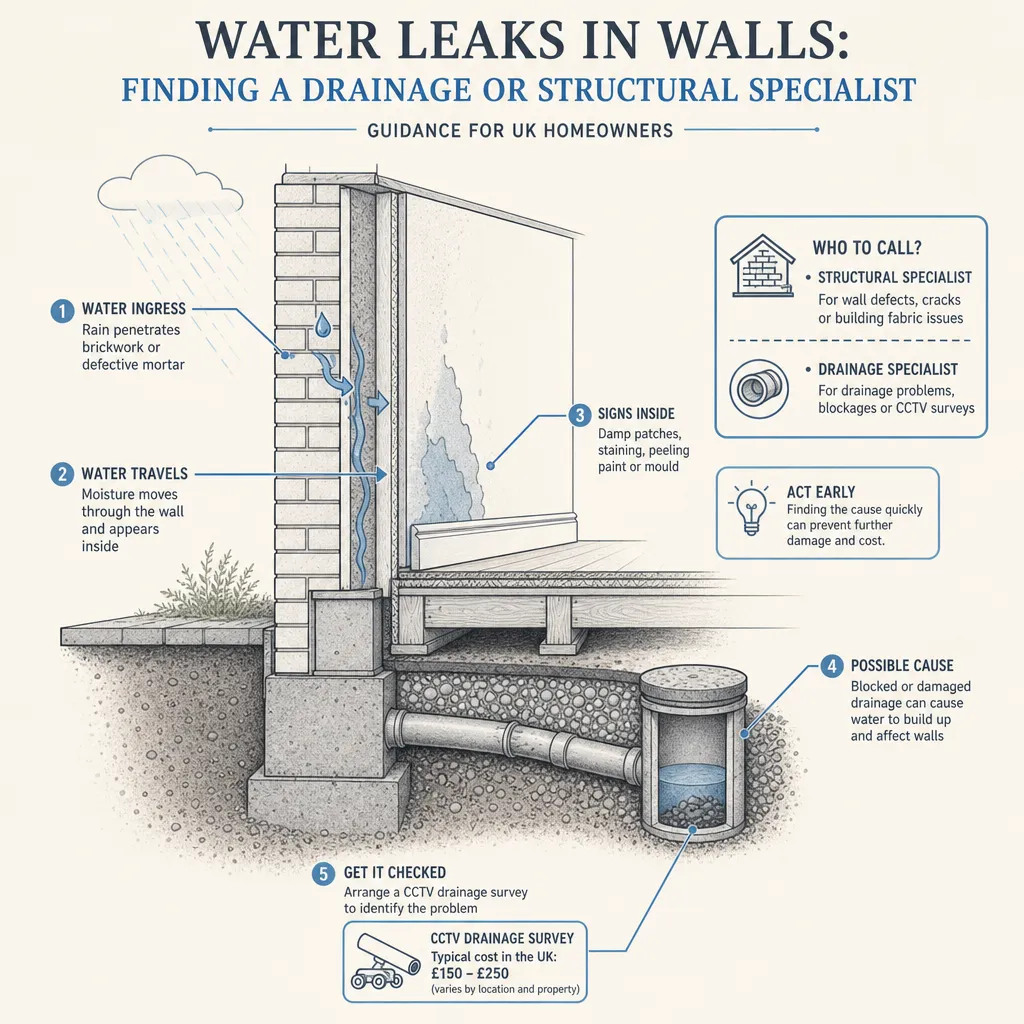
Water Leaks in Walls: Finding a Drainage or Structural Specialist
Water leaking through a wall can originate from a burst or leaking pipe, failed drainage, penetrating damp, a roof defect, or structural cracking.
 Surveys & Inspections
Costs of Damp-Proofing and Waterproofing Solutions for UK Properties
Damp-proofing costs vary by treatment: chemical DPC injection typically costs £300–£800 for a standard terraced house, while internal basement tanking runs £50–£150 per m² and cavity drain membrane systems £30–£80 per m².