What is window flashing and why it's essential for weatherproofing
By Housey · Last reviewed 31st of May 2026
What is window flashing and why it's essential for weatherproofing
Window flashing is a detail that rarely gets noticed when it works — and becomes very expensive when it fails. It typically comes into focus during window replacements, new builds, or re-rendering projects, and it matters most in the UK's climate of driving rain and temperature variation. Getting the flashing right at the time of installation is far cheaper than diagnosing and treating penetrating damp afterwards.
Key points
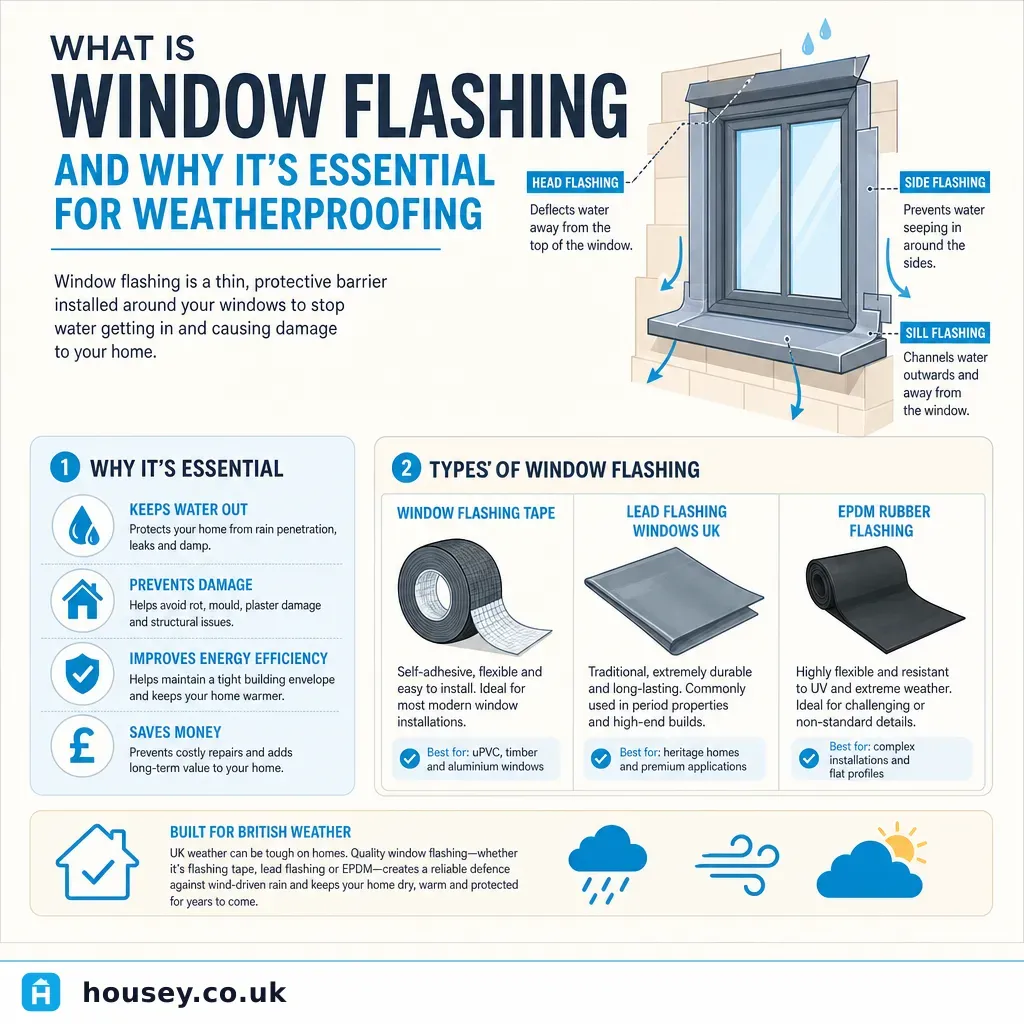
- Window flashing is a water-resistant barrier fitted at the head, sill, and jambs of a window opening to direct rainwater away from the frame-to-wall junction.
- Building Regulations Approved Document C (site preparation and resistance to moisture) requires new and replacement window installations to resist moisture penetration from the exterior.
- NHBC Standards chapter 6.7 specifies flashing and weatherproofing details for window openings in new-build and NHBC-warranty properties.
- Common materials include lead (Code 3 or 4), self-adhesive bituminous tape, EPDM rubber, and extruded aluminium drip-cap sections — each suited to different wall types and substrates.
- FENSA and Certass installers self-certify compliance with Building Regulations (including weatherproofing); if an installer is unregistered, a local authority building control application is needed.
What does window flashing do?
Window flashing creates a continuous water-management layer around the perimeter of a window frame, bridging the joint between the frame and the surrounding wall structure. Its purpose is not to create an airtight seal but to intercept and redirect any water that penetrates the outer wall surface before it can track behind the frame.
A correctly detailed installation uses three layers:
- Head (drip cap) flashing — fitted above the frame, projecting slightly over the external face to throw water clear of the wall below.
- Sill flashing — runs beneath the frame, sloping outward to drain water away from the sill-to-wall junction.
- Jamb flashing — applied to the vertical sides of the opening, overlapping with both the head and sill pieces to form a continuous, lapped seal.
In cavity wall construction — the dominant wall type for UK homes built after the 1930s — this matters because water that enters behind the frame can bridge the cavity and cause internal dampness. In solid-wall properties (common in Victorian and Edwardian terraces), water has a direct path into the wall thickness.
Flashing materials compared
The right material depends on the wall construction, the window type, the level of exposure, and — in some cases — planning constraints.
Material | Best for | Not ideal for | Approx. lifespan | Key standard |
|---|---|---|---|---|
Lead (Code 3–4) | Traditional masonry, conservation areas, listed buildings | High-volume modern installs (higher cost and skill required) | 60–100+ years | BS EN 12588 |
Self-adhesive bituminous tape | Timber-frame, render systems, SIPs panels | Curved or complex reveals without compatible primer | 20–30 years | BBA-certified products available |
EPDM rubber | Bay windows, curved reveals | Exposed high-UV south-facing elevations (some grades) | 30–50 years | ETAG 005 |
Extruded aluminium drip cap | uPVC and aluminium frames, modern new-build | Historic masonry without additional sealant | 25–40 years | — |
PVC trim/cill systems | uPVC windows, colour-matched to frames | High-exposure zones as standalone weatherproofing | 20–30 years | — |
Indicative guidance only, last reviewed 2026-05-31. Lifespan figures depend on installation quality, exposure, and maintenance. Always request itemised quotes from a registered installer.
Where flashing failures most often occur
Most problems arise not from material choice but from poor detailing at laps, corners, and terminations. The following failure points are common in UK residential installations:
- Head flashing not lapped over the top of the jamb flashing — water tracks down behind the junction and into the reveal.
- Tape not firmly pressed into internal corners of the opening — air pockets allow water to bypass the membrane over time.
- No drip edge projection at the head — water runs back under the flashing and saturates the lintel.
- Mastic used as the primary seal rather than a secondary seal — mastic shrinks and cracks; it should supplement, not replace, correctly lapped flashing.
- Render applied over flashing tape without a compatible primer — render adhesion fails, cracking the weatherproof layer.
In older properties — 1930s semis, Victorian terraces — original flashing may be a lead soaker, a mortar fillet, or bitumen-painted felt, all of which degrade and often need replacement when windows are renewed.
Window flashing and Building Regulations
When a window is replaced in England, the work falls under Building Regulations Approved Document L for thermal performance and Approved Document C for moisture resistance. Both must be met. If the installer is registered with a competent person scheme such as FENSA or Certass, they self-certify compliance — including the weatherproofing detail. If the installer is not scheme-registered, a local authority building control application is required before work starts.
In Scotland, Wales, and Northern Ireland, the applicable regulations differ in detail but the principle — that replacement windows must resist moisture penetration — is consistent across all four nations.
Red flags: signs of failed or inadequate flashing
If you notice any of the following, have the flashing inspected before the problem extends to the surrounding structure:
- Damp patches on internal reveals or sills, particularly after heavy or driven rain
- Staining, tide marks, or mould on plasterwork inside window reveals
- Paint or render cracking and bubbling around the window head externally
- Visible gaps between the window frame and surrounding masonry or render
- Water running down the inside face of the frame or appearing at sill level
When to get professional help
Most flashing repairs and retrofit work are straightforward for a competent window installer or roofer, but there are situations where professional assessment should come first:
- If water ingress has been present for an extended period, have a RICS surveyor or damp specialist assess whether the lintel, cavity wall ties, or adjacent structure has been affected before remediation starts.
- Listed buildings and properties in conservation areas may need lead flashing specifically, and visible external changes may require listed building consent or prior discussion with the local planning authority.
- If the installation involves enlarging or structurally altering the opening, building control involvement is required regardless of whether the installer is FENSA-registered.
- Where penetrating damp has reached floor joists, internal timbers, or insulation, a damp and timber specialist should be involved alongside the window contractor.
How Housey can help
Housey connects you with vetted window and door installers and roofers who can assess flashing details, carry out replacement windows with correctly detailed weatherproofing, and provide quotes for remedial flashing work. Submit a description of your project to receive and compare quotes from qualified local professionals.
Frequently asked questions
Is window flashing a legal requirement under UK Building Regulations?
Building Regulations Approved Document C requires that buildings resist moisture from the external environment. A window installation that allows water to track behind the frame would fail to meet Part C. Correct weatherproofing at the frame-to-wall junction is required and verified through FENSA self-certification or local authority building control for unregistered installers.
What is the difference between flashing tape and lead flashing?
Lead flashing is a formed sheet metal product — malleable, durable, and the traditional benchmark for masonry junctions. Self-adhesive flashing tape is a bituminous or butyl rubber membrane suited to timber-frame and render systems. Lead typically lasts significantly longer but costs more and requires skilled installation. Tape is faster but must be correctly primed and lapped to achieve a reliable seal.
How do I know if my window flashing has failed?
The most common signs are damp patches on internal reveals after rain, staining or mould growth inside window reveals, and cracking or bubbling of external render around the window head. A competent window installer or RICS surveyor can identify the source and extent of the problem.
Can flashing be added to an existing window without replacing the frame?
In many cases yes. A drip-cap can often be retrofitted above an existing frame, and self-adhesive tape can be applied to the jamb and sill junctions. If render has been applied over the original junction, some remedial render work is usually needed alongside the flashing repair. A registered installer can inspect the existing detail before proposing a fix.
Sources and further reading
Useful next reads
 Improvement & Build
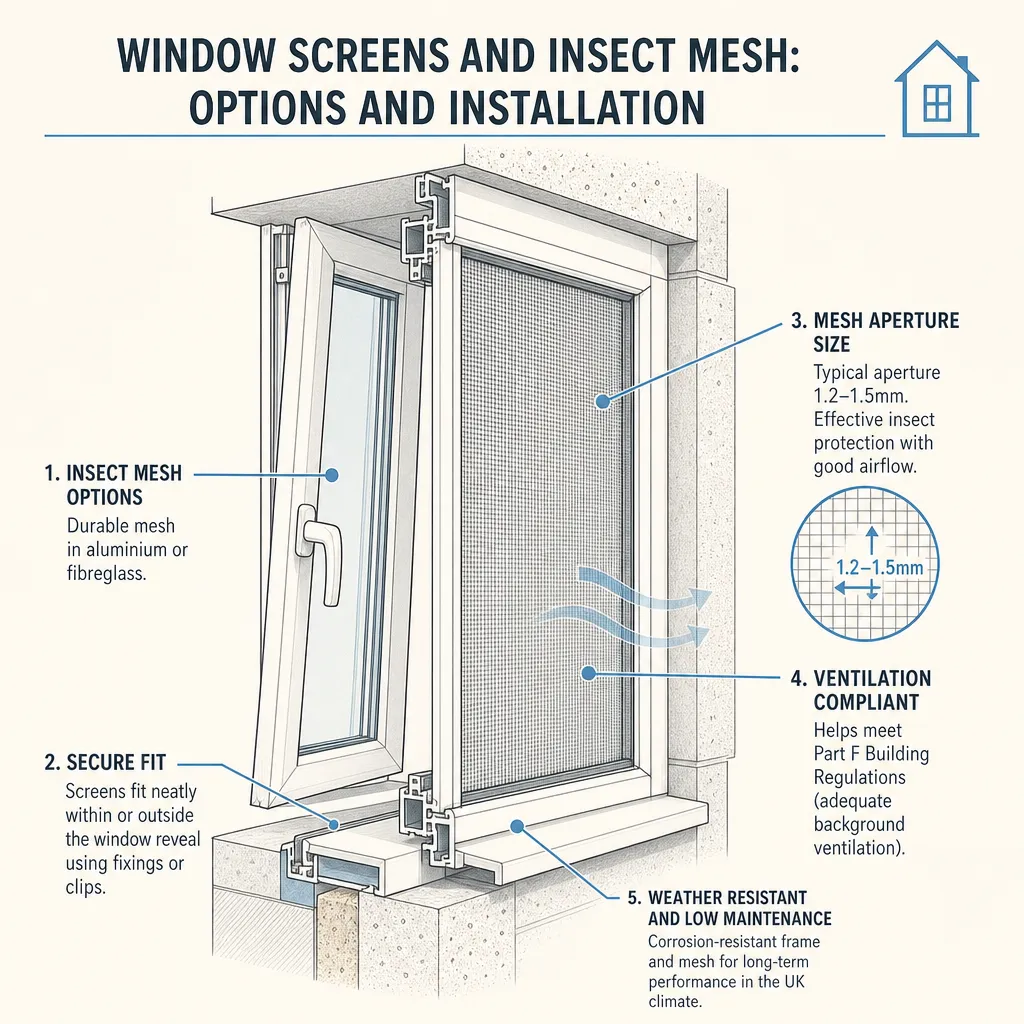
Window Screens and Insect Mesh: Options and Installation
UK window screens fall into four main types: fixed frame, roller retractable, pleated folding, and magnetic snap-fit.
 Improvement & Build
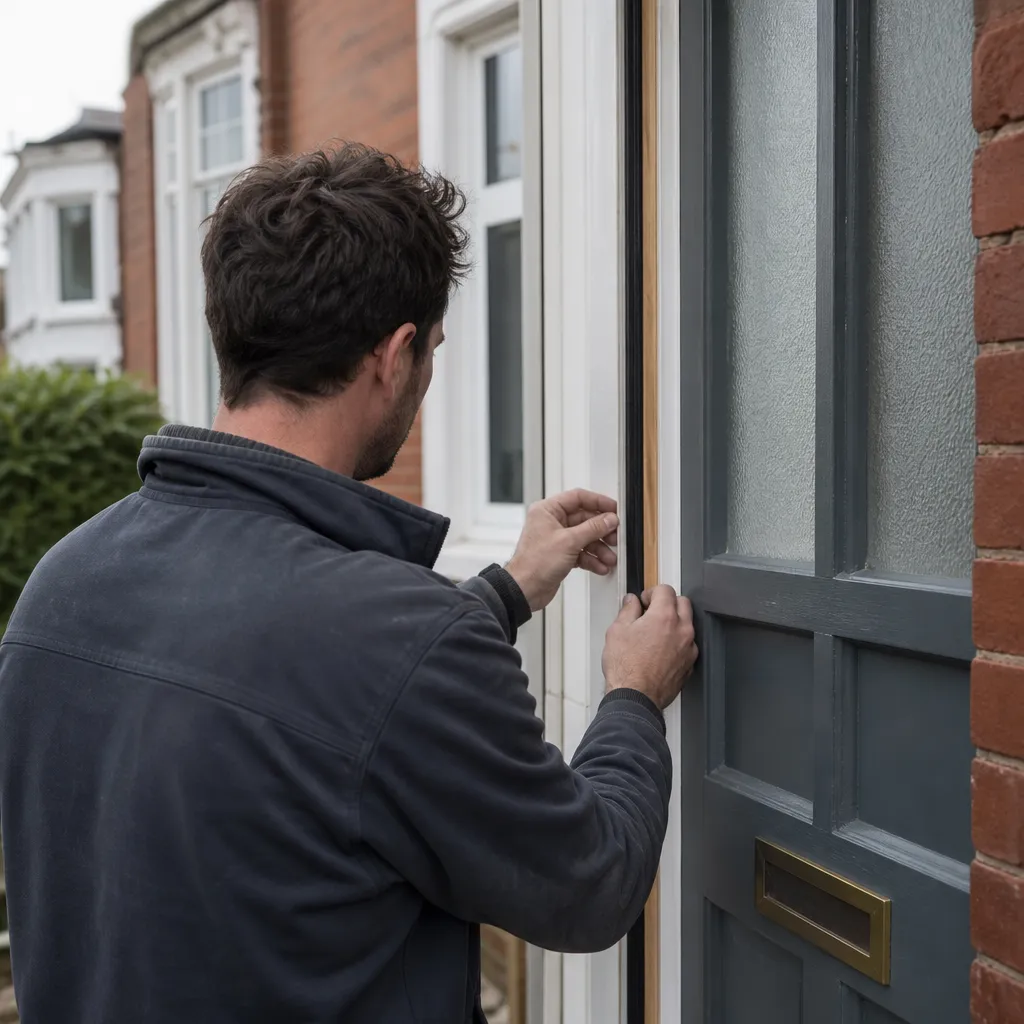
Door Weatherproofing And Sealing: Window And Door Contractors
Door weatherproofing involves fitting draught seals, threshold strips, letterbox brushes, and door sweeps to stop cold air and rain entering around the frame and threshold.
 Improvement & Build
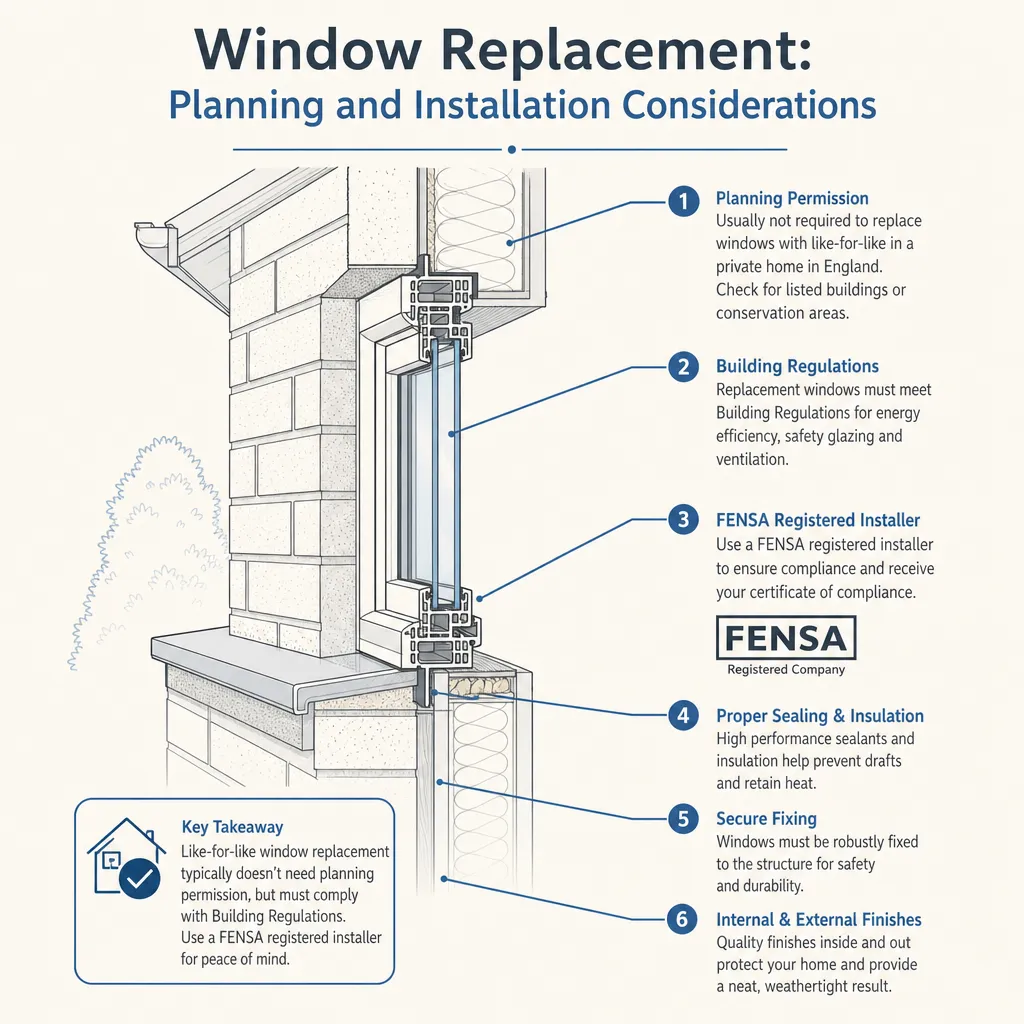
Window Replacement: Planning and Installation Considerations
Most window replacements in England fall under permitted development and do not need planning permission, though listed buildings, flats, and conservation areas are exceptions.
 Improvement & Build
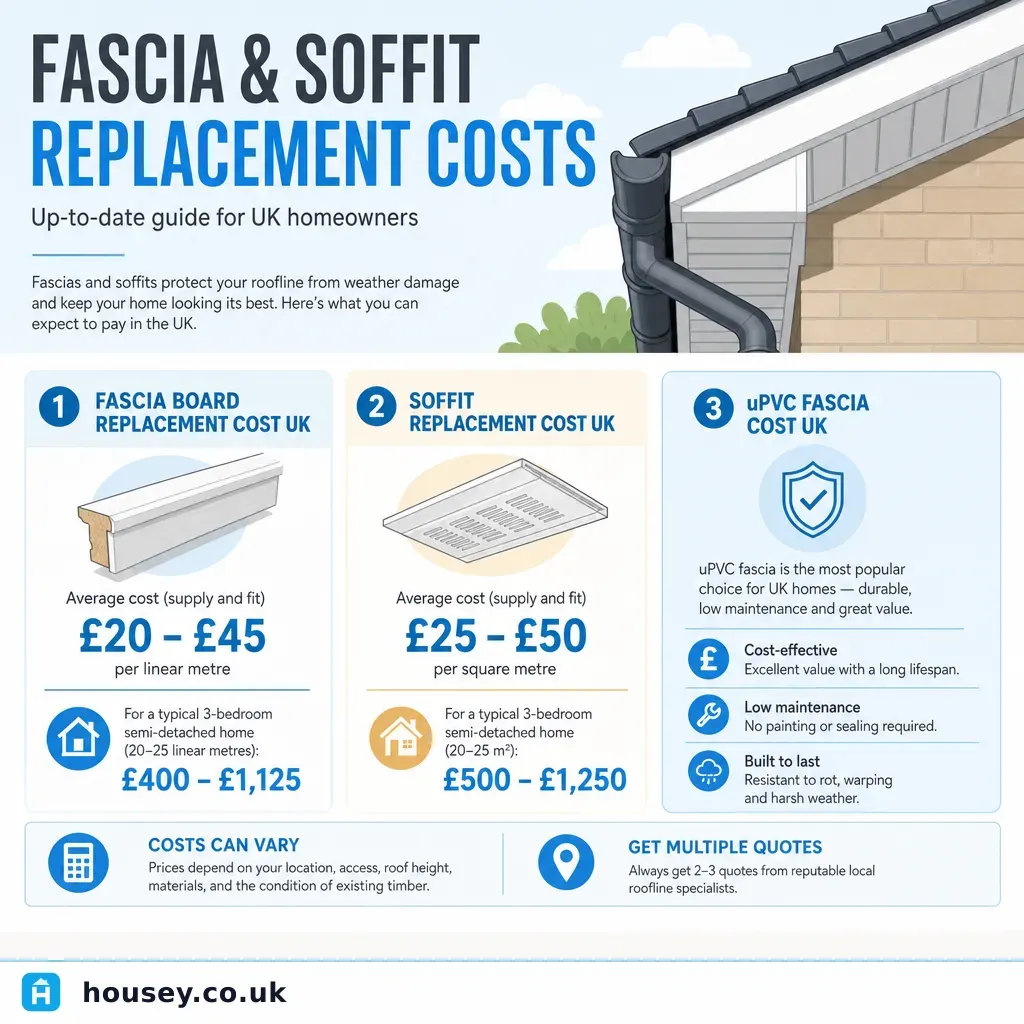
Fascia and Soffit Replacement Costs
Fascia and soffit replacement for a semi-detached house in the UK typically costs £1,800–£4,500 for uPVC boards and new guttering.
 Improvement & Build
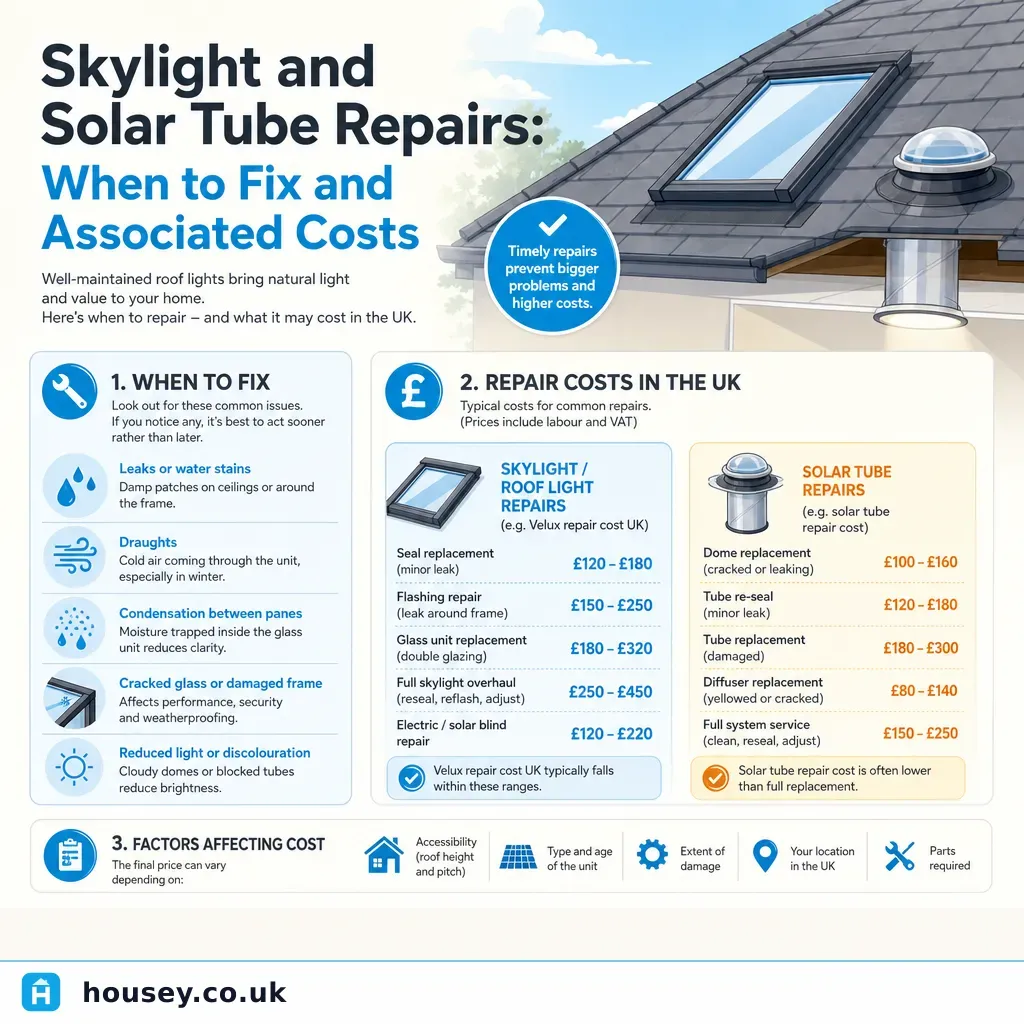
Skylight and solar tube repairs: when to fix and associated costs
Skylight repairs — resealing, reflashing, or replacing a misted glazing unit — typically cost £150–£400 for minor work and £800–£2,500+ for a full replacement in the UK.